Restake ETH on EigenLayer
This simiple guide provides a step-by-step walkthrough on how to restake ETH on EigenLayer and earn staking rewards with InfStones.
| Item | Description |
|---|---|
| Reward Distribution Interval | 4 to 5 day |
| Reward Distribution Method | Claim manually |
| Unbonding Period | 7 days |
| Compounding | No auto-compounding |
| Additional Rewards | EigenLayer points, AVS restaking profits |
1 Create Your EigenPod on EigenLayer
1.1 Access EigenLayer Dashboard
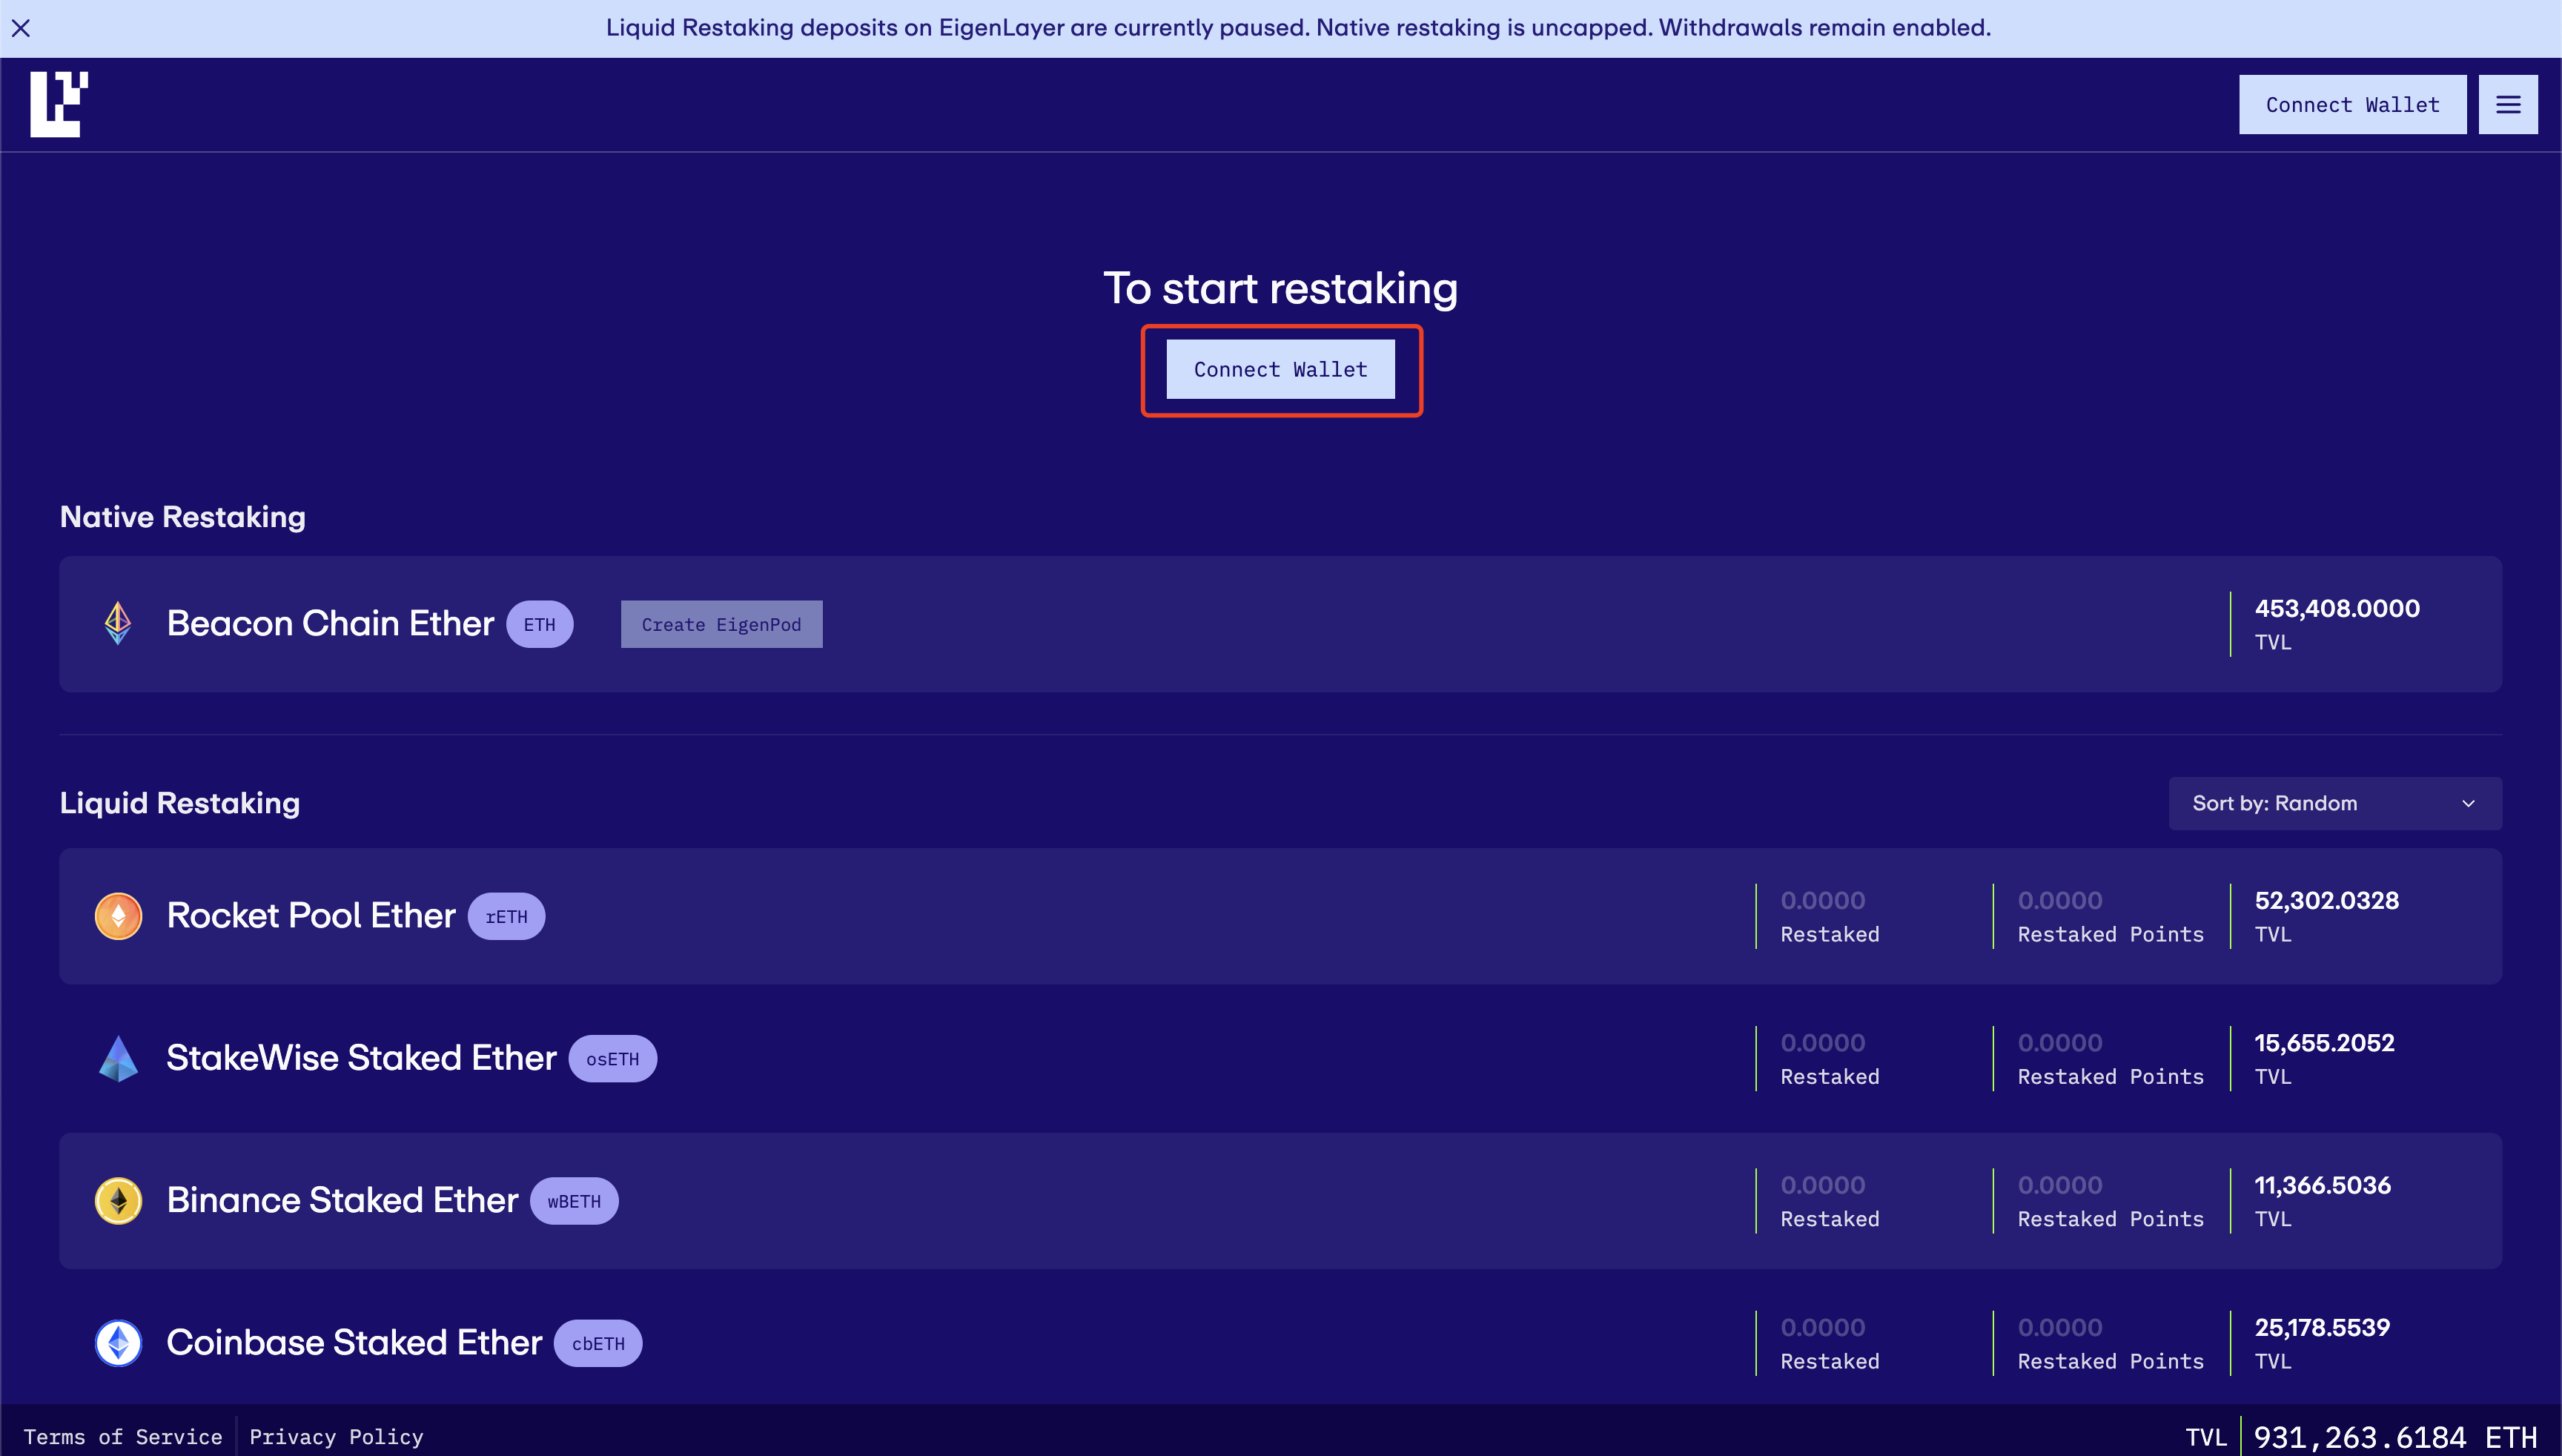
Start by opening the EigenLayer Dashboard in your web browser at https://app.eigenlayer.xyz/, which is your gateway to the world of restaking on Ethereum.
1.2 Connect Wallet
Look for the “Connect Wallet” button prominently placed in the upper right corner of the Dashboard, click into this.
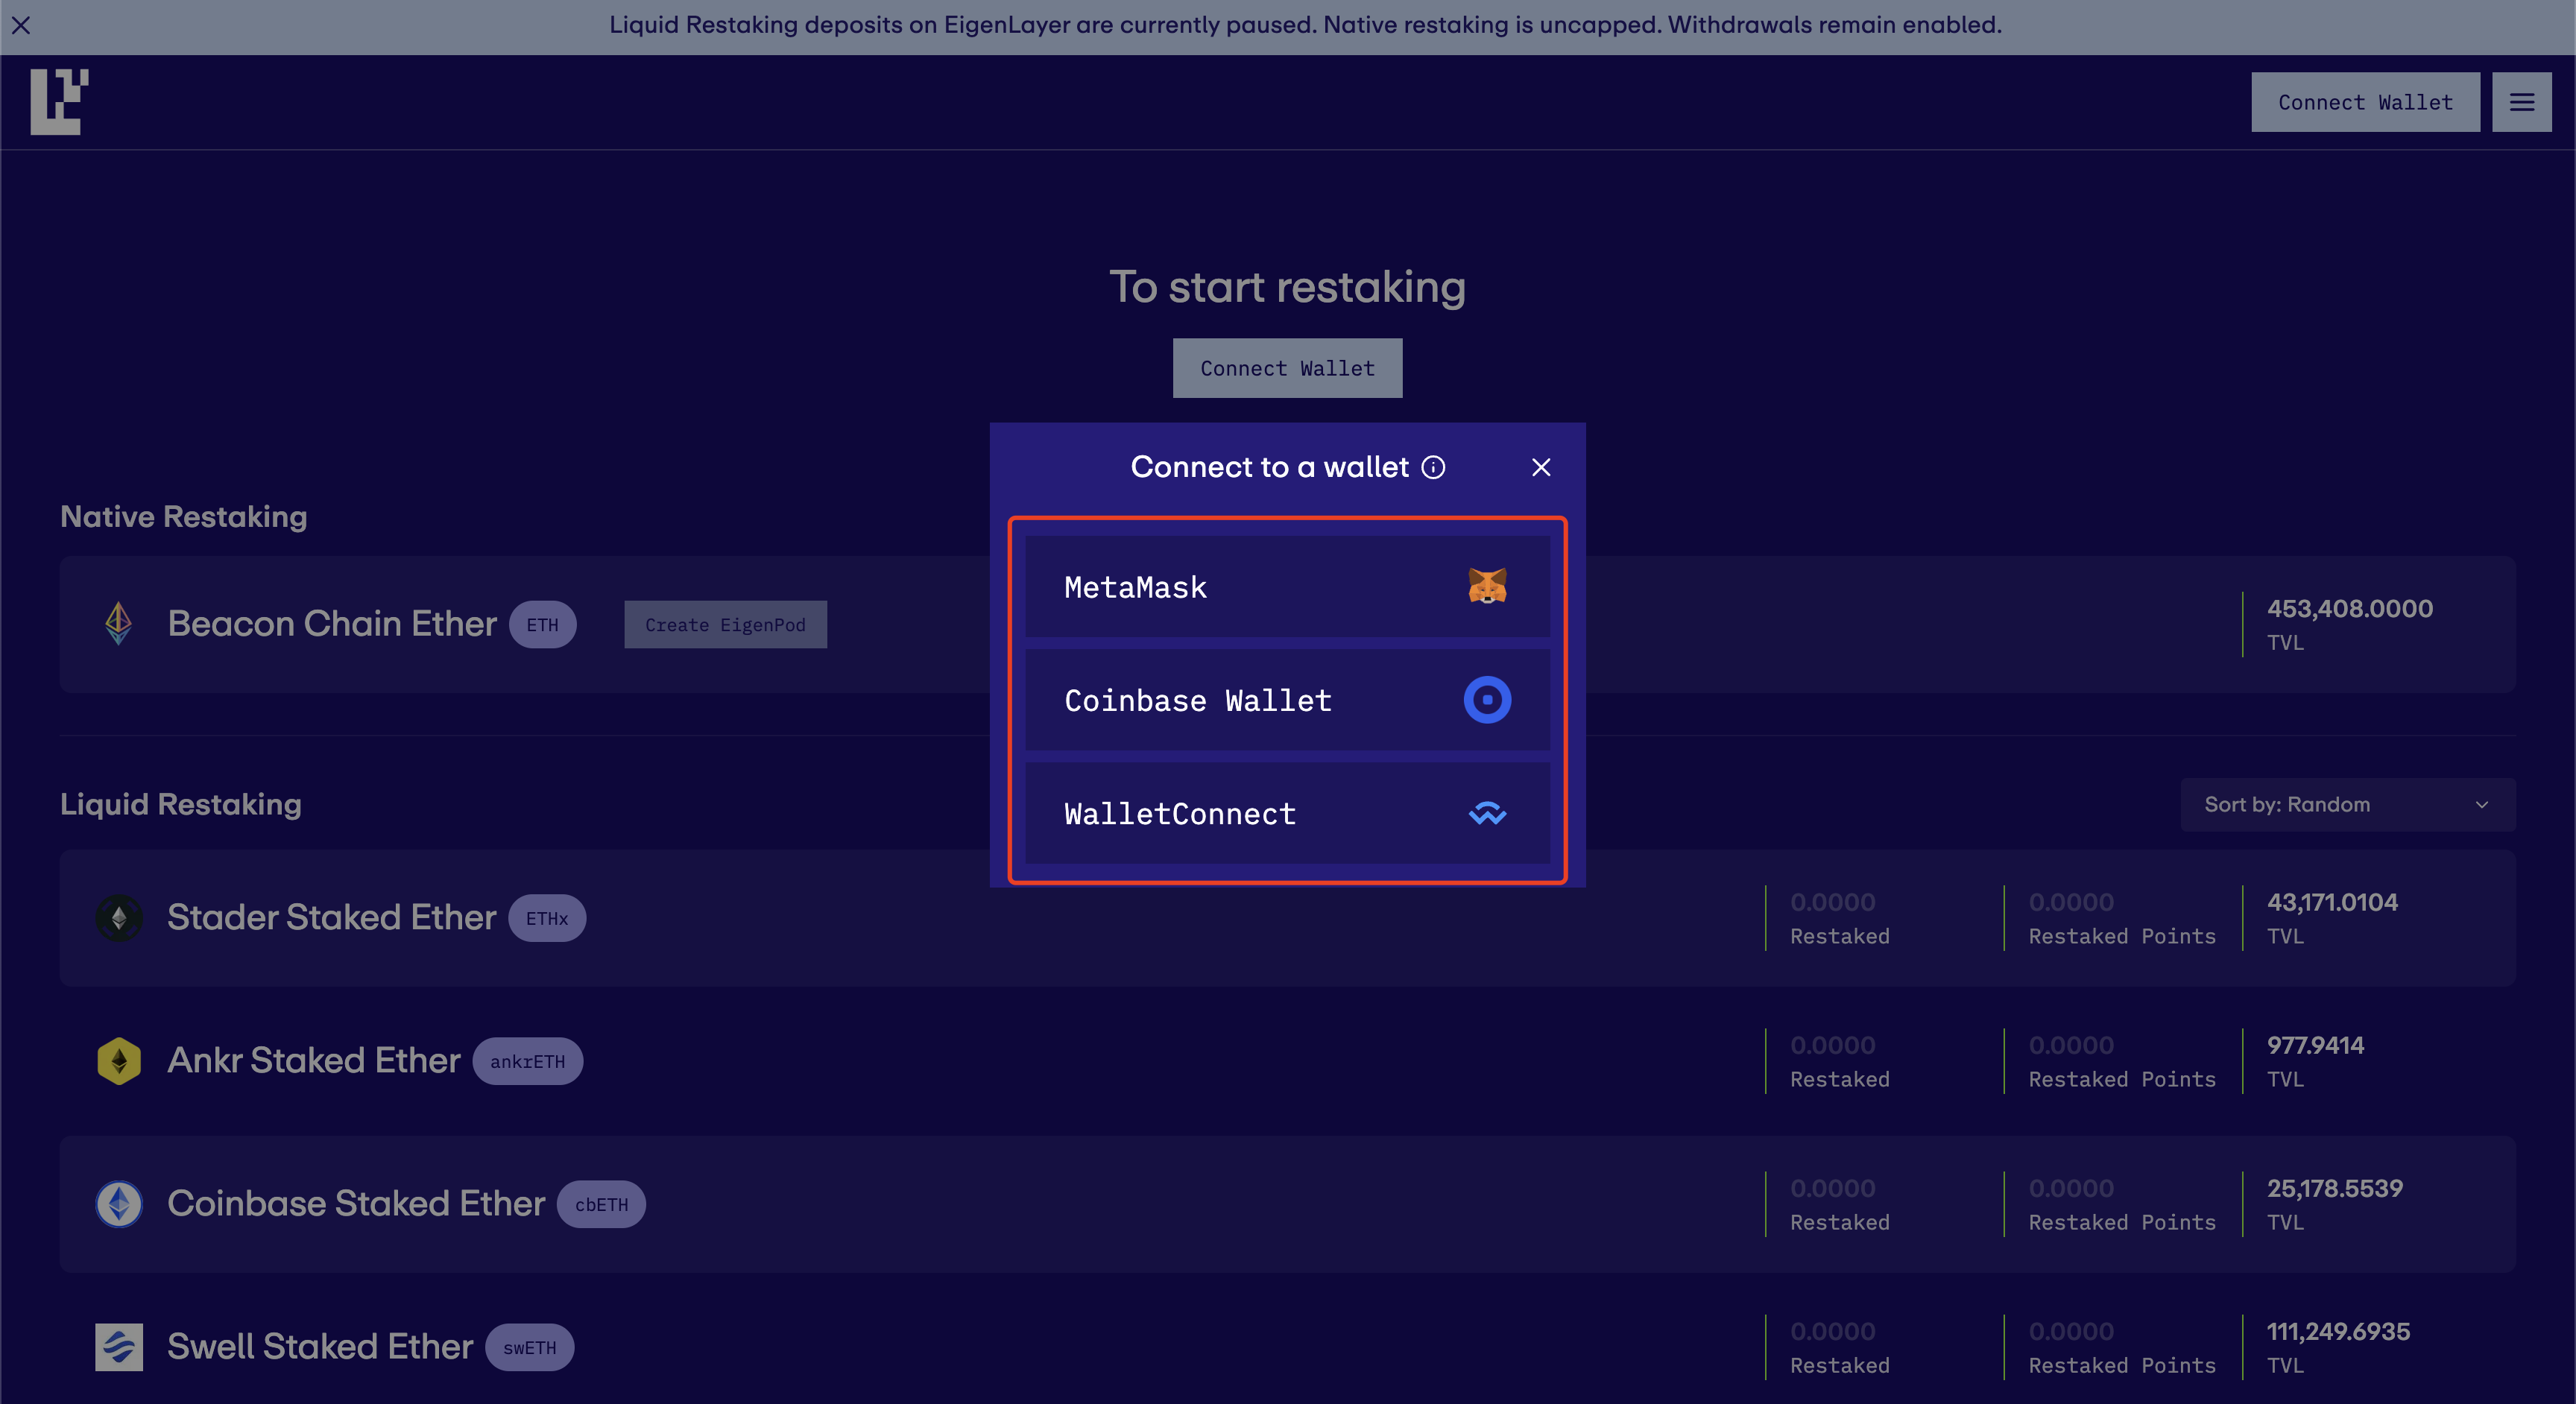
A dialog box will pop up, presenting a list of compatible wallets. Deliberately select your desired wallet by clicking on it.
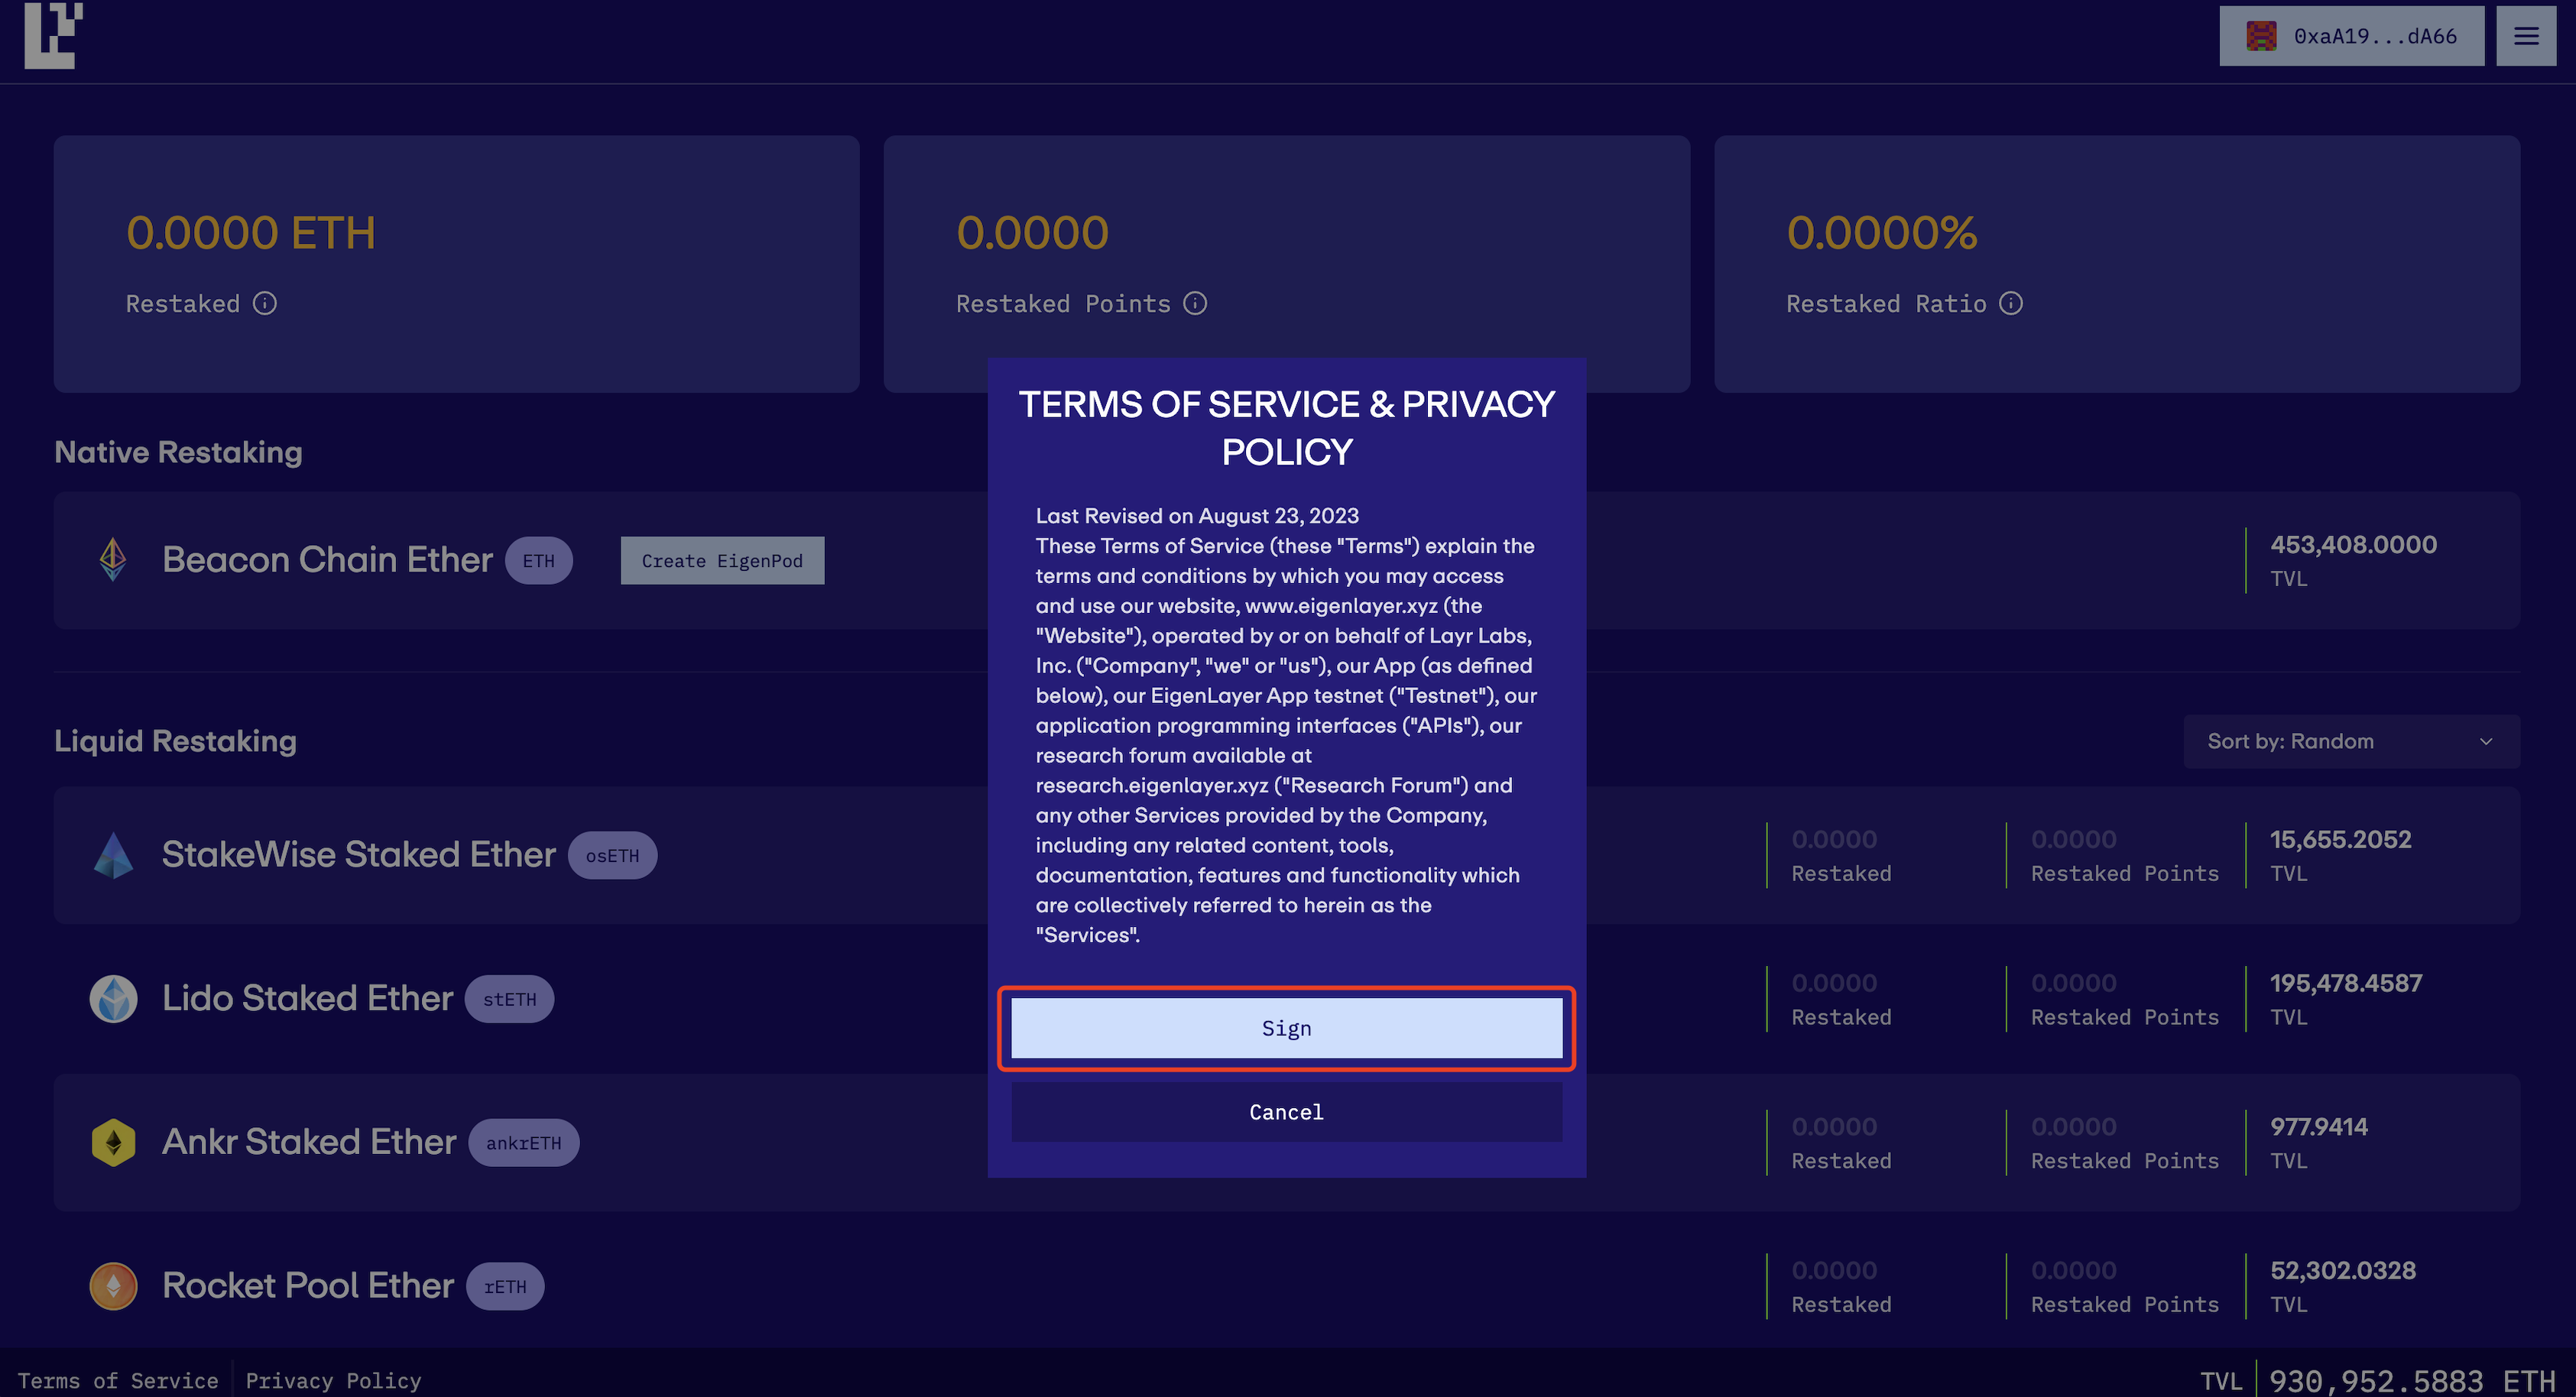
After wallet selection, you’ll be prompted to review the EigenLayer Terms of Service & Privacy Policy. Click “sign” to indicate your agreement. It's important to note that this is an off-chain action, processed through your Transaction Authorization Policy (TAP), and does not engage with the blockchain directly.
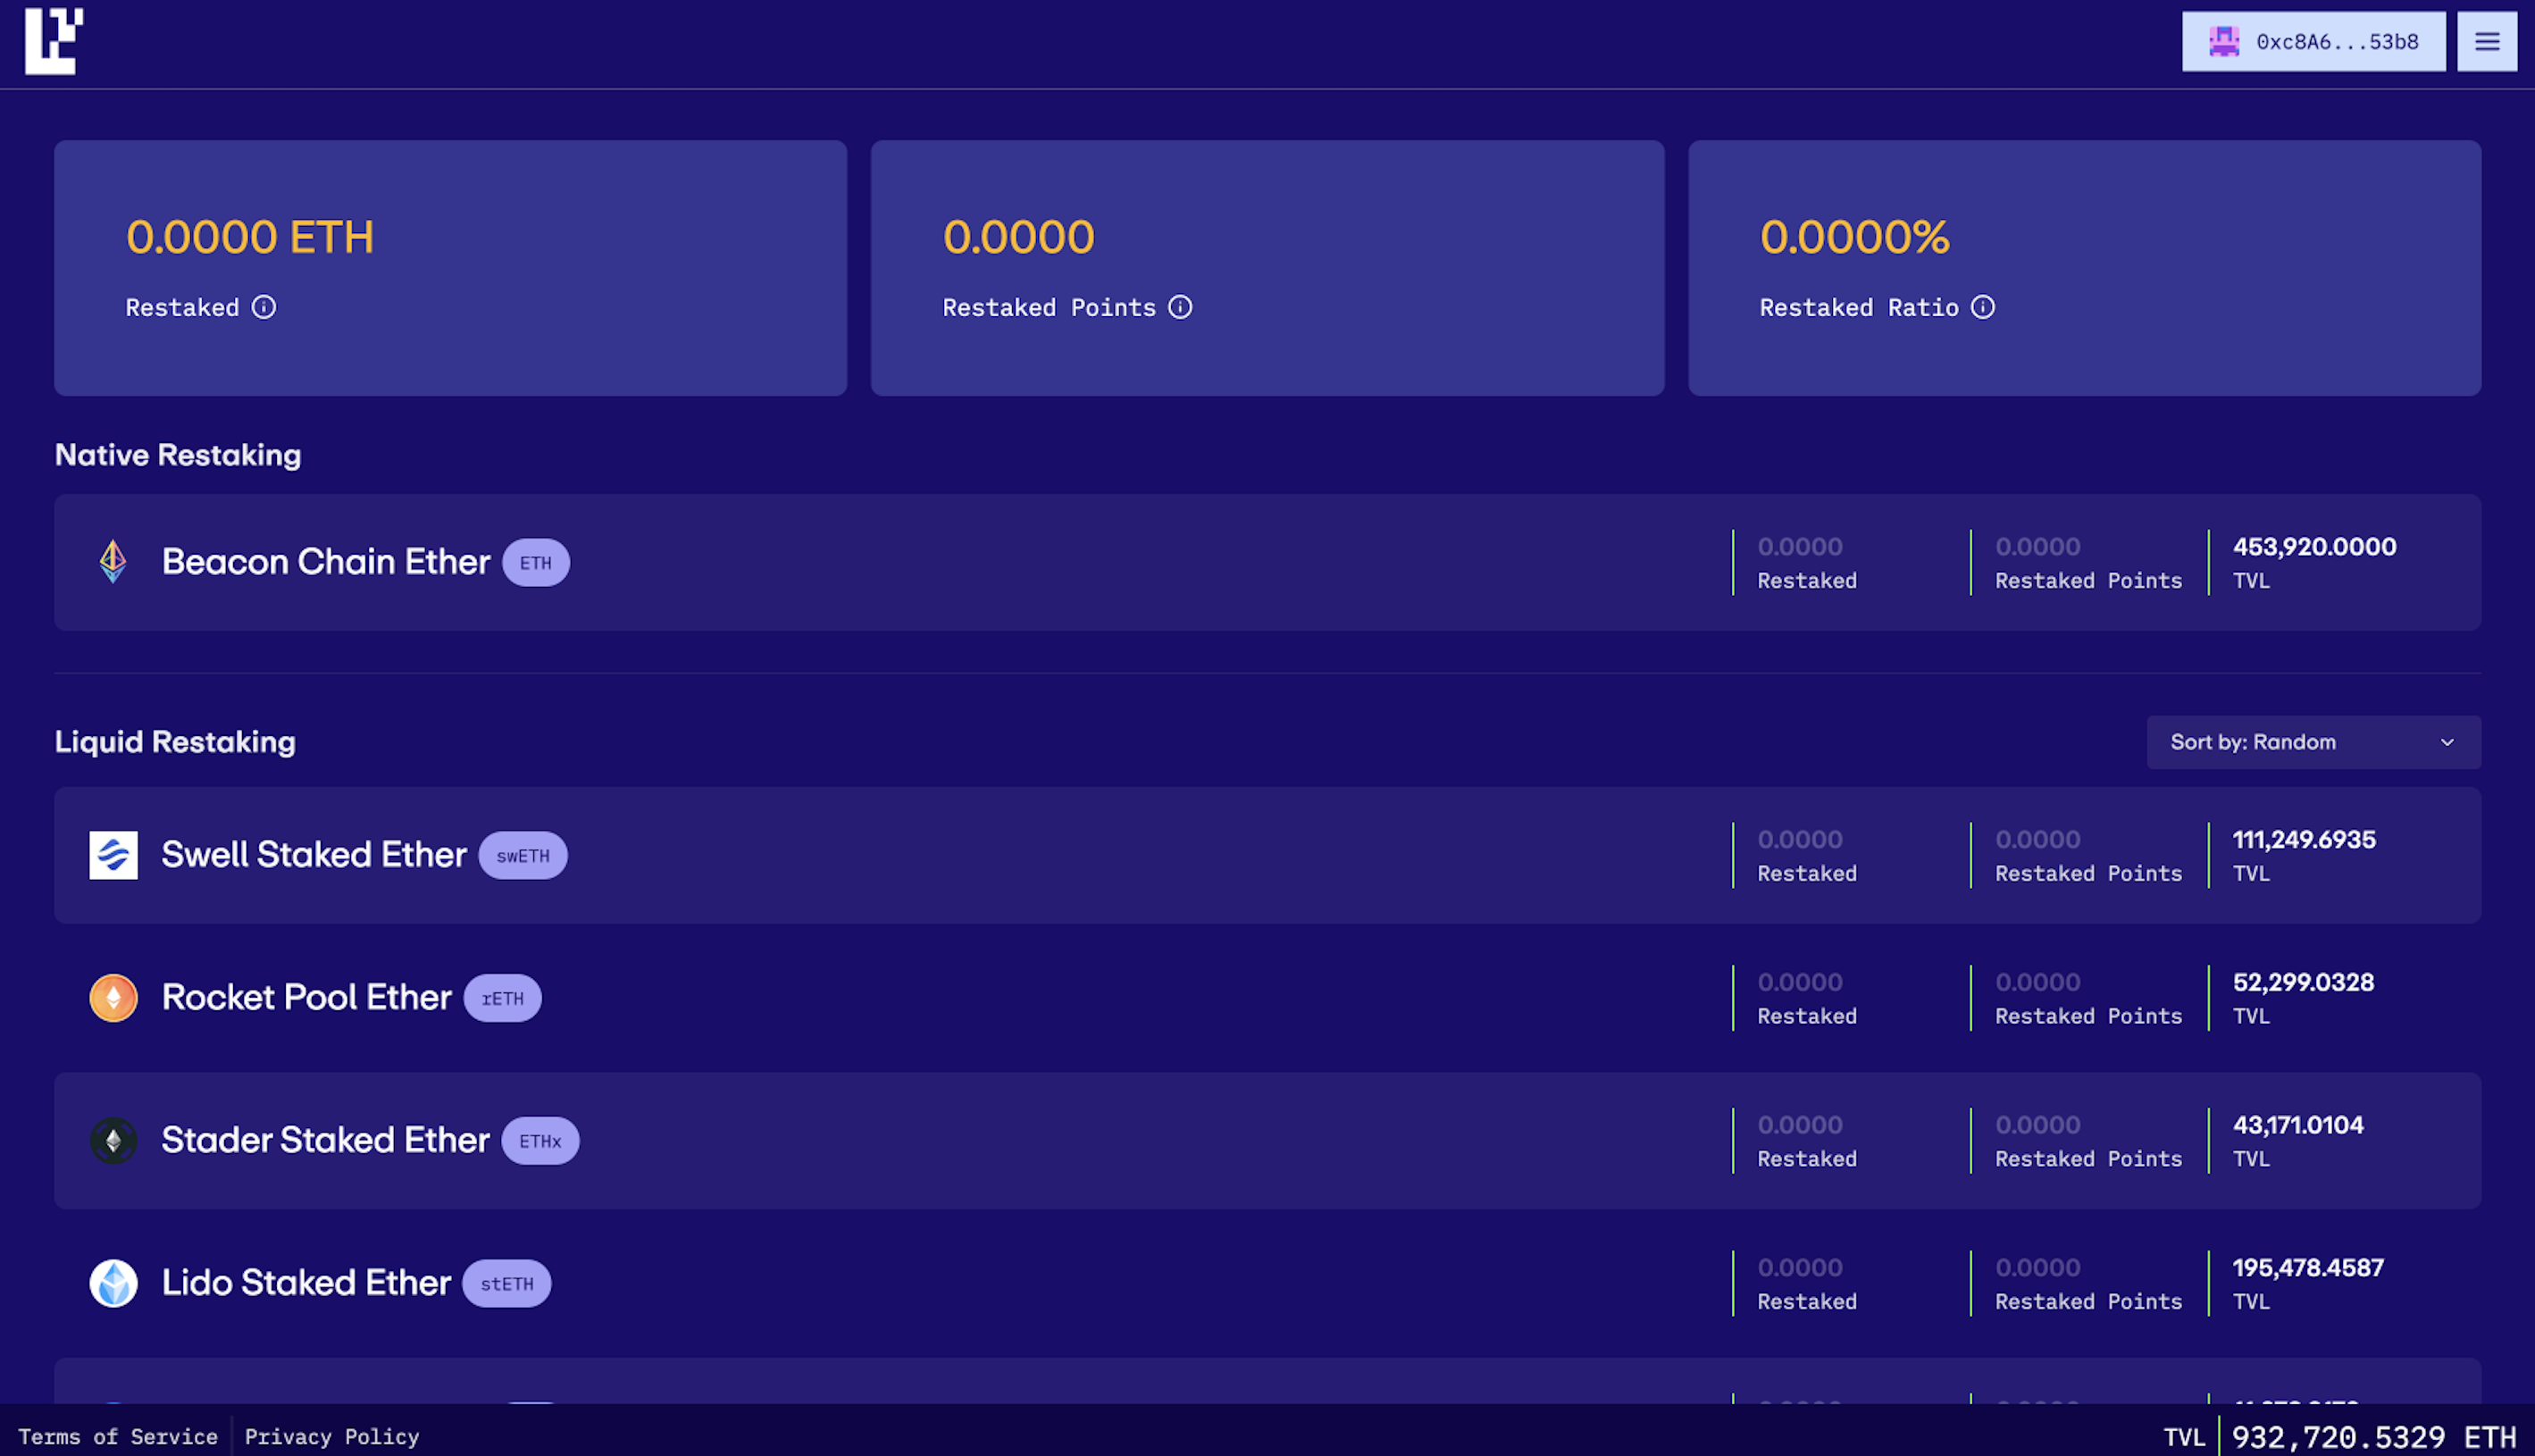
Next, your wallet extension will ask for your authorization via a signature request pop-up. Click “sign” to confirm and proceed. Once you’ve given your signature, your wallet is successfully connected to EigenLayer.
1.3 Create EigenPod
You could find the option to “Create EigenPod” under Native Restaking, please click on this to proceed.

You will be prompted to click “Sign” in your wallet extension, after the process the EigenPod was successfully created as shown.
1.4 Access the EigenPod Address
Start by clicking on “Beacon Chain Ether” located under the “Native Restaking” section on the EigenLayer Dashboard.
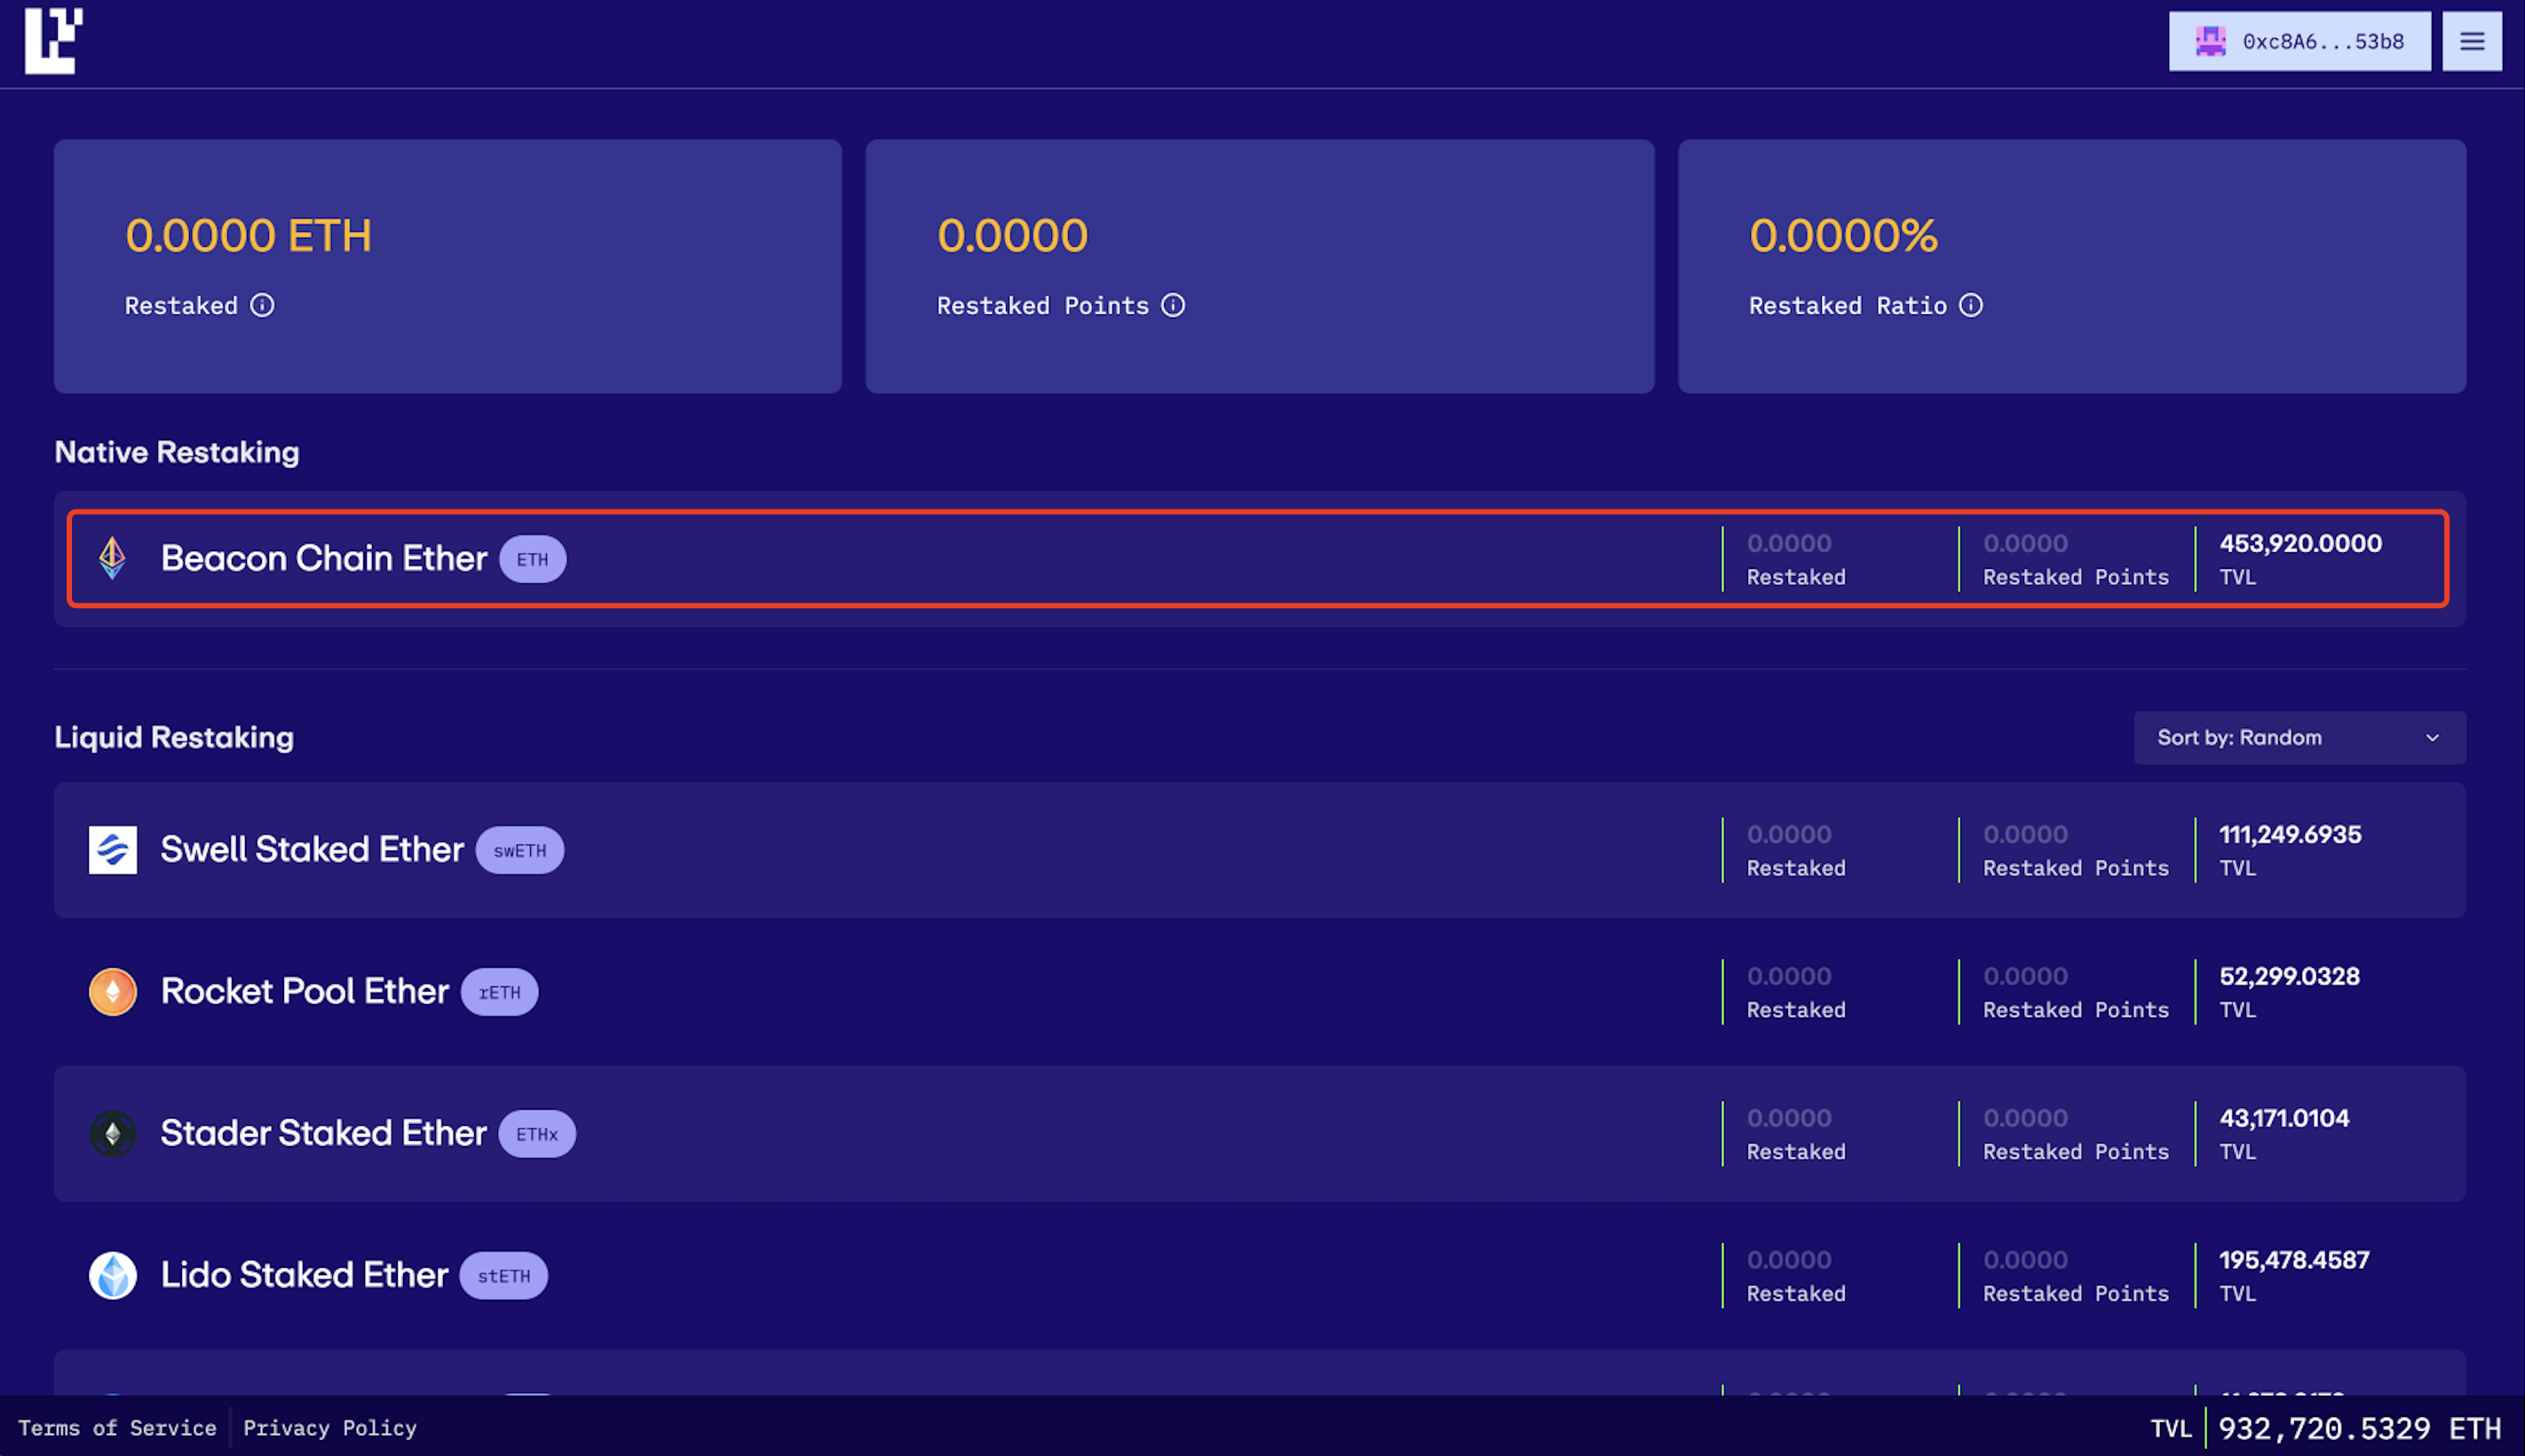
Your EigenPod address will be prominently displayed in the upper right corner of the page. Click “View on Etherscan” on the website to copy your EigenPod address. Ensure you keep this address secure and accessible, as it will be instrumental in upcoming steps of the restaking process.

2 Restake with InfStones
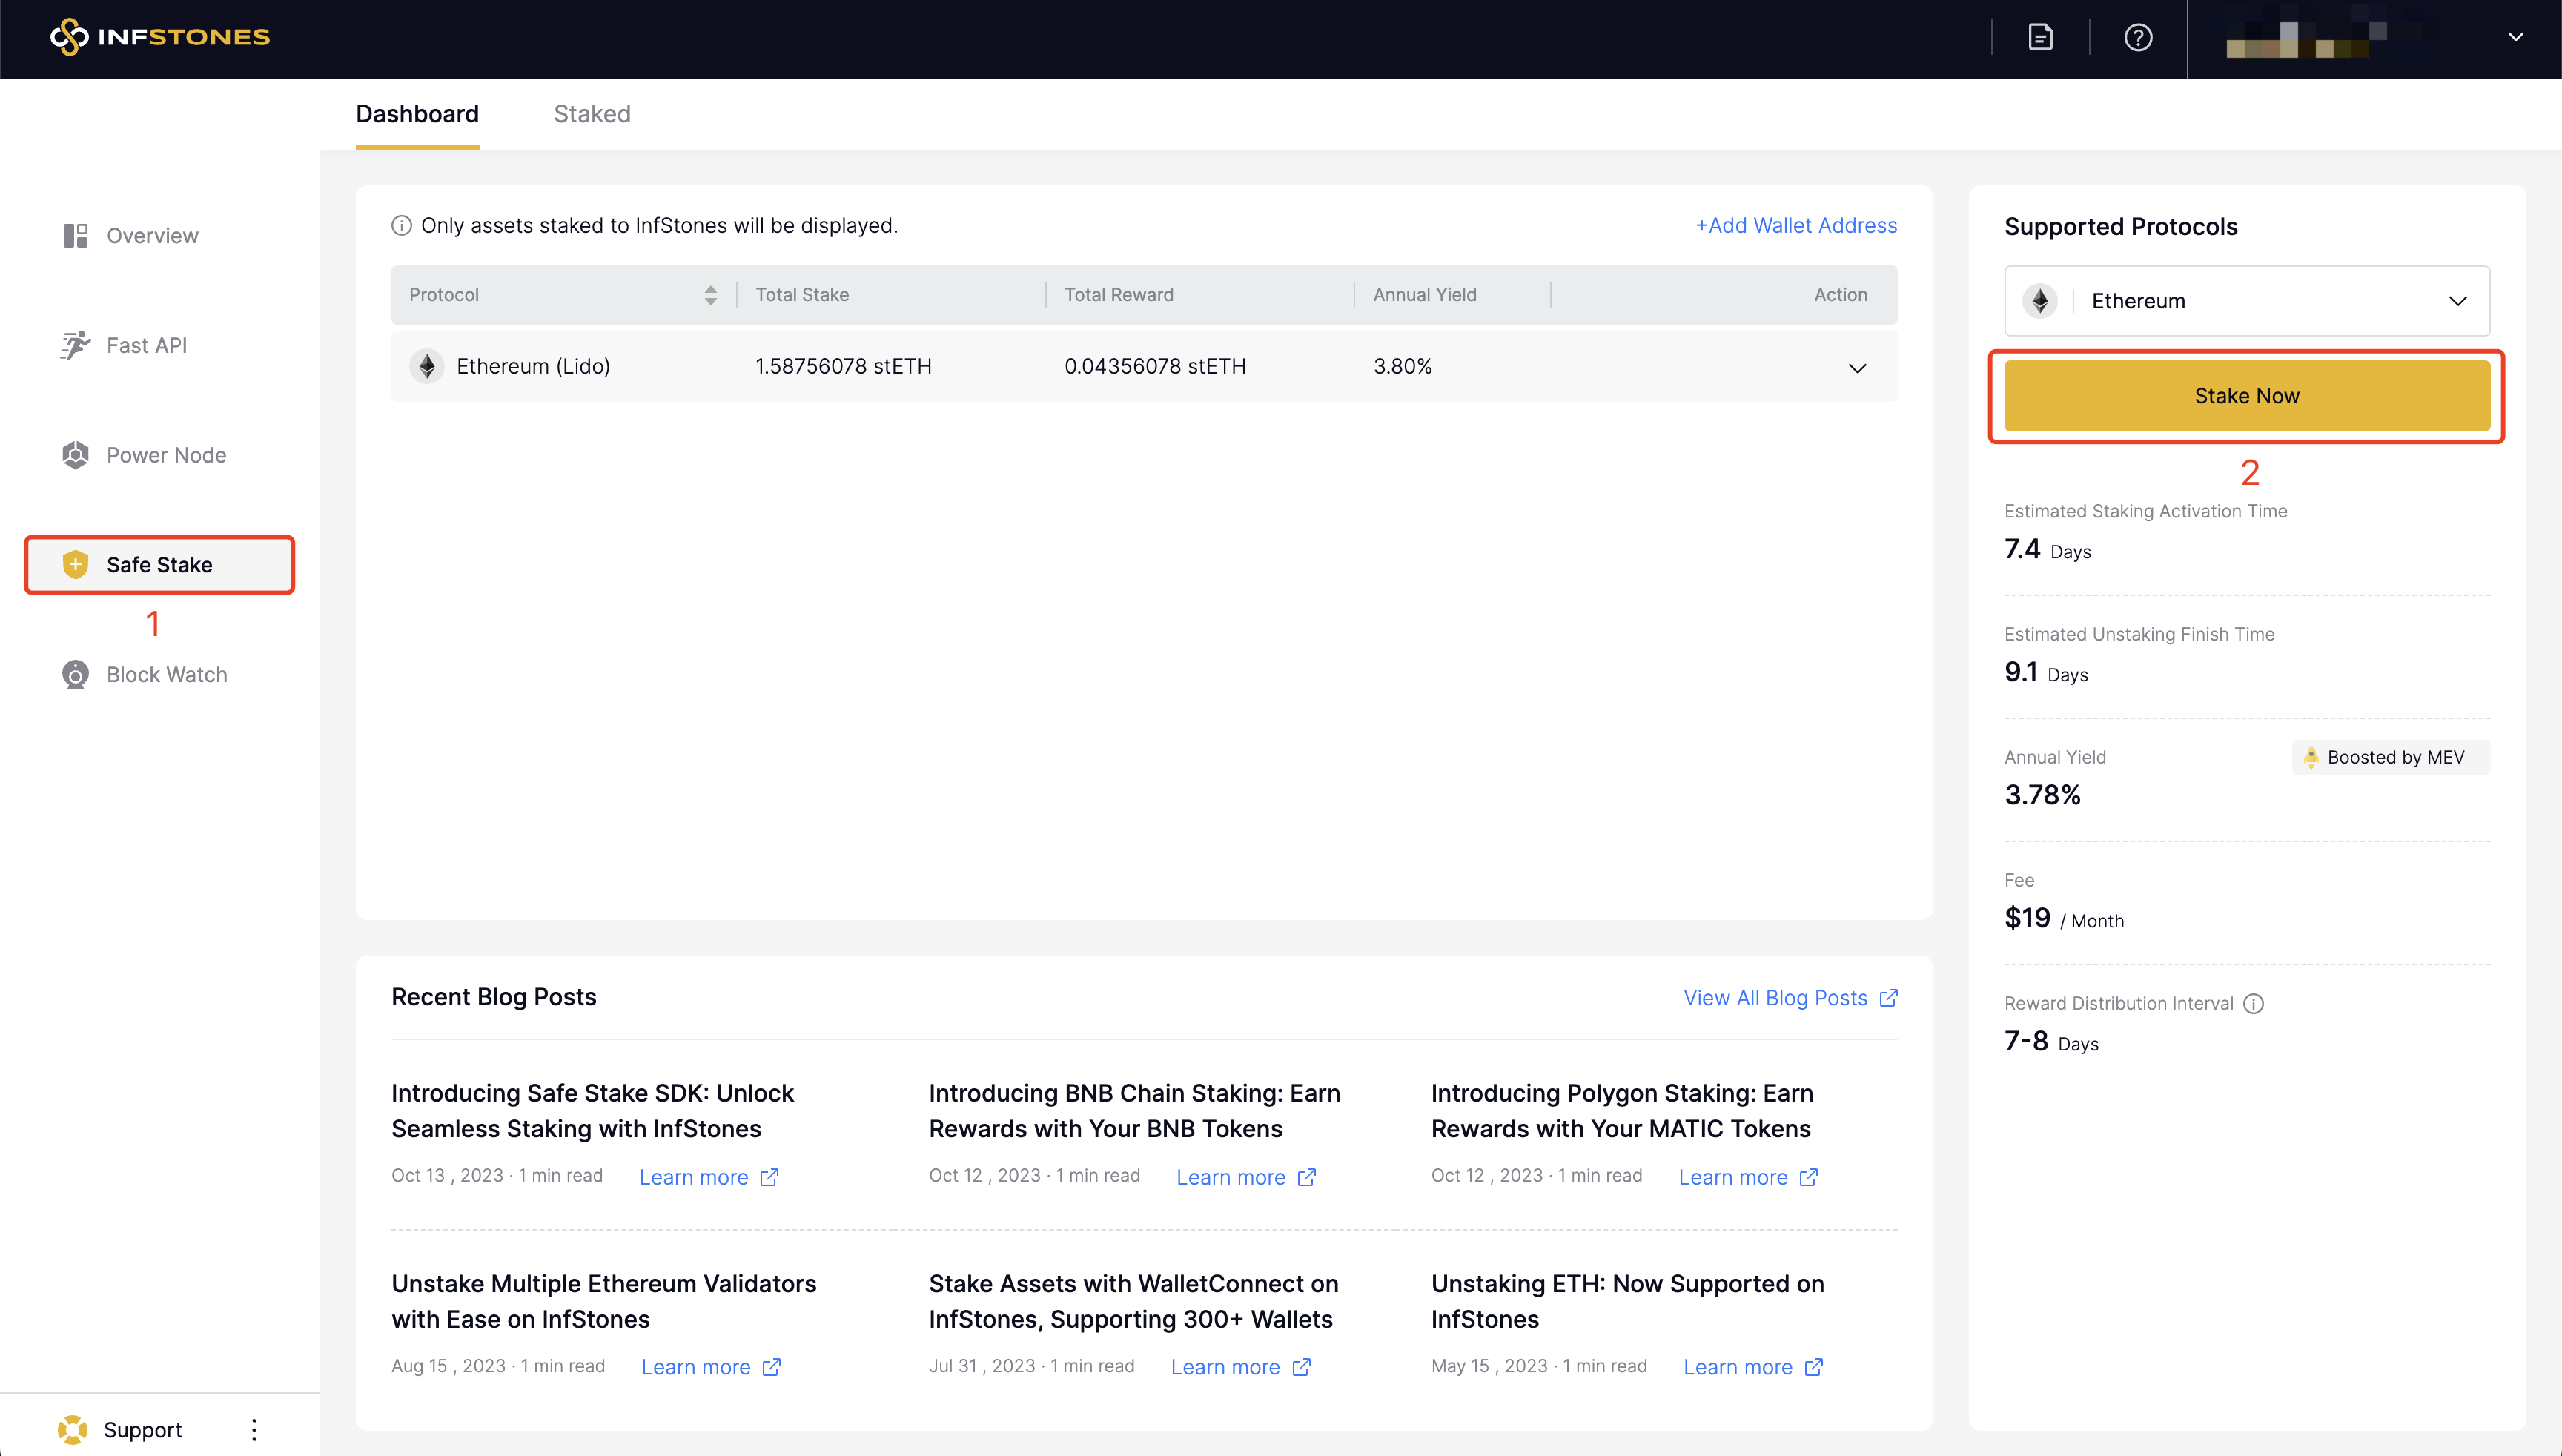
2.1 Navigate to InfStones Safe Stake
First, access your InfStones dashboard and locate the Safe Stake section. Here, select Ethereum as your protocol of choice and then click on the “Stake Now” button.
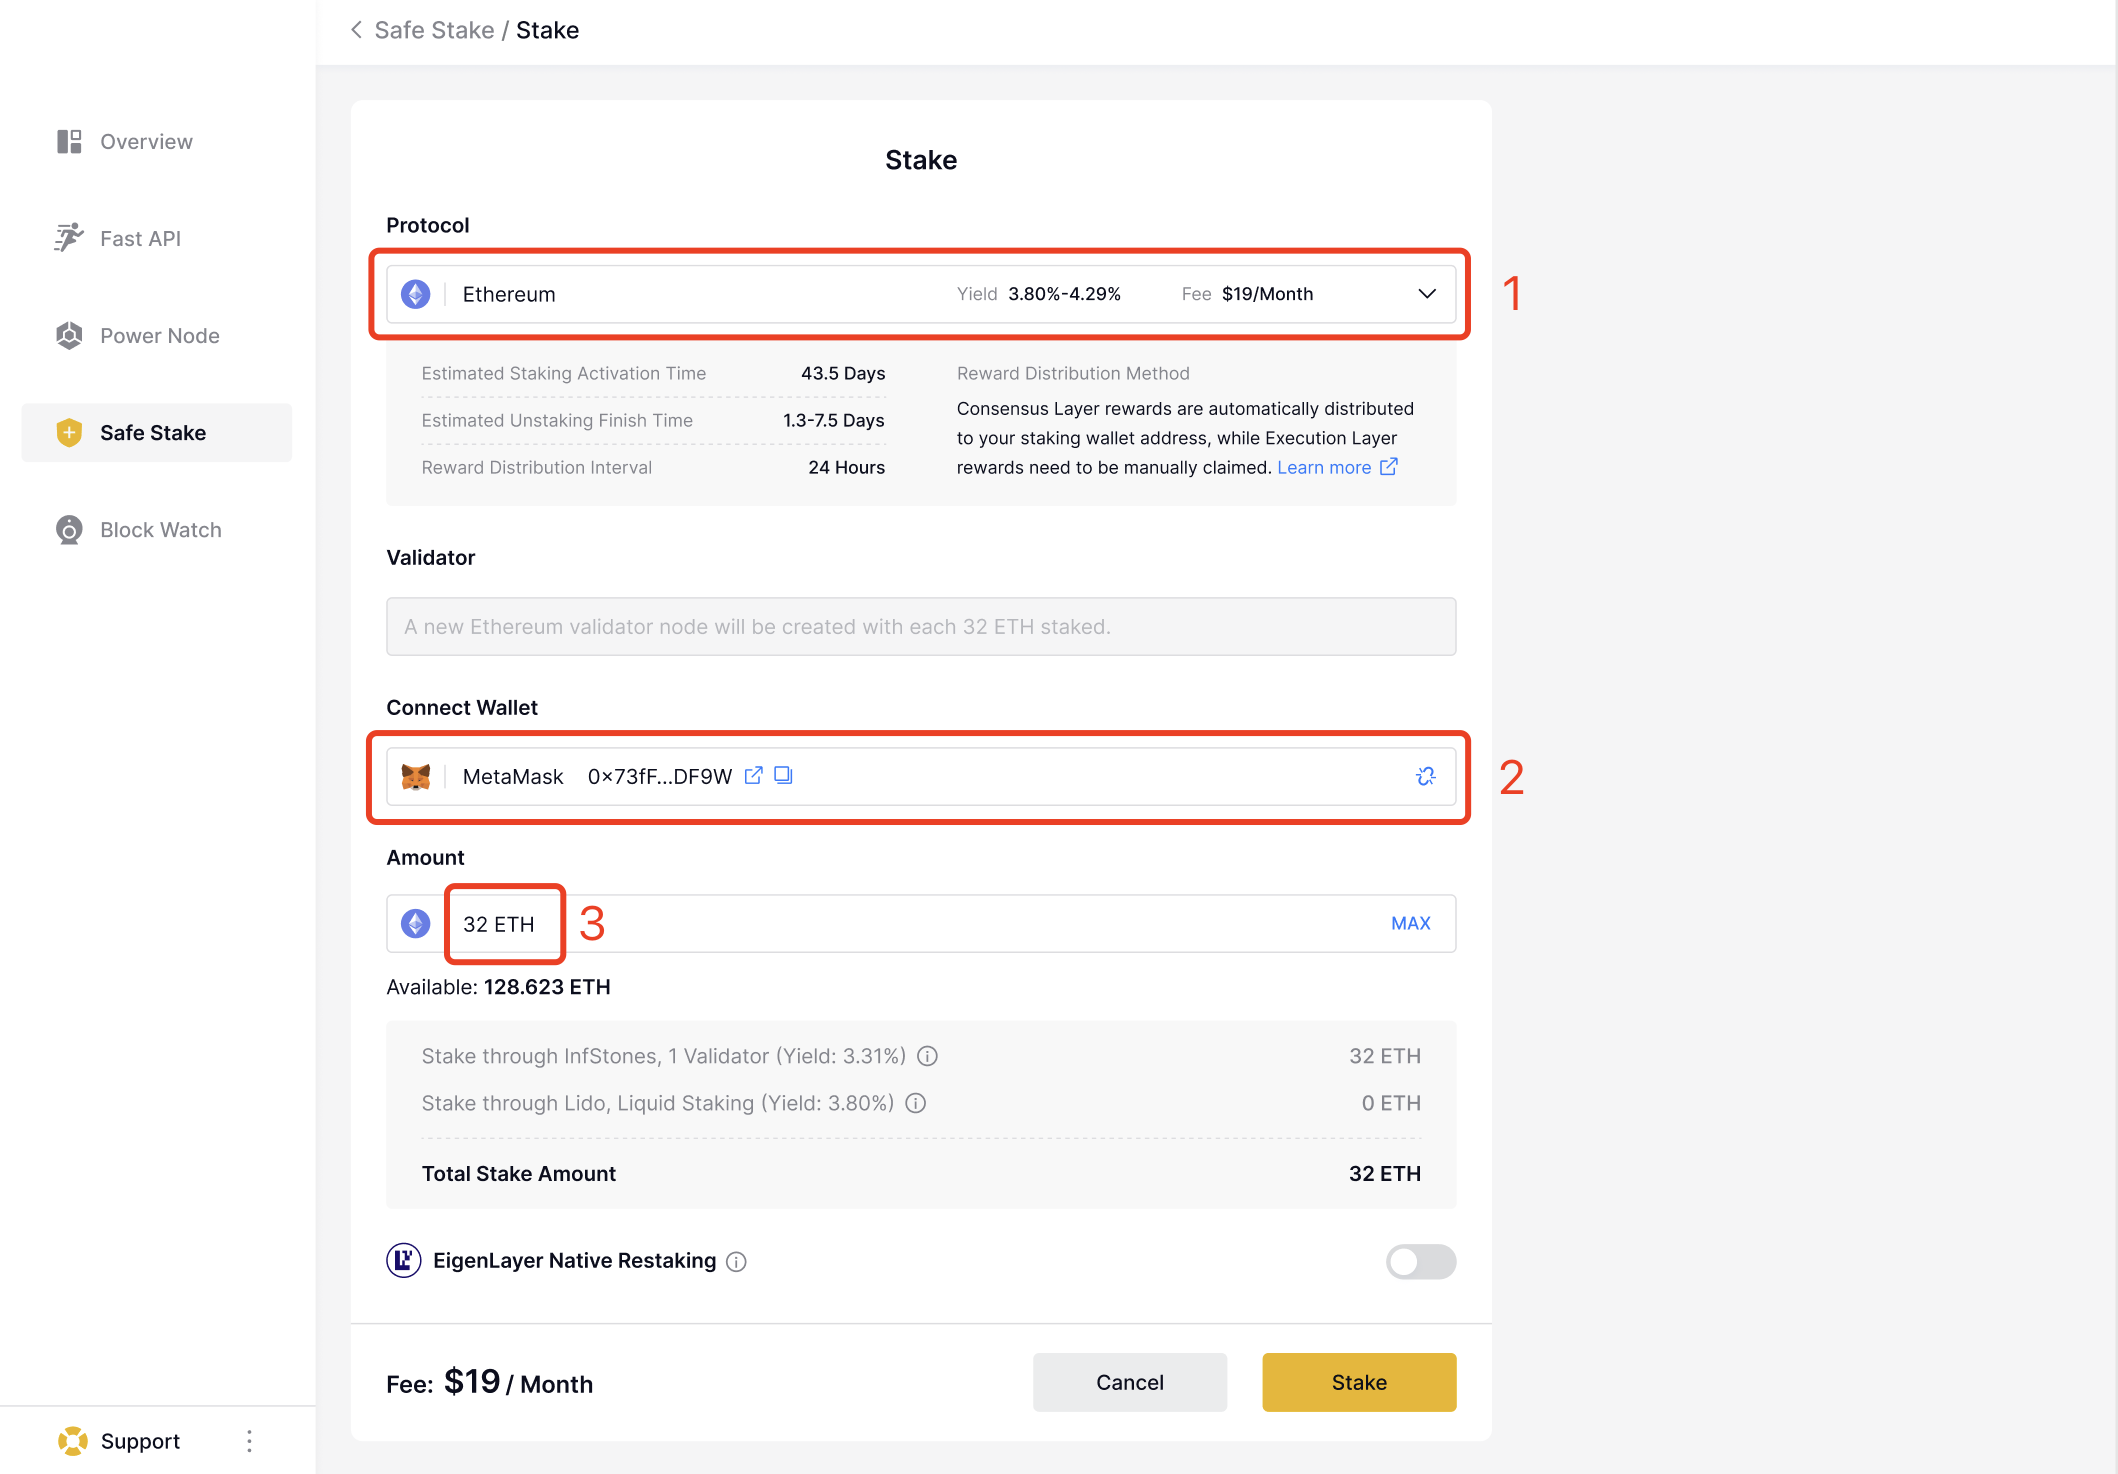
2.2 Connect Wallet
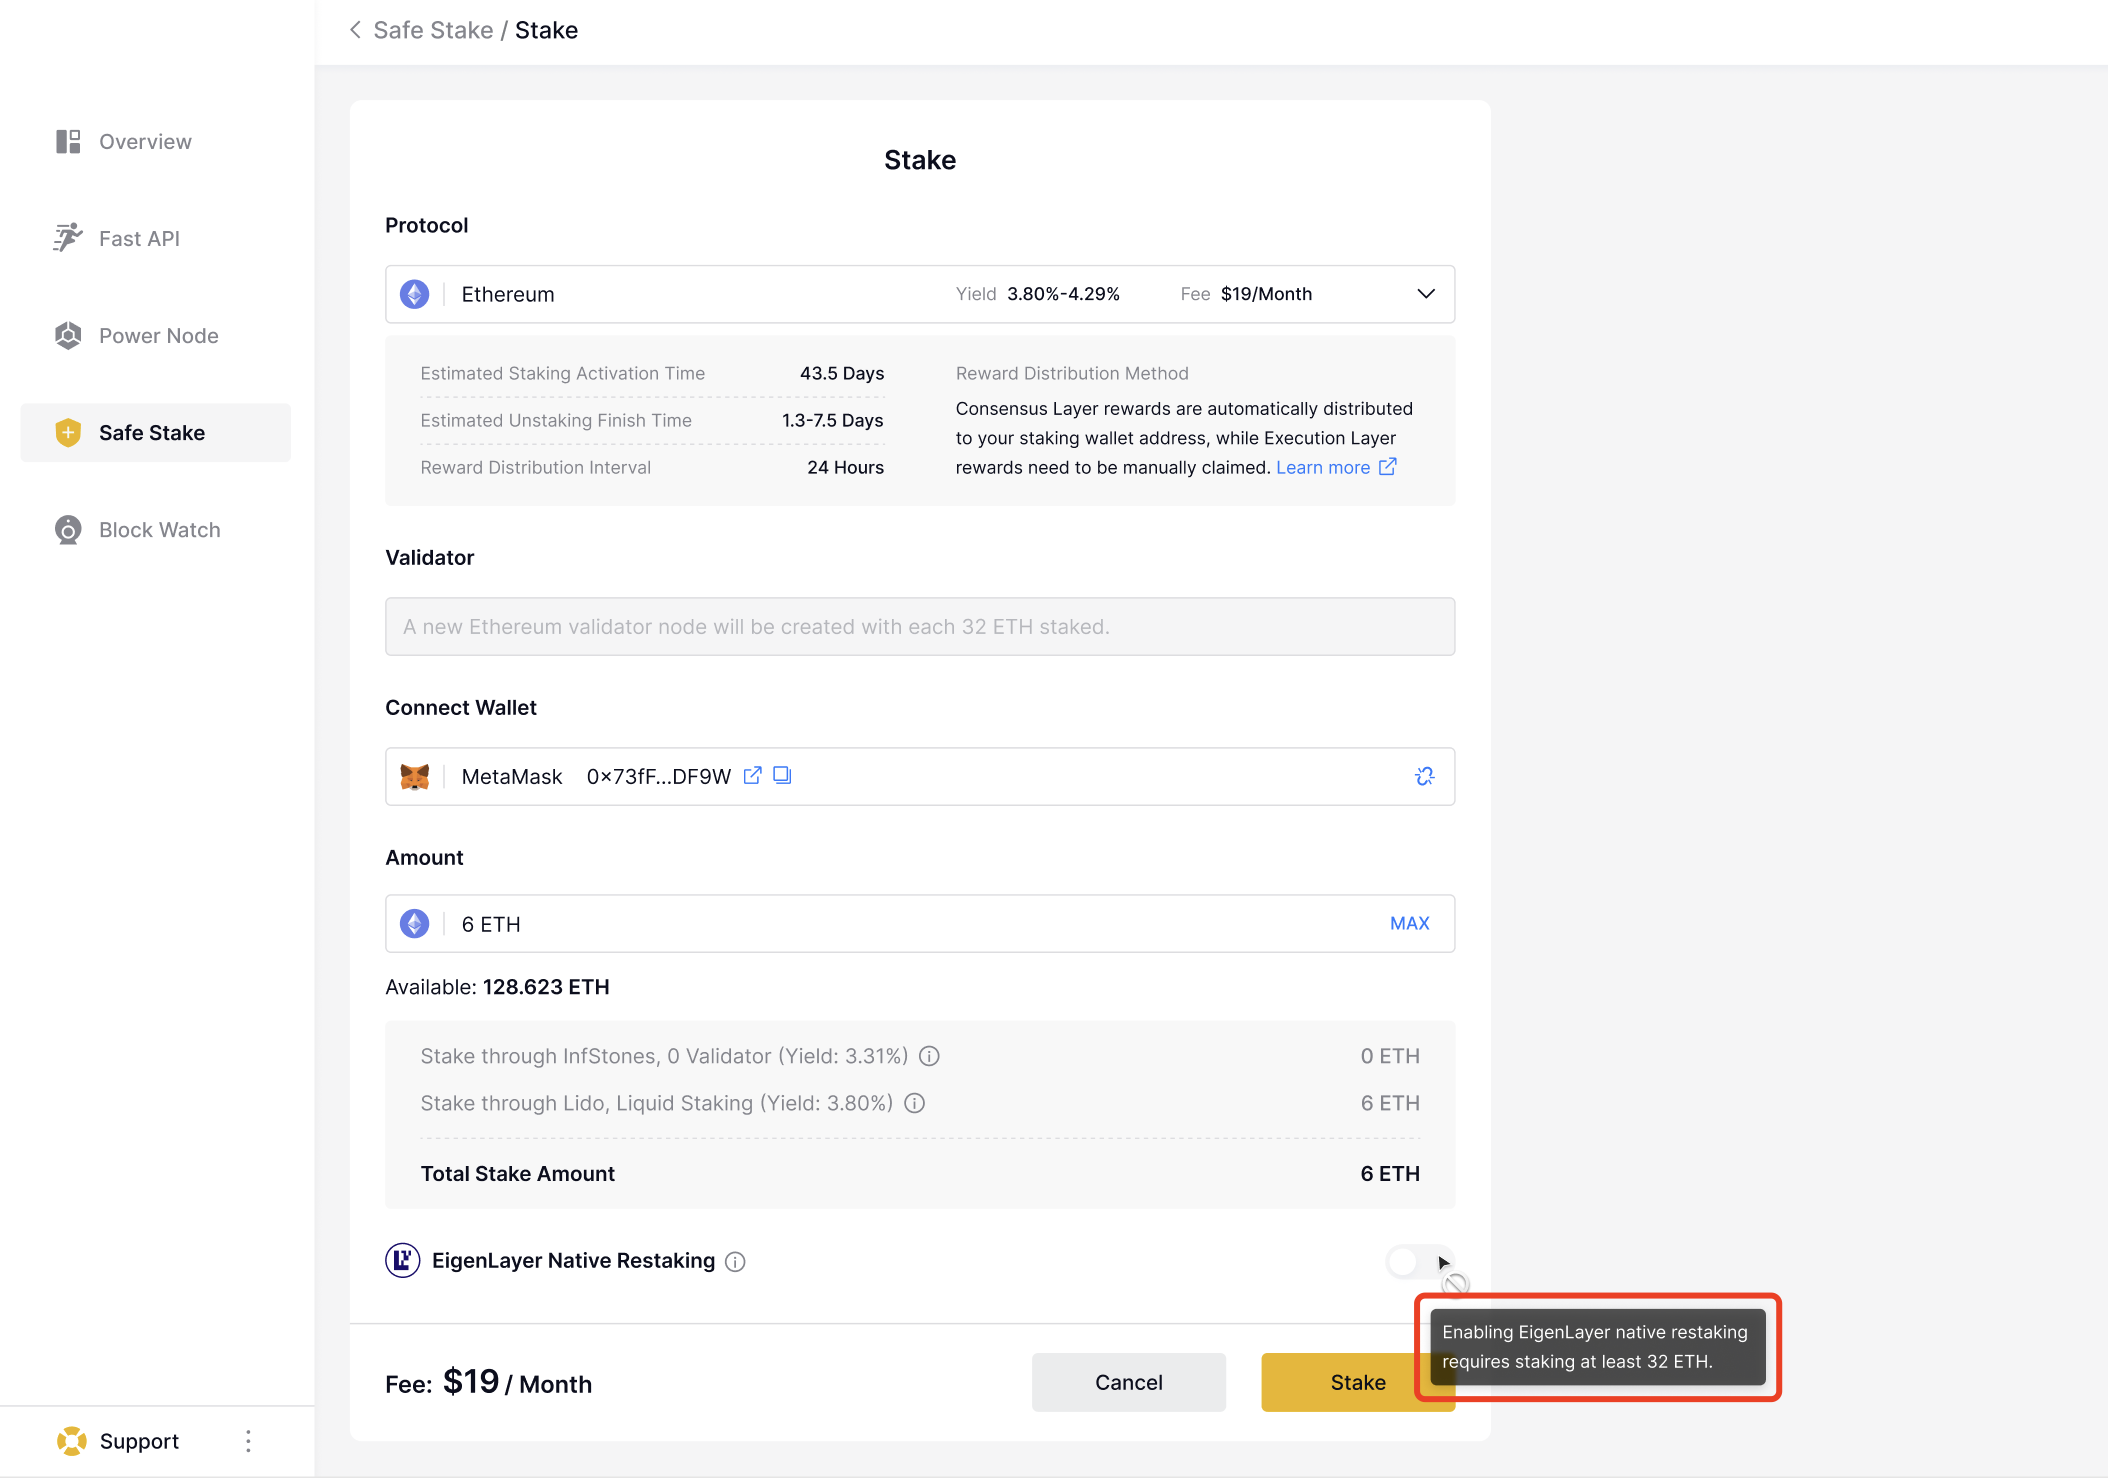
Please confirm the Protocol you need to stake as shown in the picture. The next essential step is to connect your wallet. Choose your preferred wallet option and follow the prompts to securely connect it. Once your wallet is connected, you will be required to enter the amount of ETH you wish to stake.
2.3 Enable EigenLayer Native Restaking
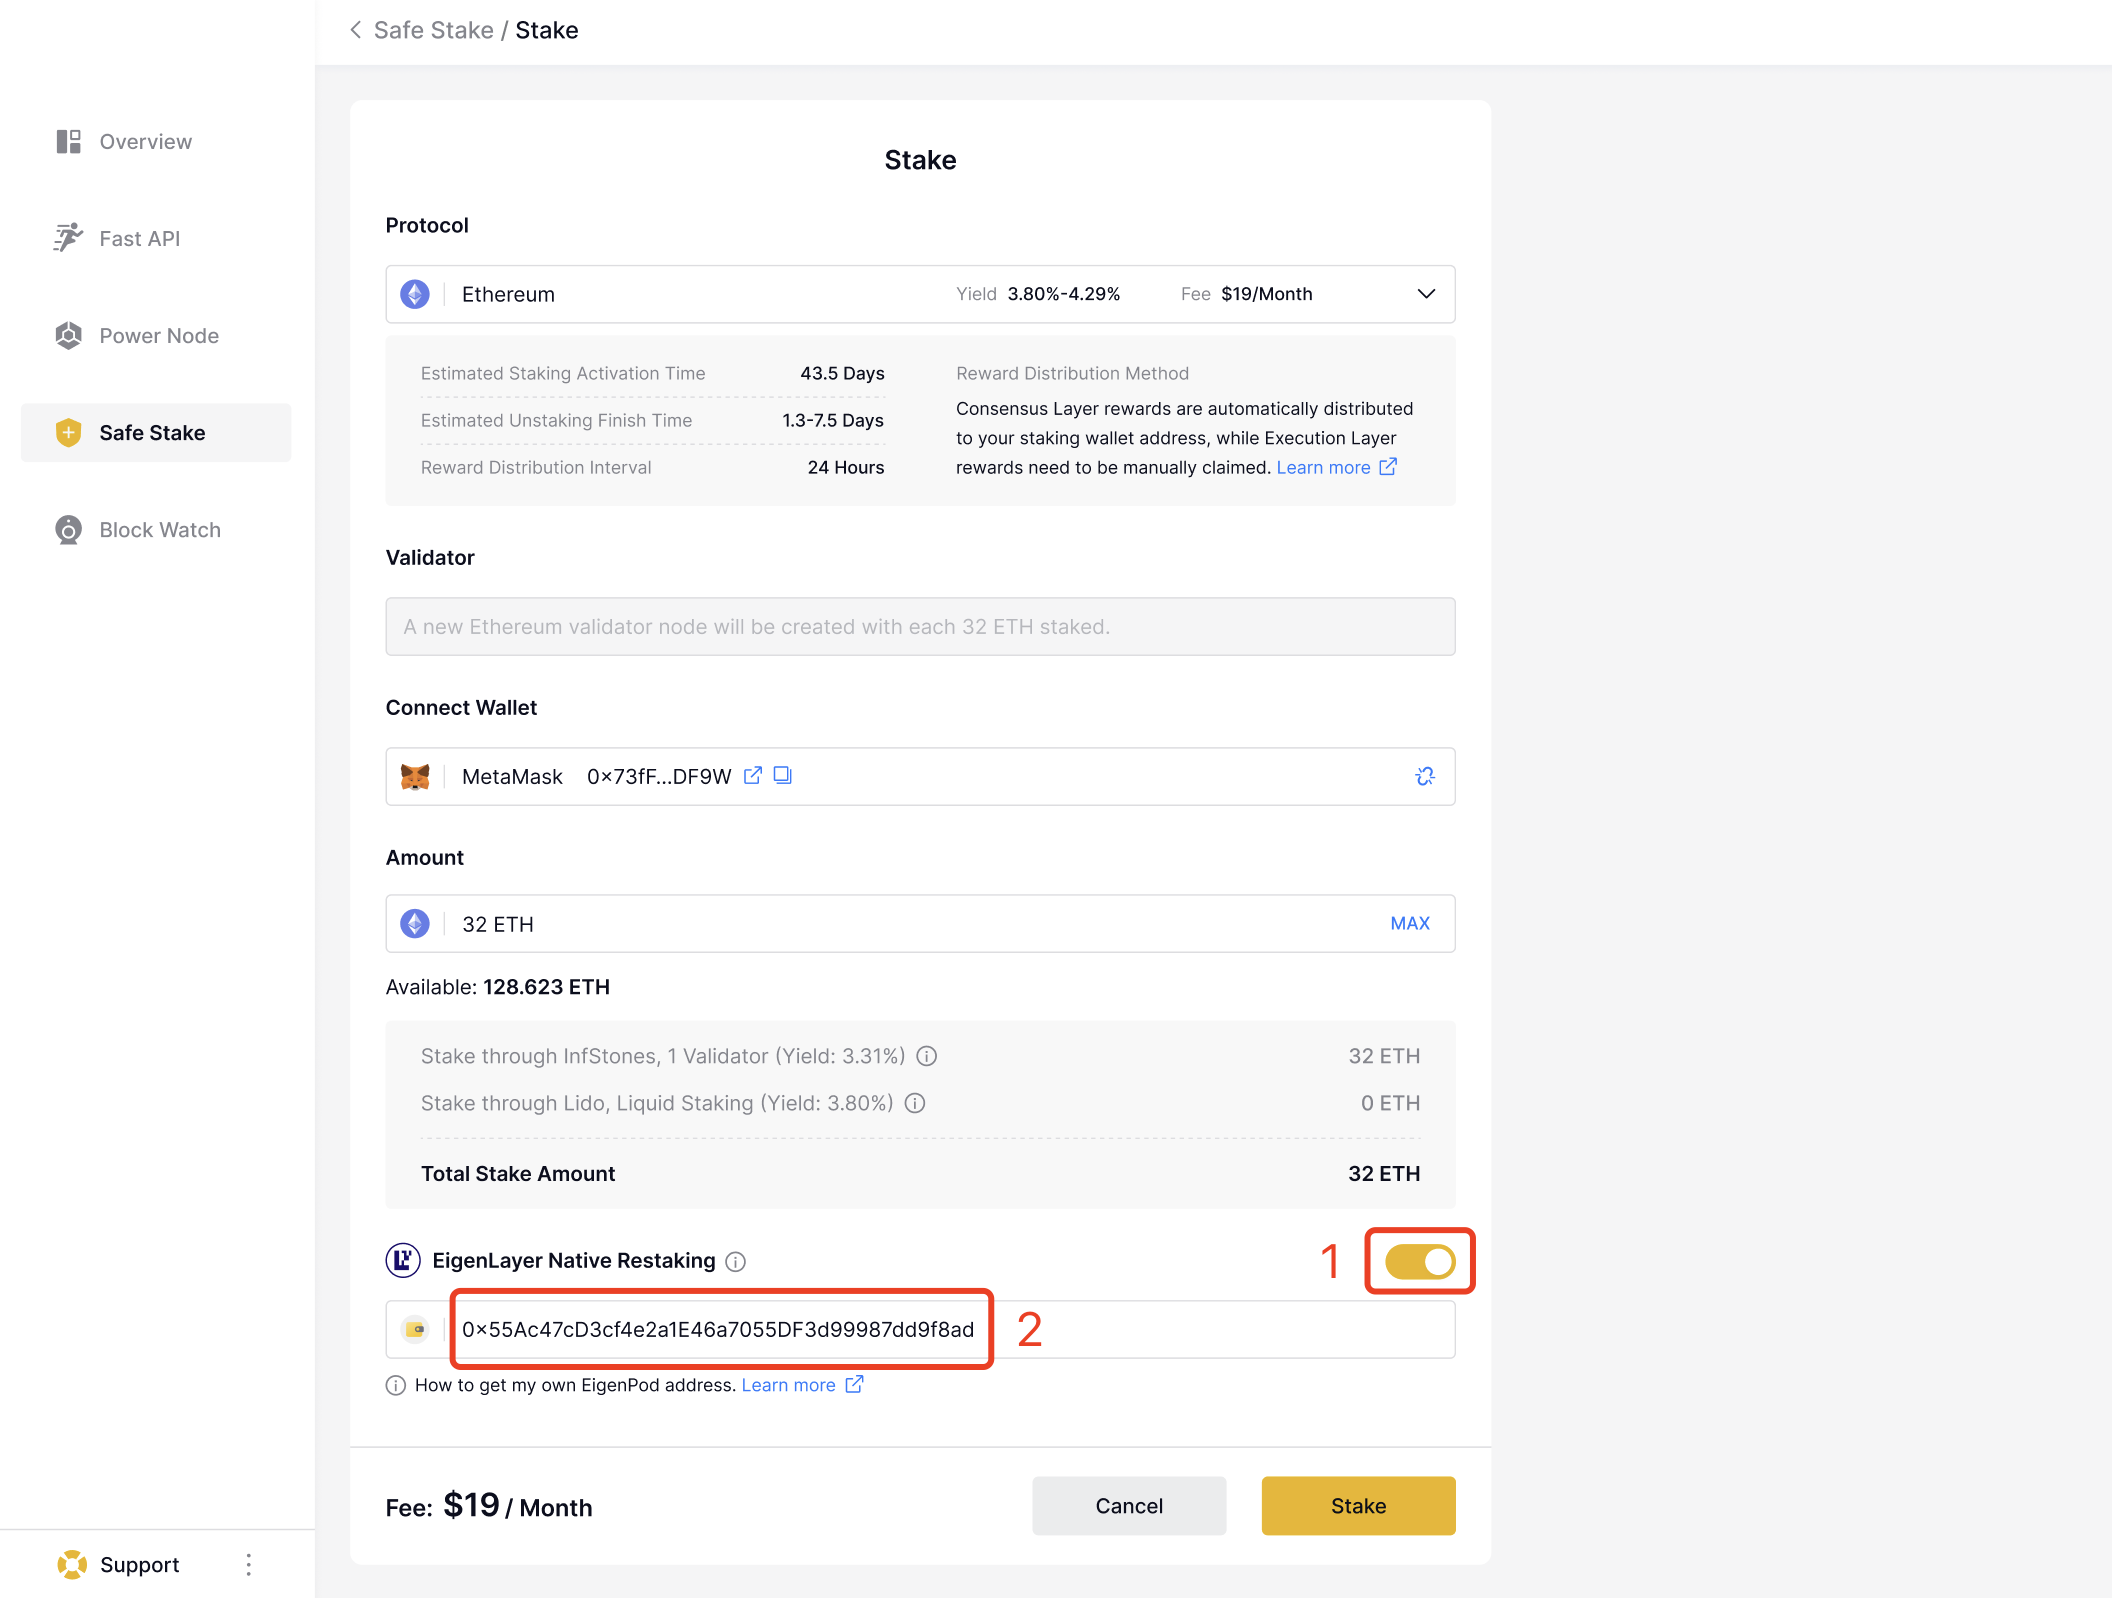
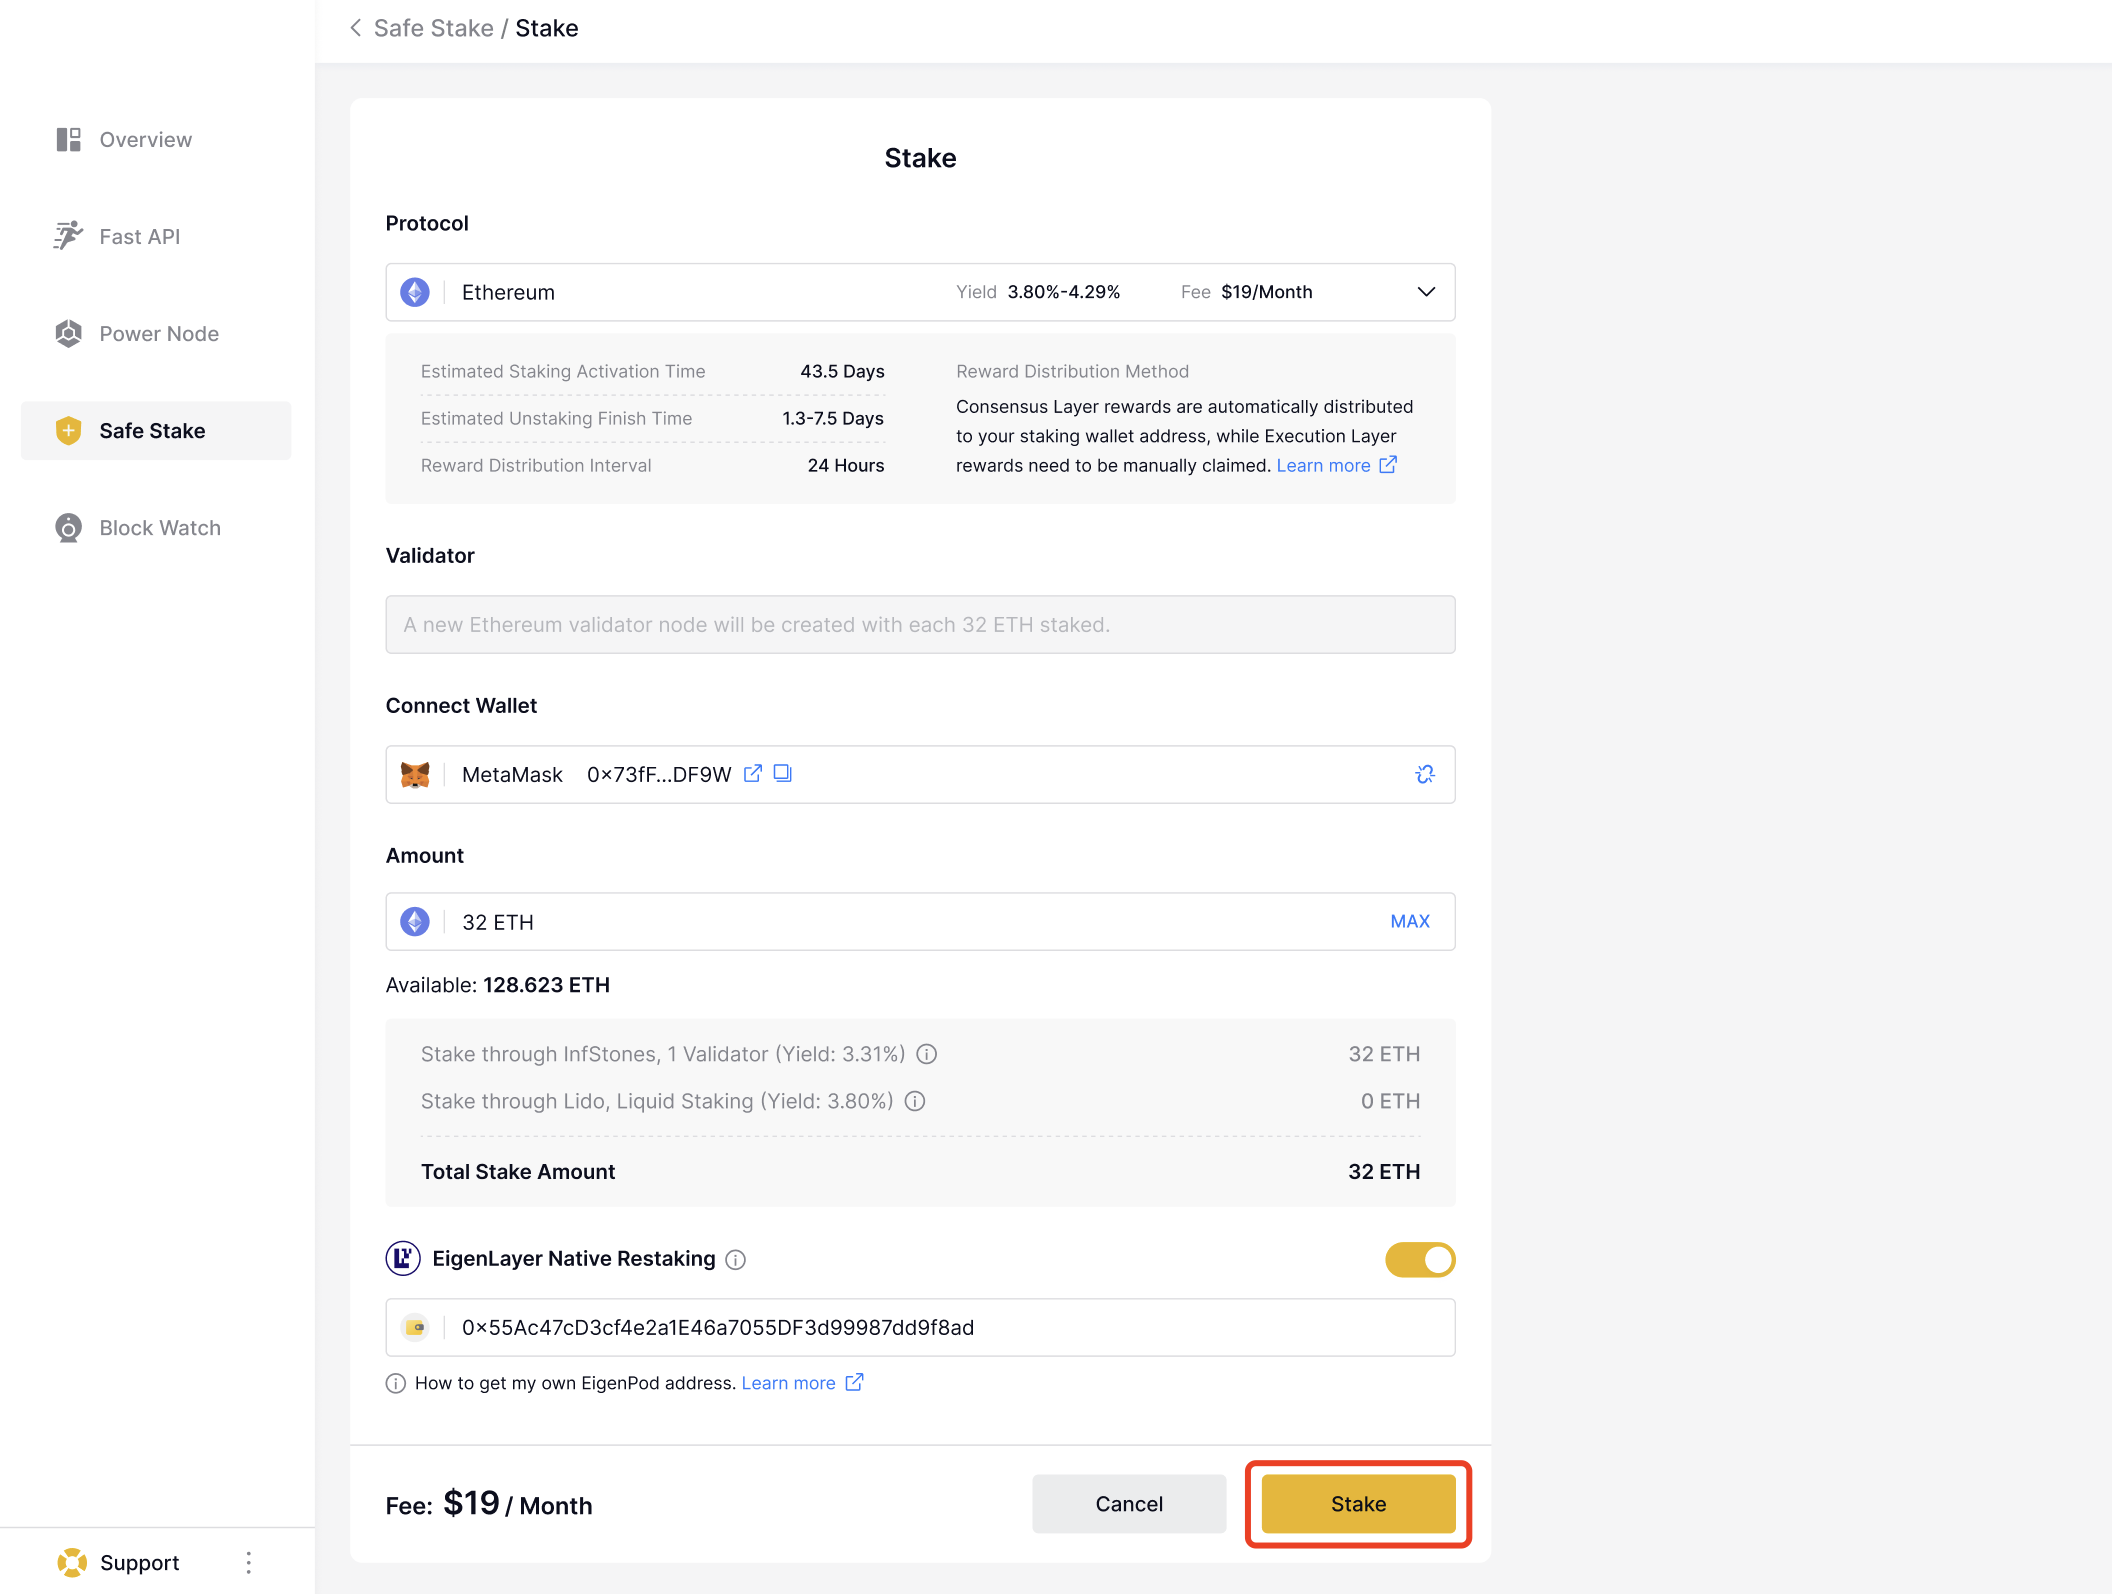
Now you can look for the option to enable EigenLayer Native Restaking within the interface. Click this button and paste the EigenPod address you copied in STEP 4.
Before proceeding, please ensure that your stake amount meets the minimum requirement of 32 ETH, as set by EigenLayer for Native Restaking.
2.4 Finalize Your Restake
With all details confirmed and your stake amount meeting the requirements, you can now click the “Stake” button. This action initiates the process of restaking your ETH on EigenLayer through InfStones.
3 Check EigenLayer Points
3.1 Check the Validator Amount on EigenLayer
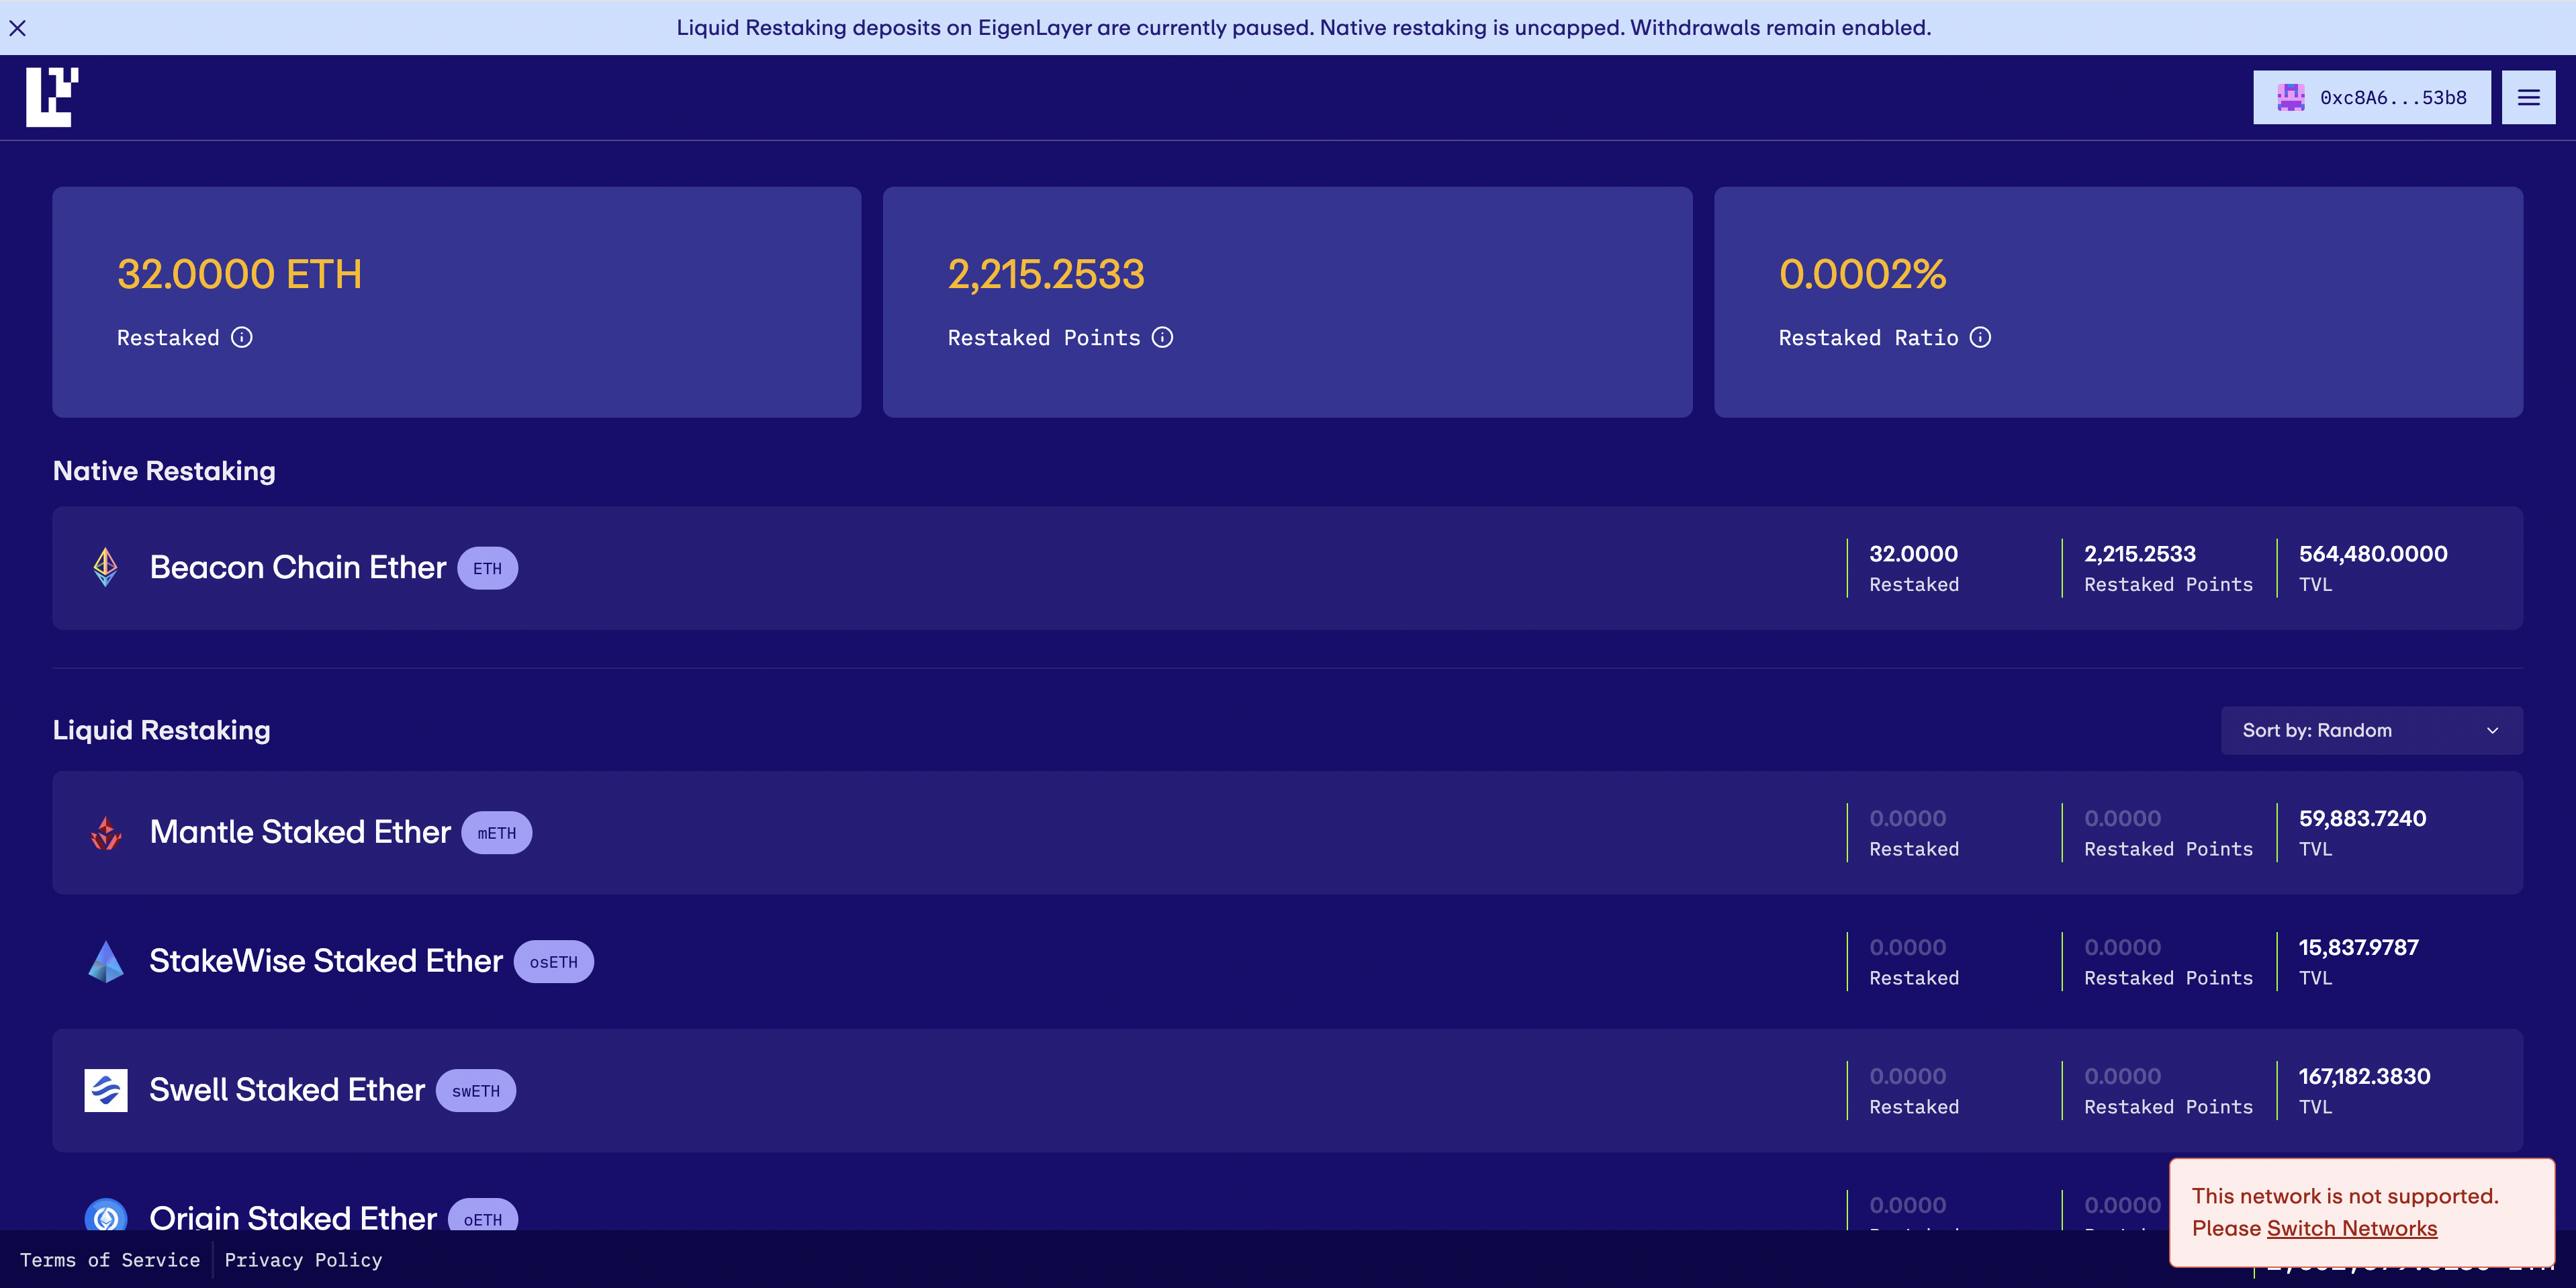
Finally, you could navigate to your EigenPod dashboard on the EigenLayer app and check if the number of restaked validators matches to ensure you have successfully restaked.

3.2 Check EigenLayer Restaked Points
You can check your Restaked Points at any time by navigating to your EigenPod dashboard on the EigenLayer app.
Updated about 2 months ago