Stake ONT
This simiple guide provides a step-by-step walkthrough on how to stake ONT on Ontology and earn staking rewards with InfStones while securing the Ontology network.
1 Stake ONT
1.1 Install OWallet
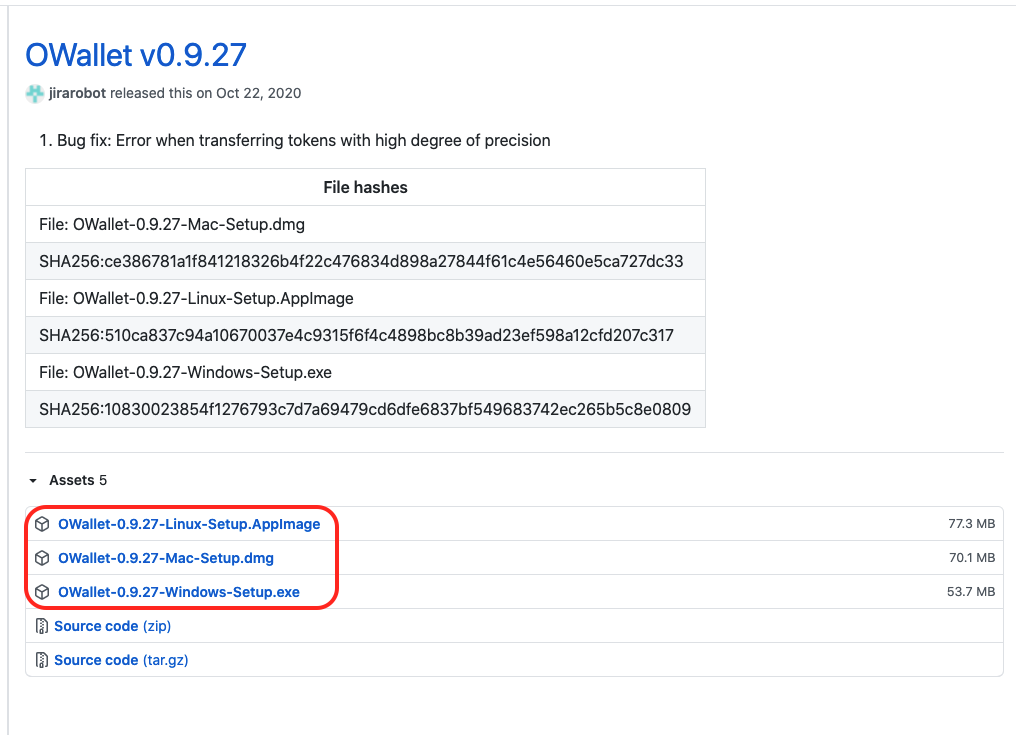
Navigate to this link and choose a proper version that suits your operating system:

Open up the file you just downloaded and follow the prompts to finish the installation.
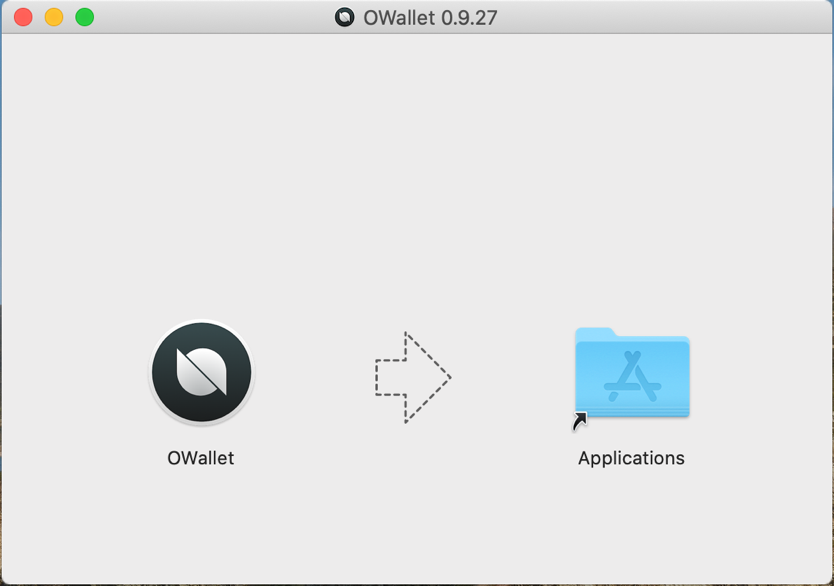
Open up the file you just downloaded and follow the prompts to finish the installation.
1.2 Create or Import Wallet
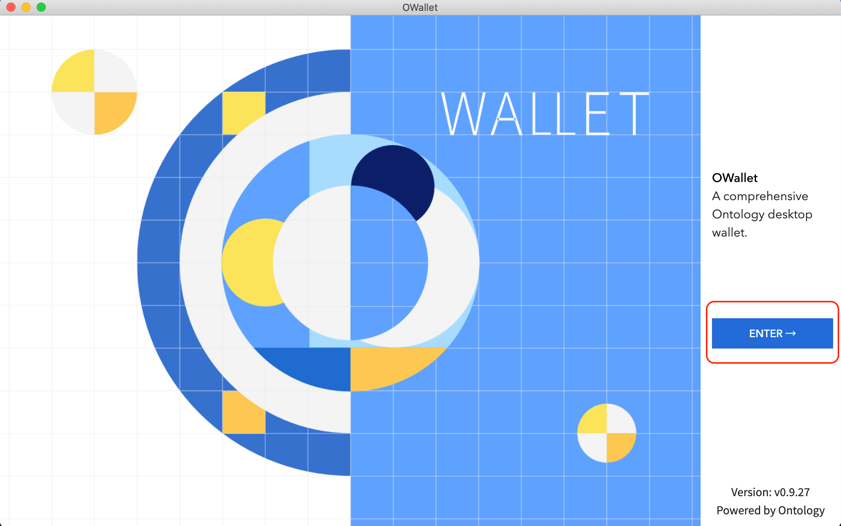
For users who are familiar with this process, you may skip to Step 3 instead. Open the OWallet application and click on “ENTER” to continue.
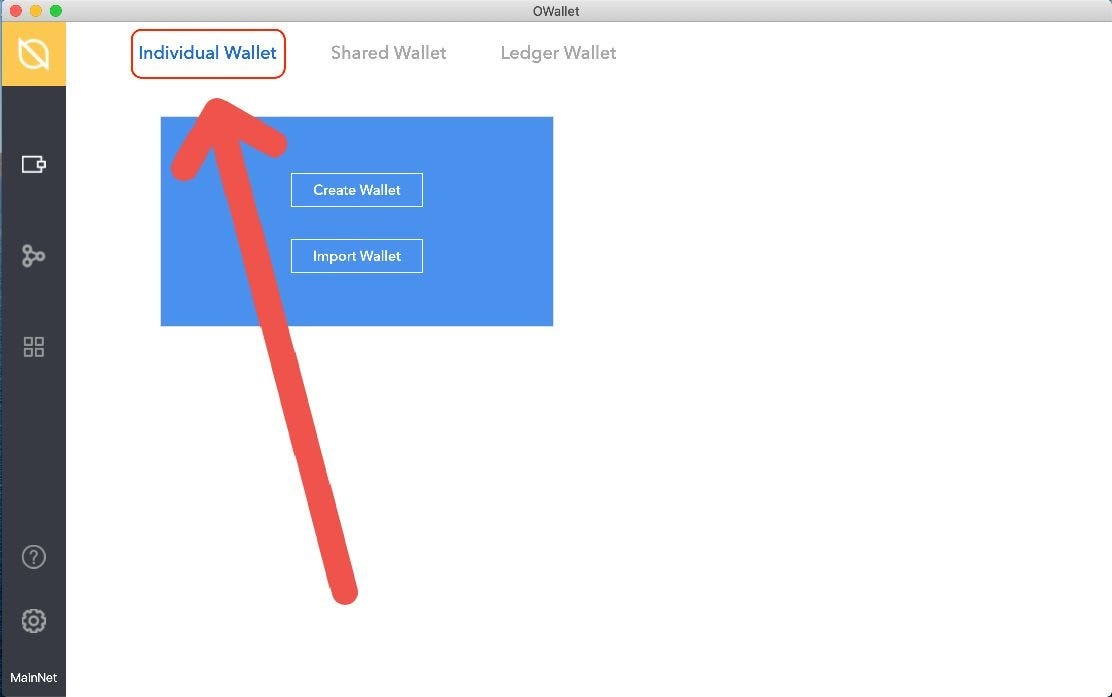
The wallet will ask you to choose a file path to store your encrypted private keys.

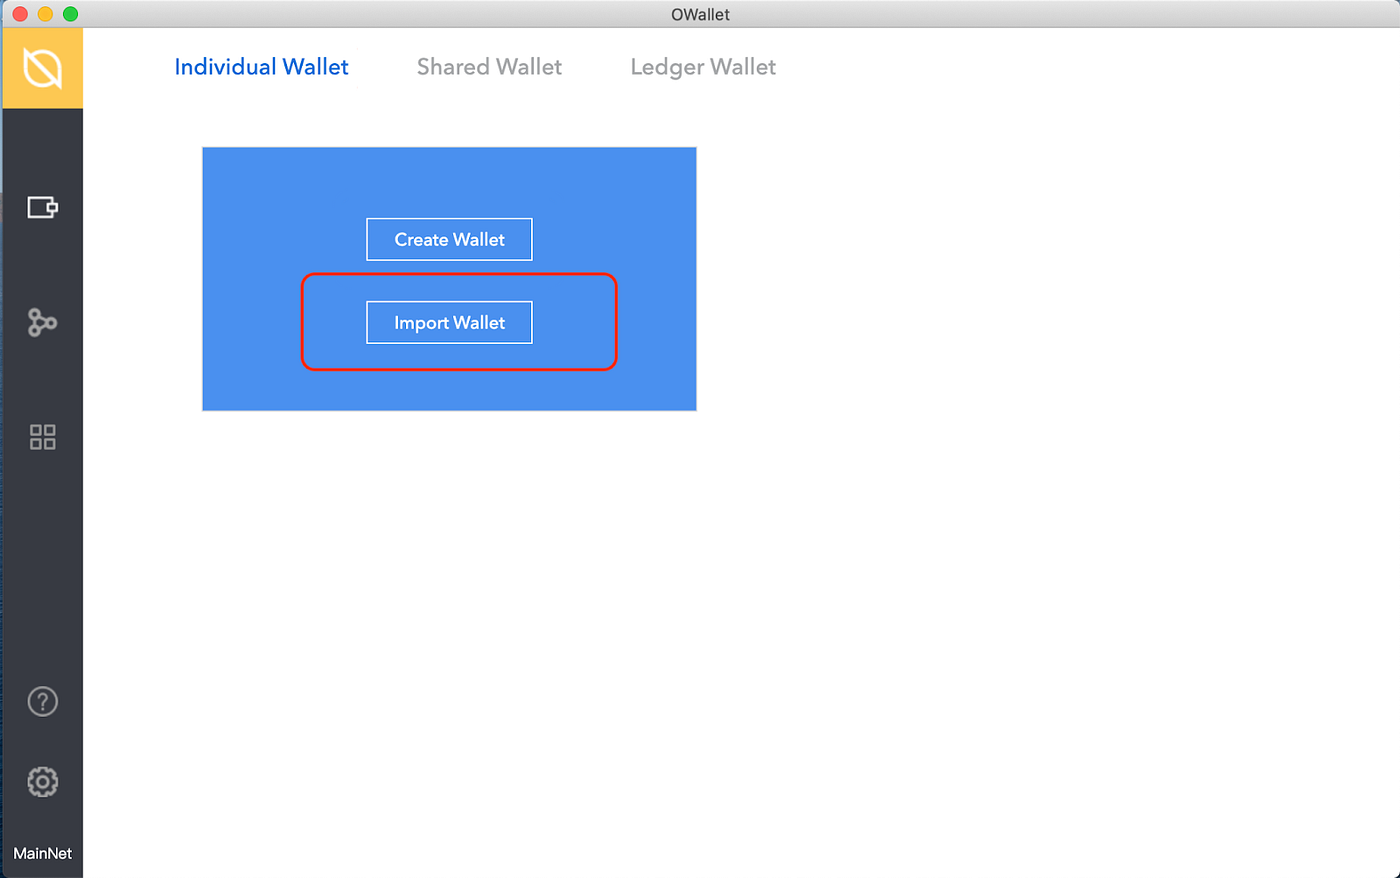
Choose the table named “Individual Wallet” and move the cursor to the blue area. Create or import a wallet as you like.
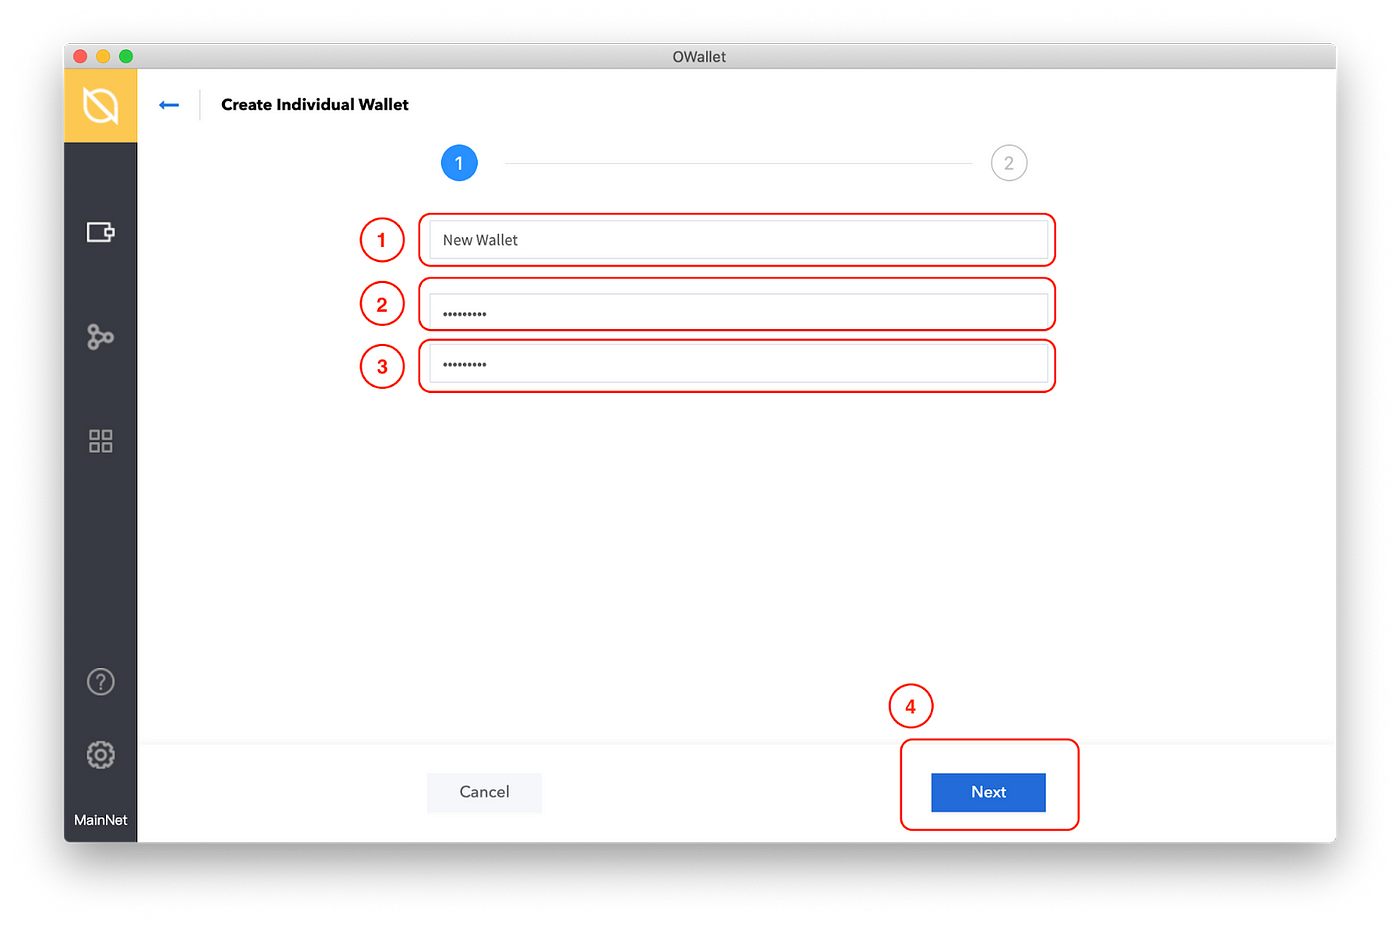
To create a wallet, click on “Create Wallet” to start, fill in specific information, set a name for the wallet in red square 1, set your password for this wallet in red square 2, and type in the password one more time in red square 3. Click on “Next” to continue.
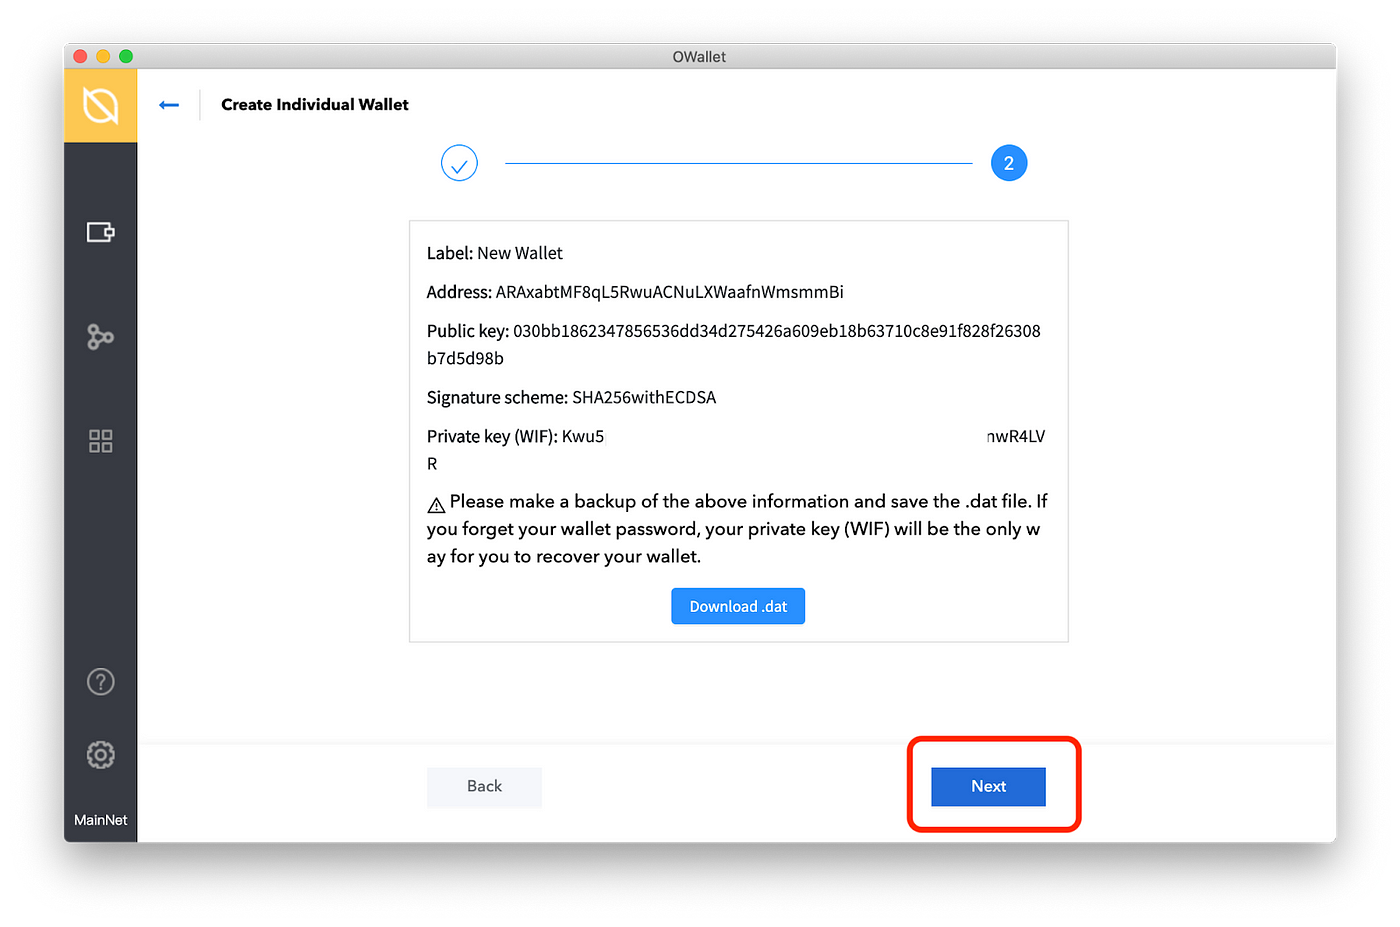
Click on “Next” to finish.
To import a wallet, click on “Import Wallet” to start.
Click on “Keystore (.dat) ” to continue.

Fill in specific information.
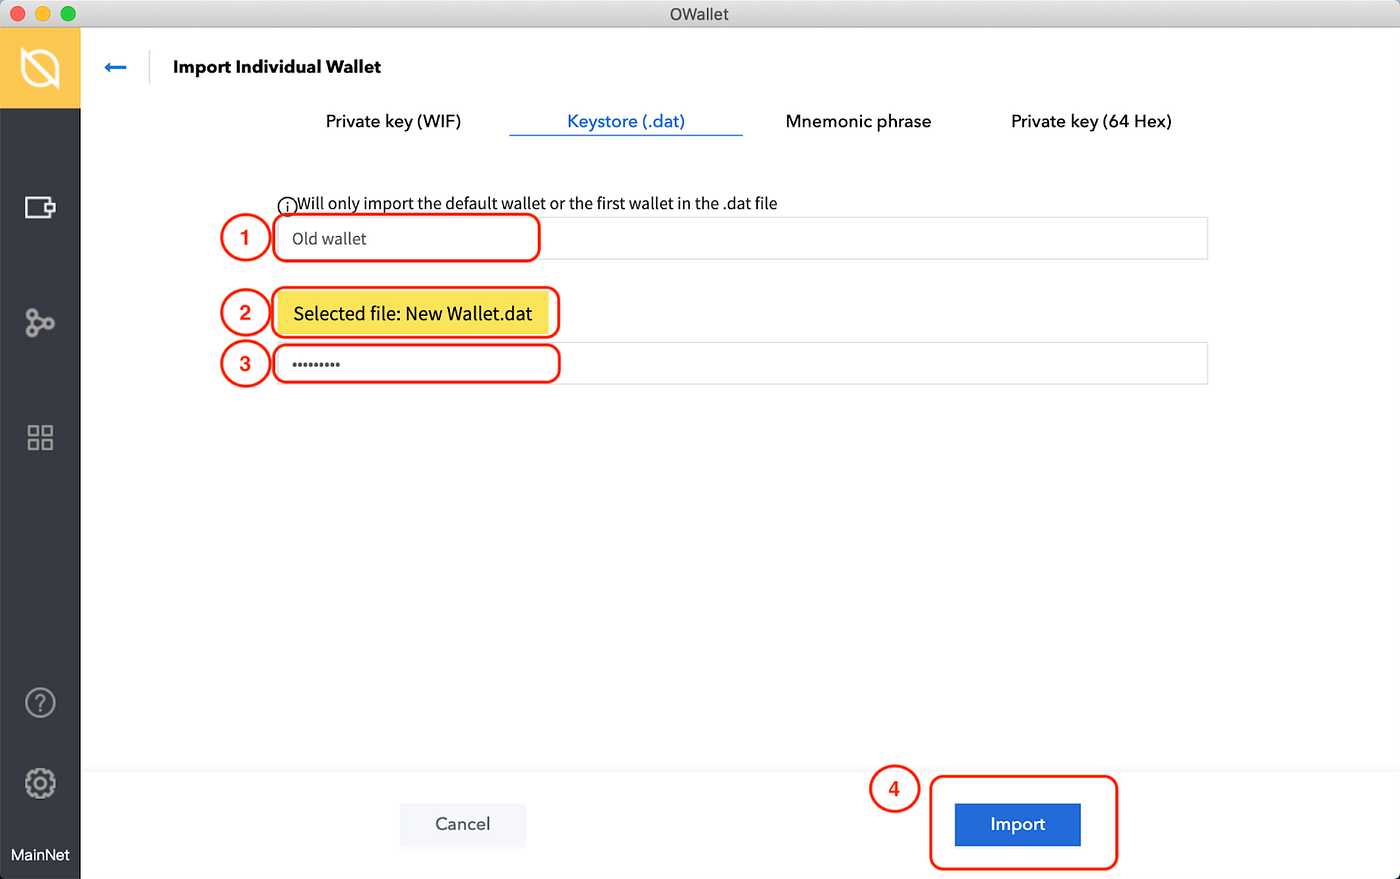
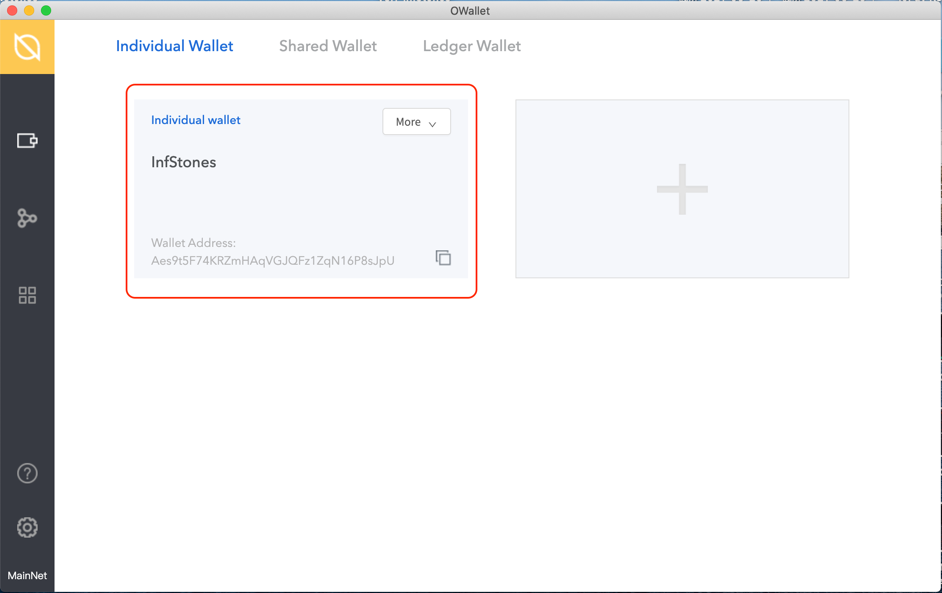
Set a name for the wallet in red square 1. Next, select the file you previously stored the data of your wallet by clicking on “Selected file” in red square 2. Type in the password in red square 3 and then click on “Import” in red square 4 to finish. Once finished your creation or import, your individual wallet will be presented here on this page.
1.3 Delegate ONT
Access the delegation page.
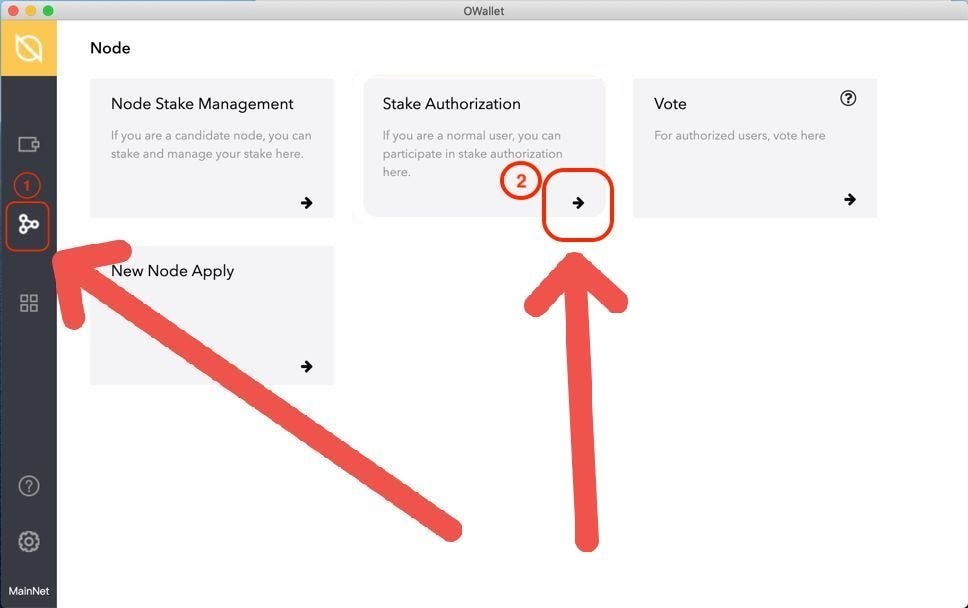
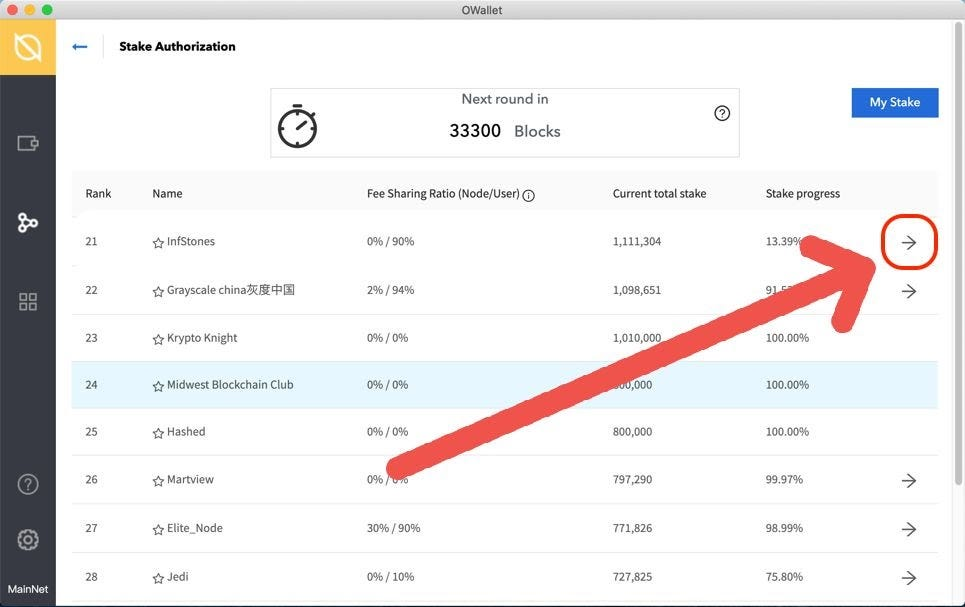
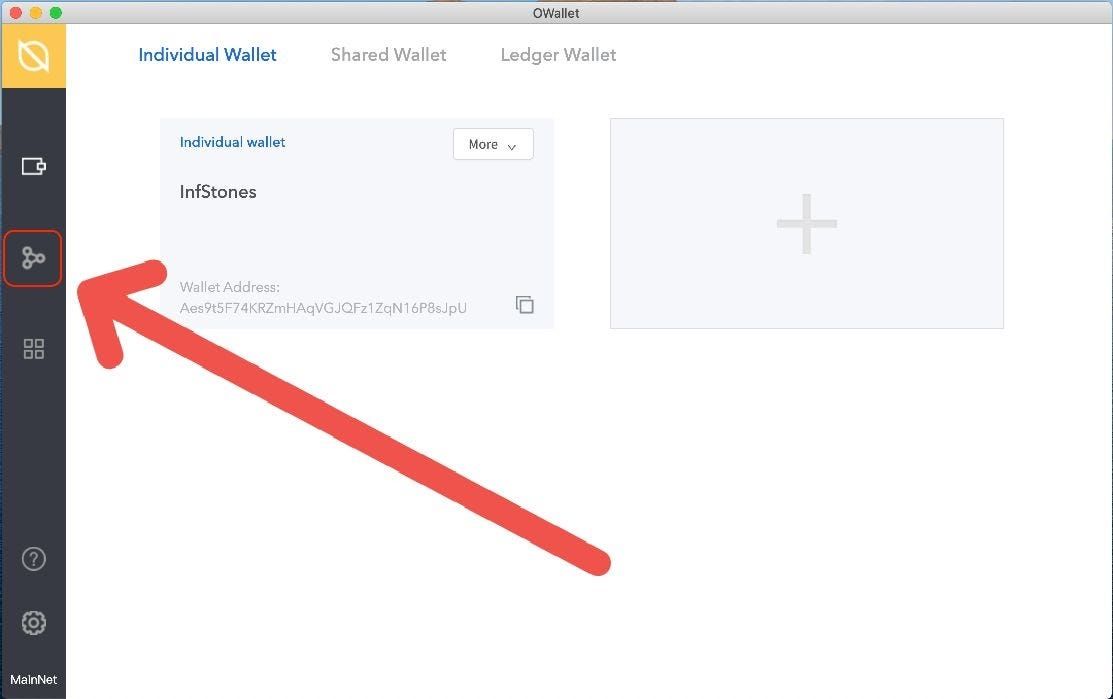
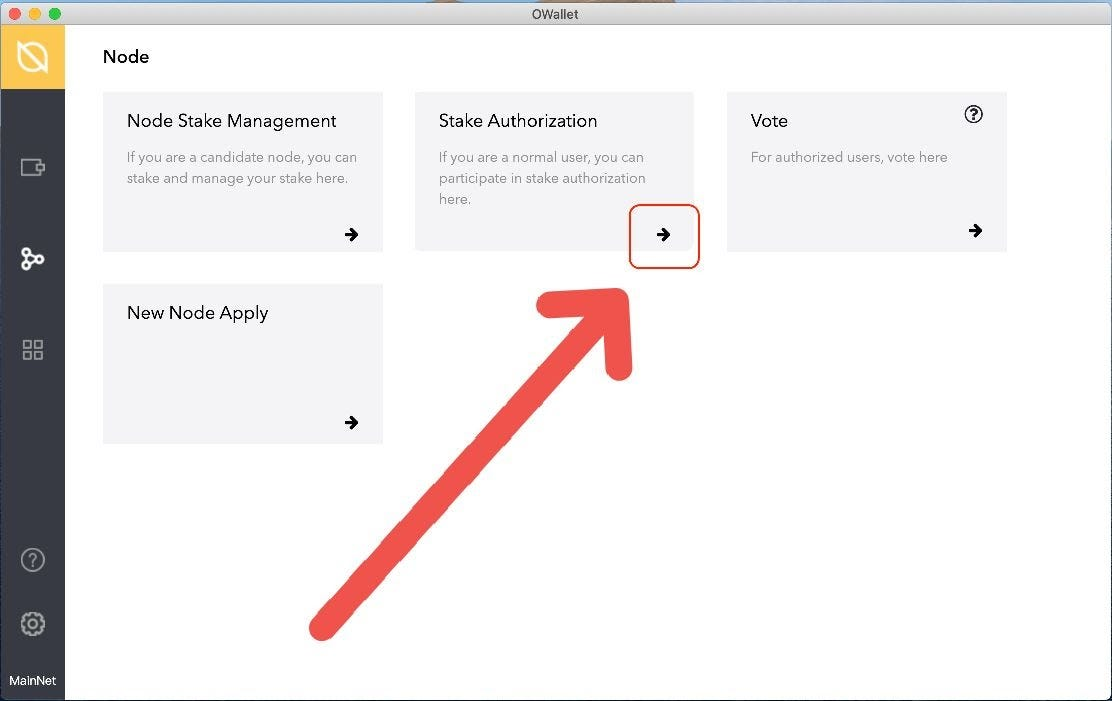
Click on the icon of Node Stake on the bar left in red square 1. Click on the arrow inside of “Stake Authorization” in red square 2 to proceed. Scroll down to turn the page, find out where InfStones’ node locates and then click on the arrow at the far right of the title.
Choose the proper address.
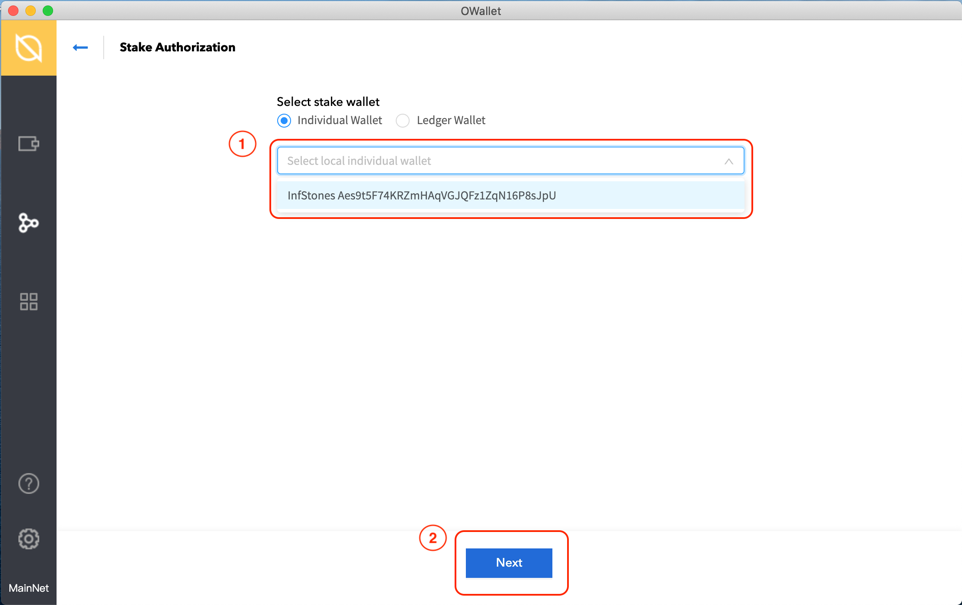
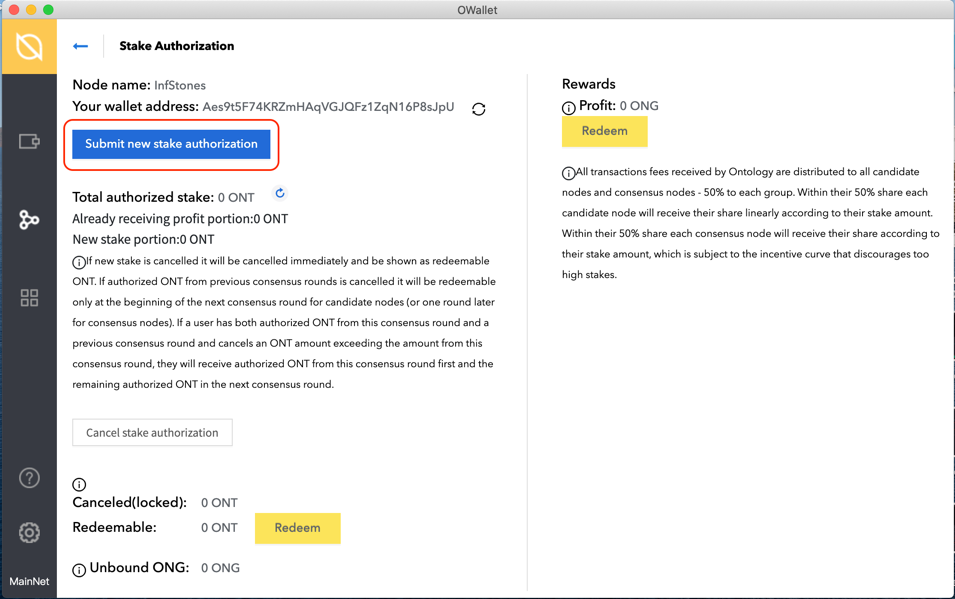
Click on the bar in red square 1 to choose the address of your wallet. Click on “Next” at the bottom of this page to continue. Click on “Submit new stake authorization” to create a new stake.
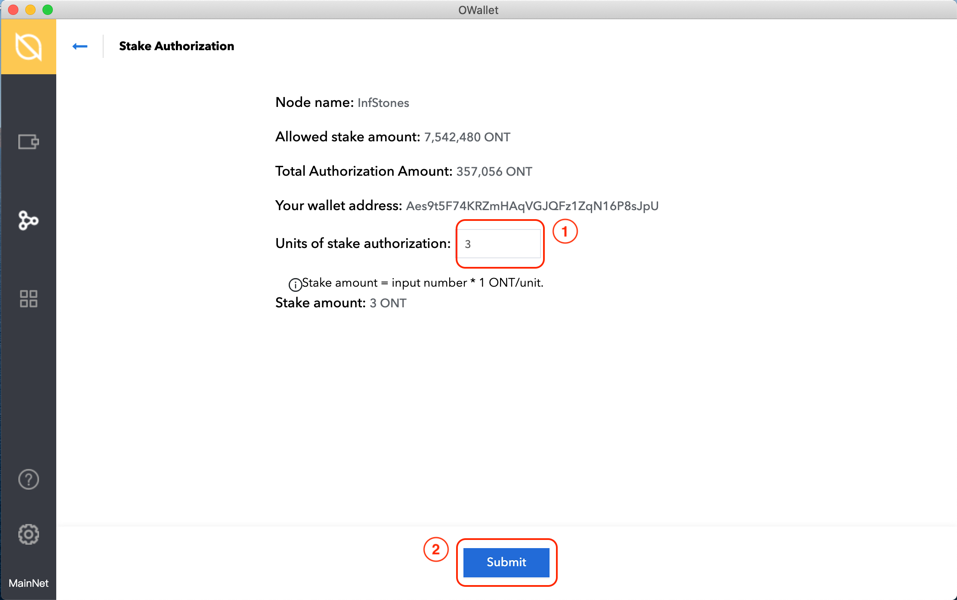
Type in the amount of tokens you prefer to stake and then click on “Submit”.
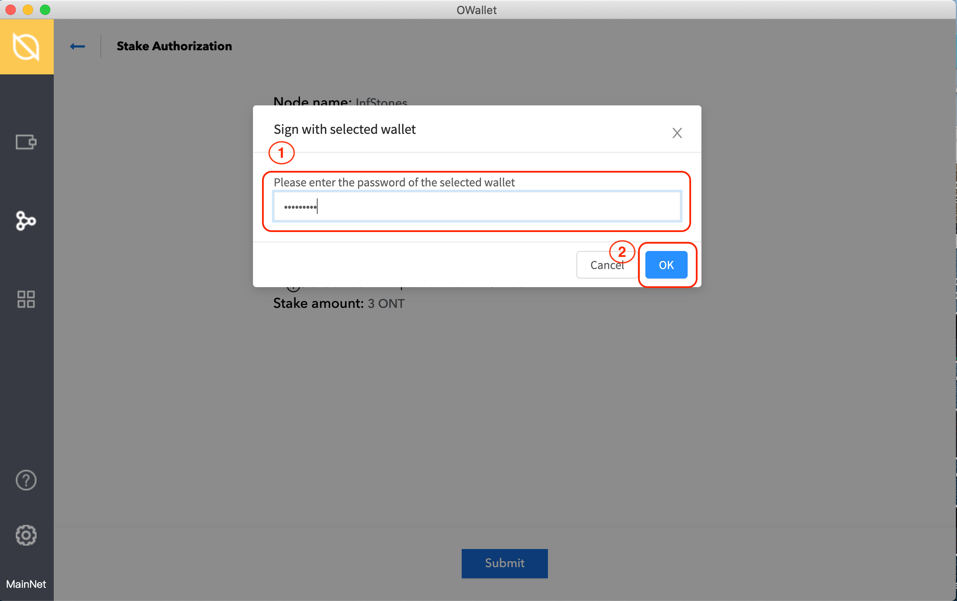
Enter the password of your selected wallet and then click on “OK”.
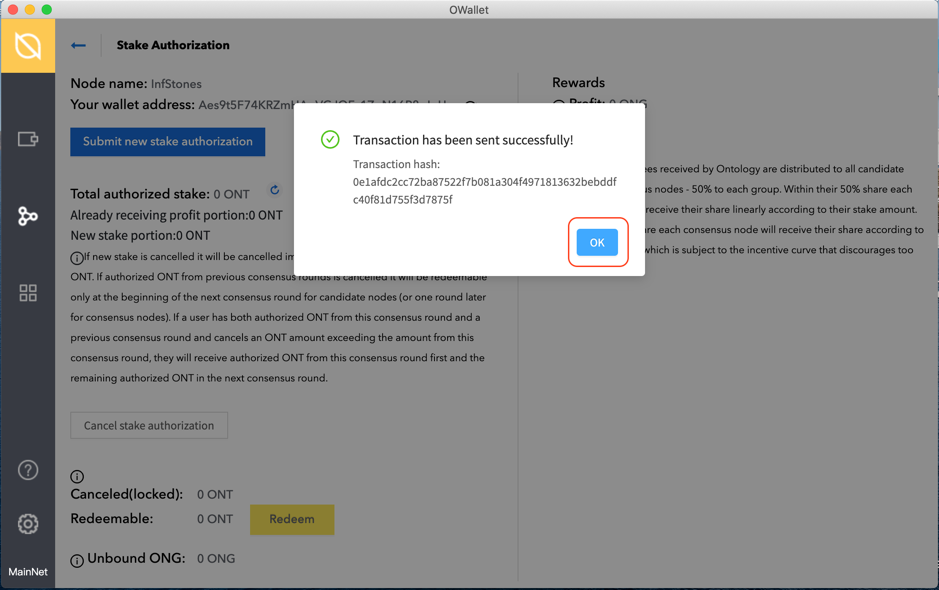
Well done! Click on “OK” to finish the staking.
1.4 Confirm Transaction
Click on the icon circled by the red square on the left side of the homepage.
Click on the arrow inside of the red square like the previous step.
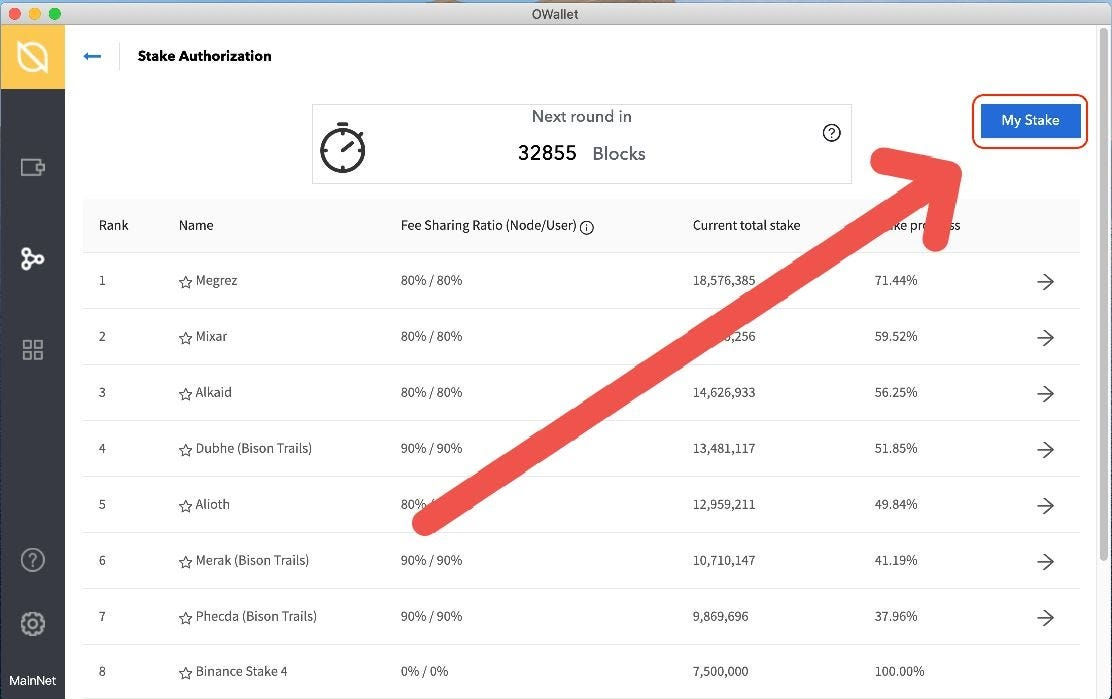
Click on “My Stake” on the right side of this page to continue.
Click on the bar in the first red square to choose the address of your wallet in which you’ve accomplished delegations, then click on “Search” below the address bar to continue.

Your previous stakings will be presented below, click on the arrow at the far right of this item to check the specific status.

Your total authorized stake will be presented in red square 1, you can confirm your previous delegations by checking the number of this item.
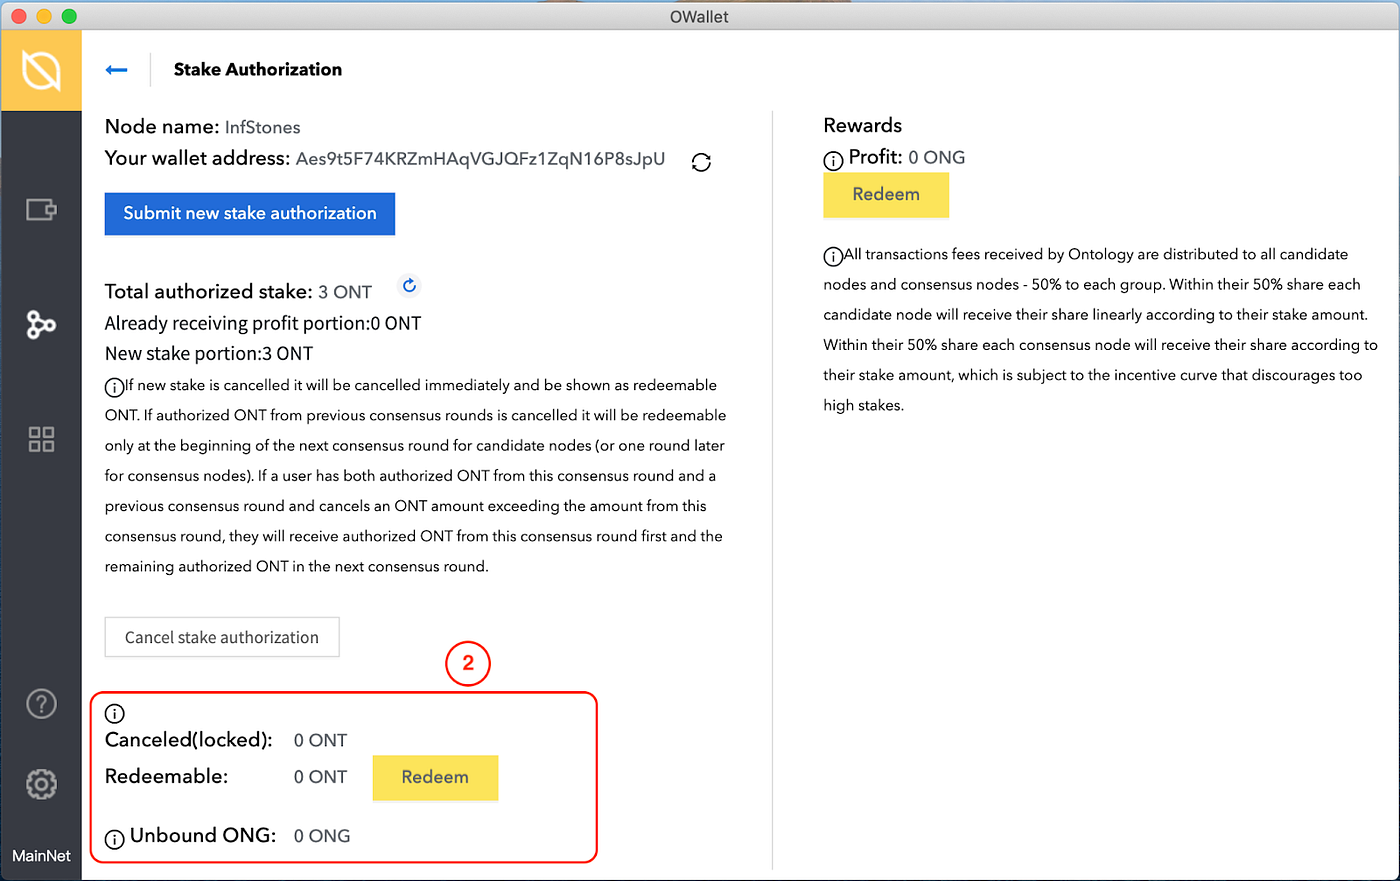
Your locked stake will be presented in red square 2, you can check the amount of your locked tokens here.
Your available rewards will be presented in red square 3, which shows the rewards you earn.
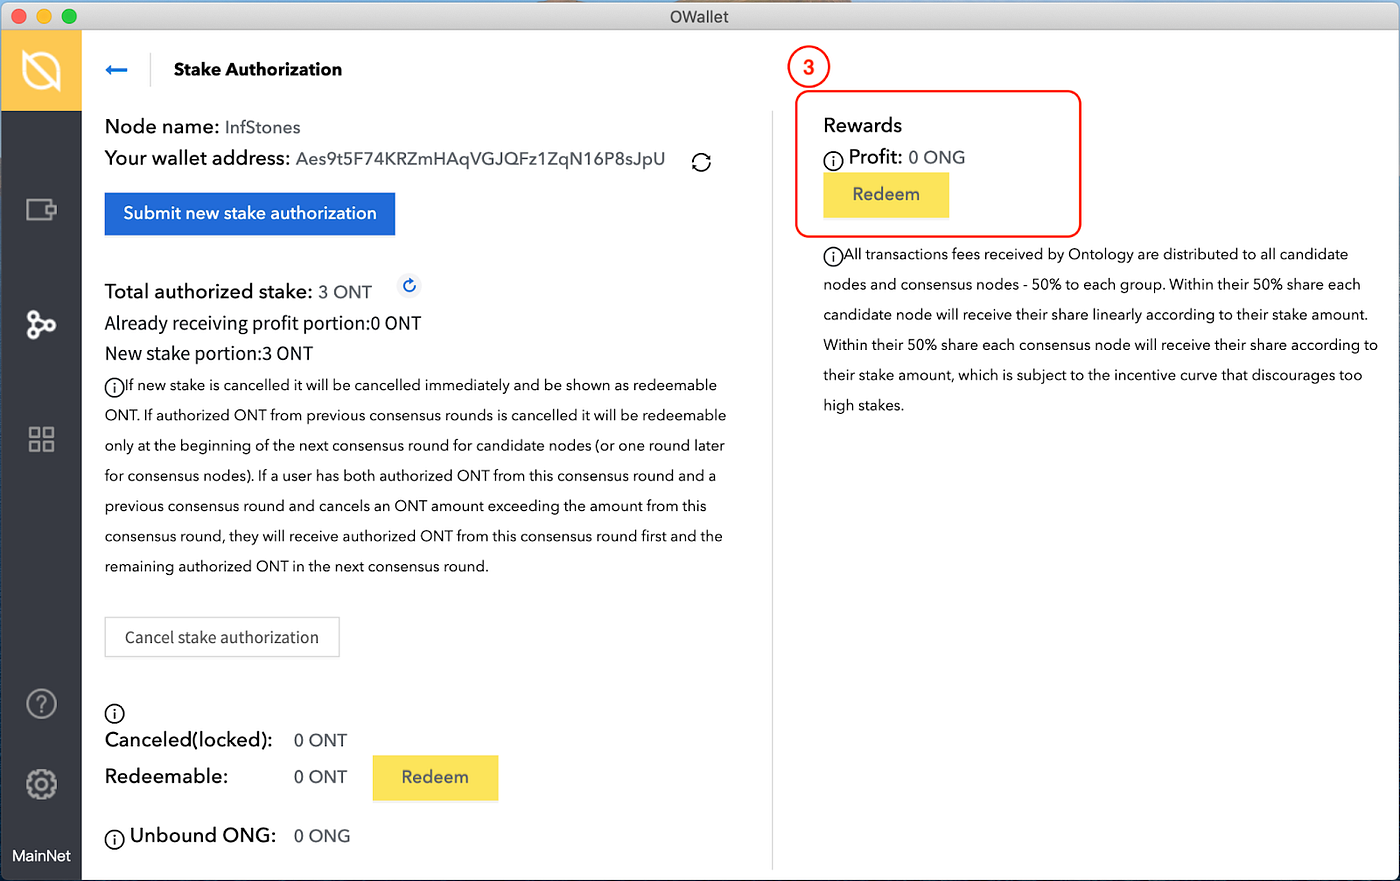
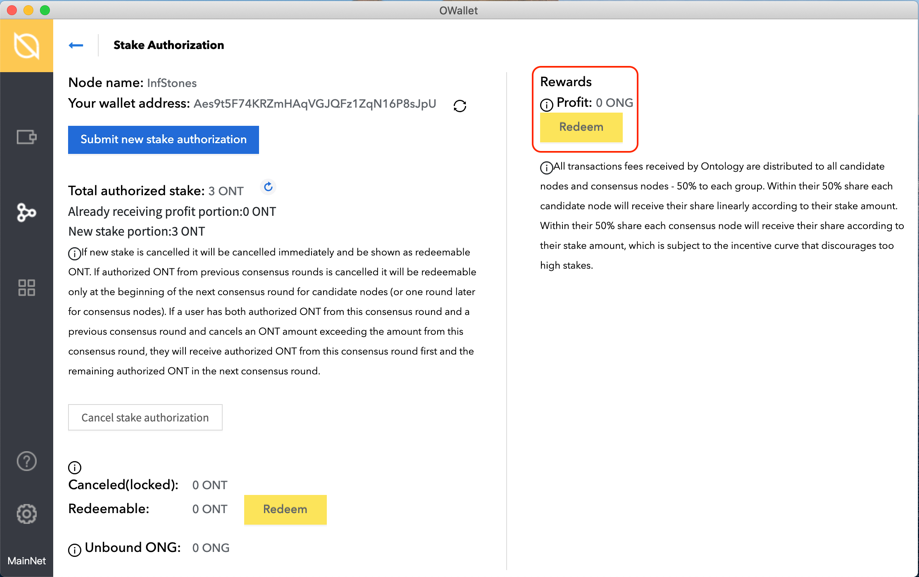
2 Claim Rewards
To check your rewards or redeem, the specific amount of your rewards will be presented here. Click on “Redeem” when you’d like to claim your rewards.
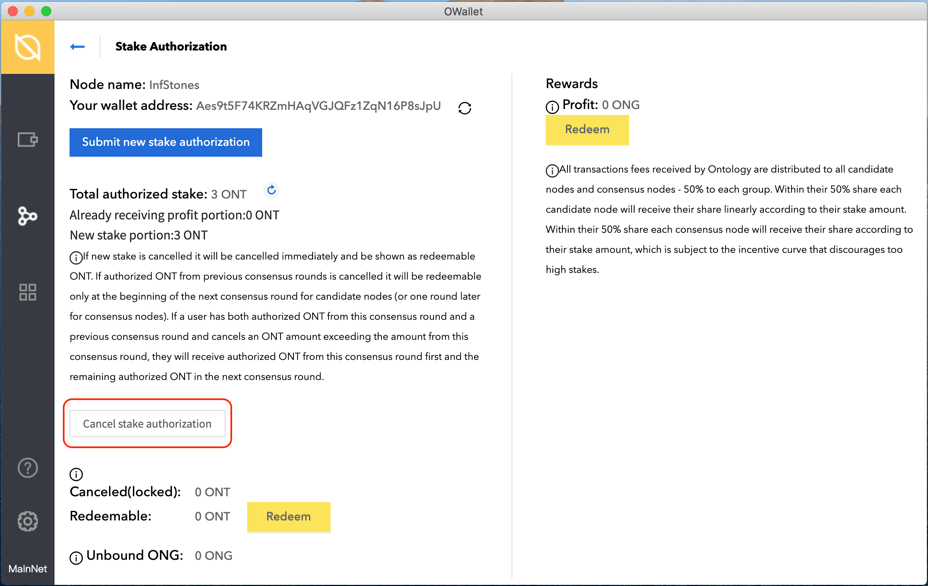
3 Unstake ONT
To unstake, you can click on “Cancel stake authorization” at any time to withdraw your deposit.
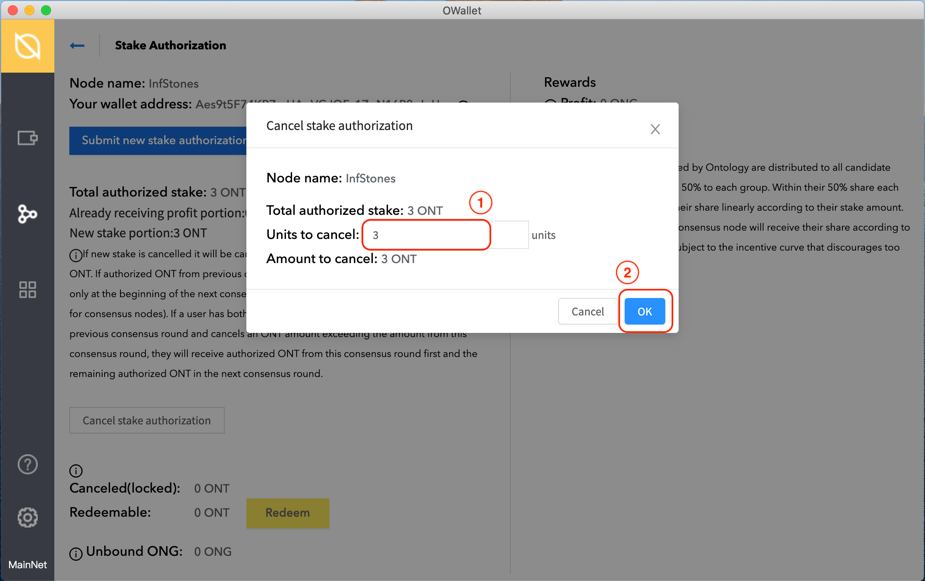
3.1 Enter Unstake Amount
Enter the amount of tokens you prefer to unstake and then click on “OK”.
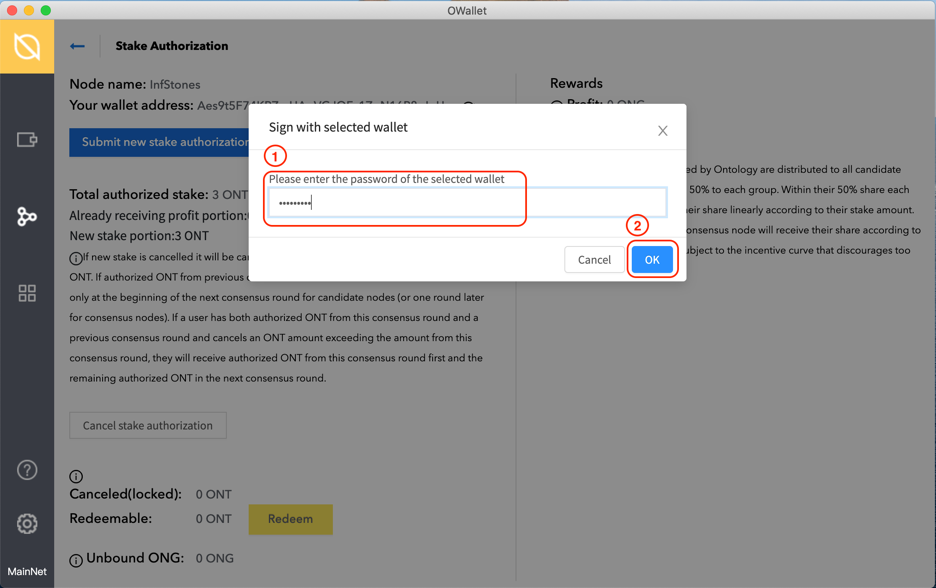
3.2 Verify Wallet Password
Enter the password of the selected wallet and then click on “OK”.
Click on “OK” to complete the unstaking.

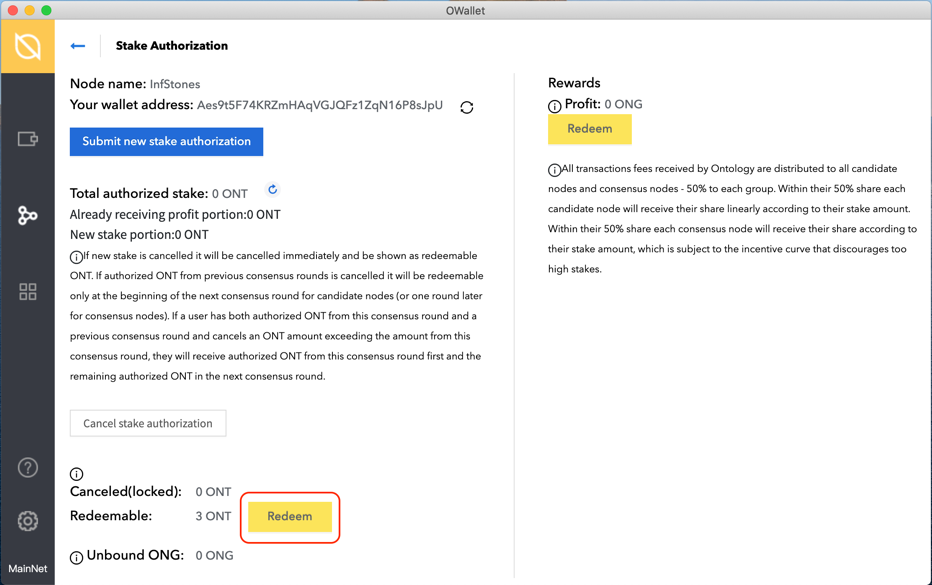
3.3 Redeem Tokens
Click on “Redeem” to withdraw all your deposits.
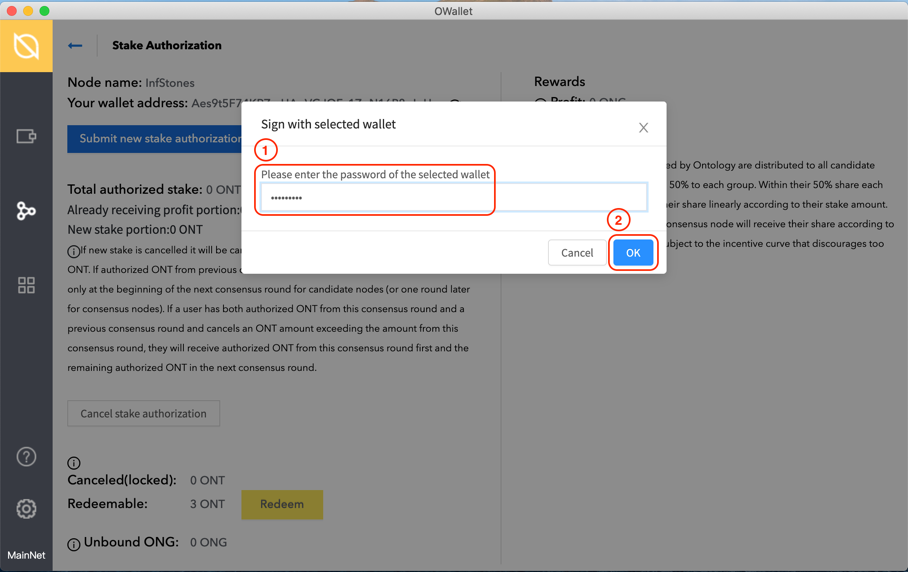
Enter the password of the selected wallet and then click on “OK”. Please make sure this wallet you’ve chosen is the one you want to receive the previous deposit.
3.4 Confirm Transaction
Click on “OK” to finish your operation.

Updated 6 months ago