Alarms
This page will walk you through the process of creating alarms for Nodes and APIs.
1 Introduction
InfStones provides a comprehensive suite of tools designed to enhance the monitoring of your API projects and launched nodes. Among these tools, Alarms serve as notifications that alert you when specific conditions, defined by associated rules, are met. They can be customized with specific targets, triggers, and notification methods. Through the use of Alarms, you can proactively address any potential issues by monitoring API usage, node status, and resource utilization.
The following sections provide a detailed explanation of how Block Watch Alarms work.
2 Alarm Types
We offer two types of alarms:
- Organization Managed Alarm: These are alarms that the organization Owner/Admins can create and automatically share with other organization users.
- Member Managed Alarm: These are alarms that any Members of the organization can create and are exclusively managed by the users who create them.
3 Create Alarm for Fast API
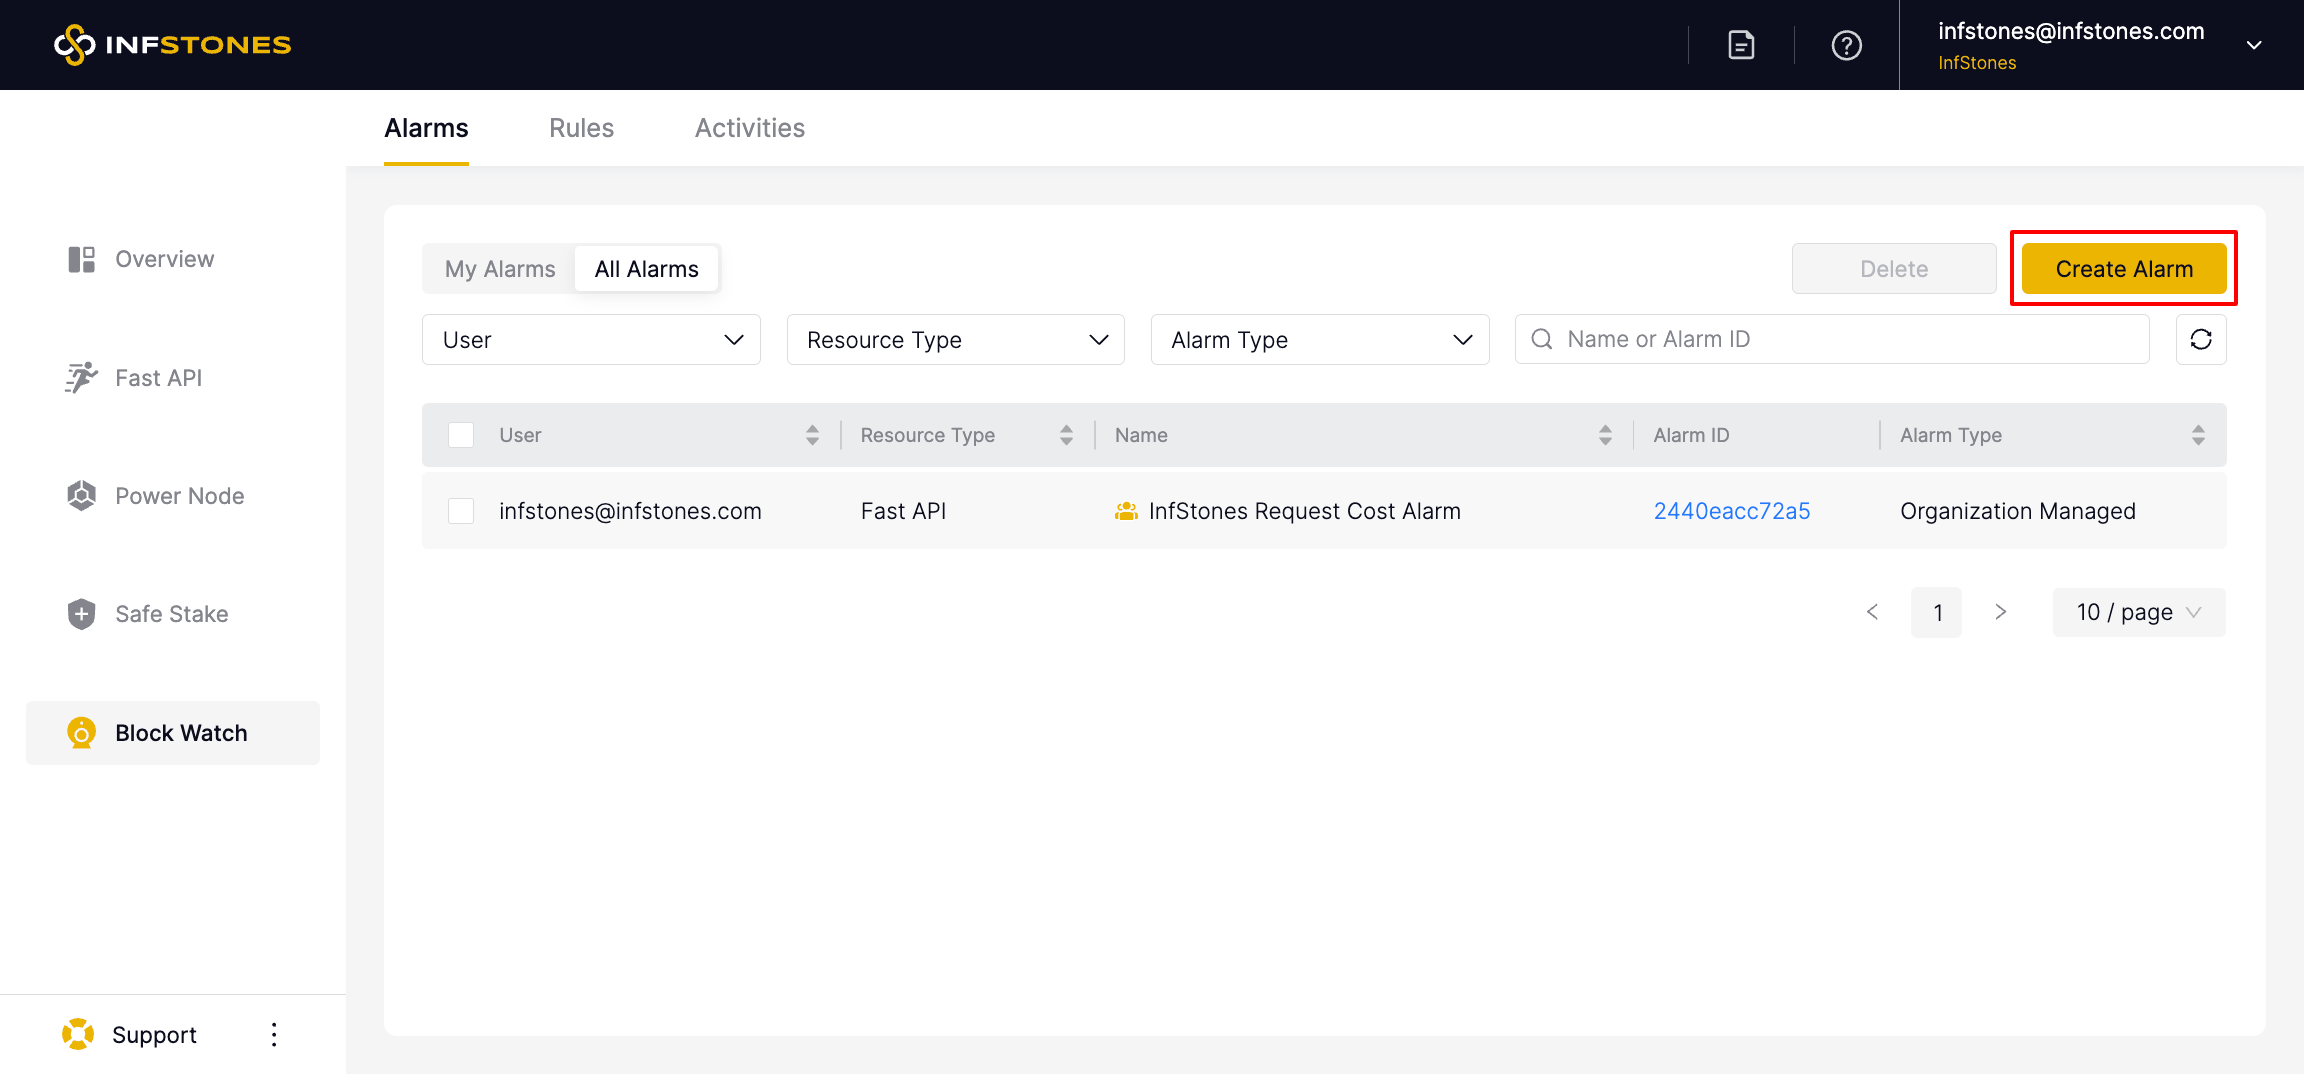
To create an alarm for Fast API, go to Block Watch page, click the Create Alarm button, and you will forward to the Create Alarm page.

First, give your alarm a name that clearly identifies the monitored service. Choose Alarm Type. There are two Alarm Type: Member Managed and Organization Managed.
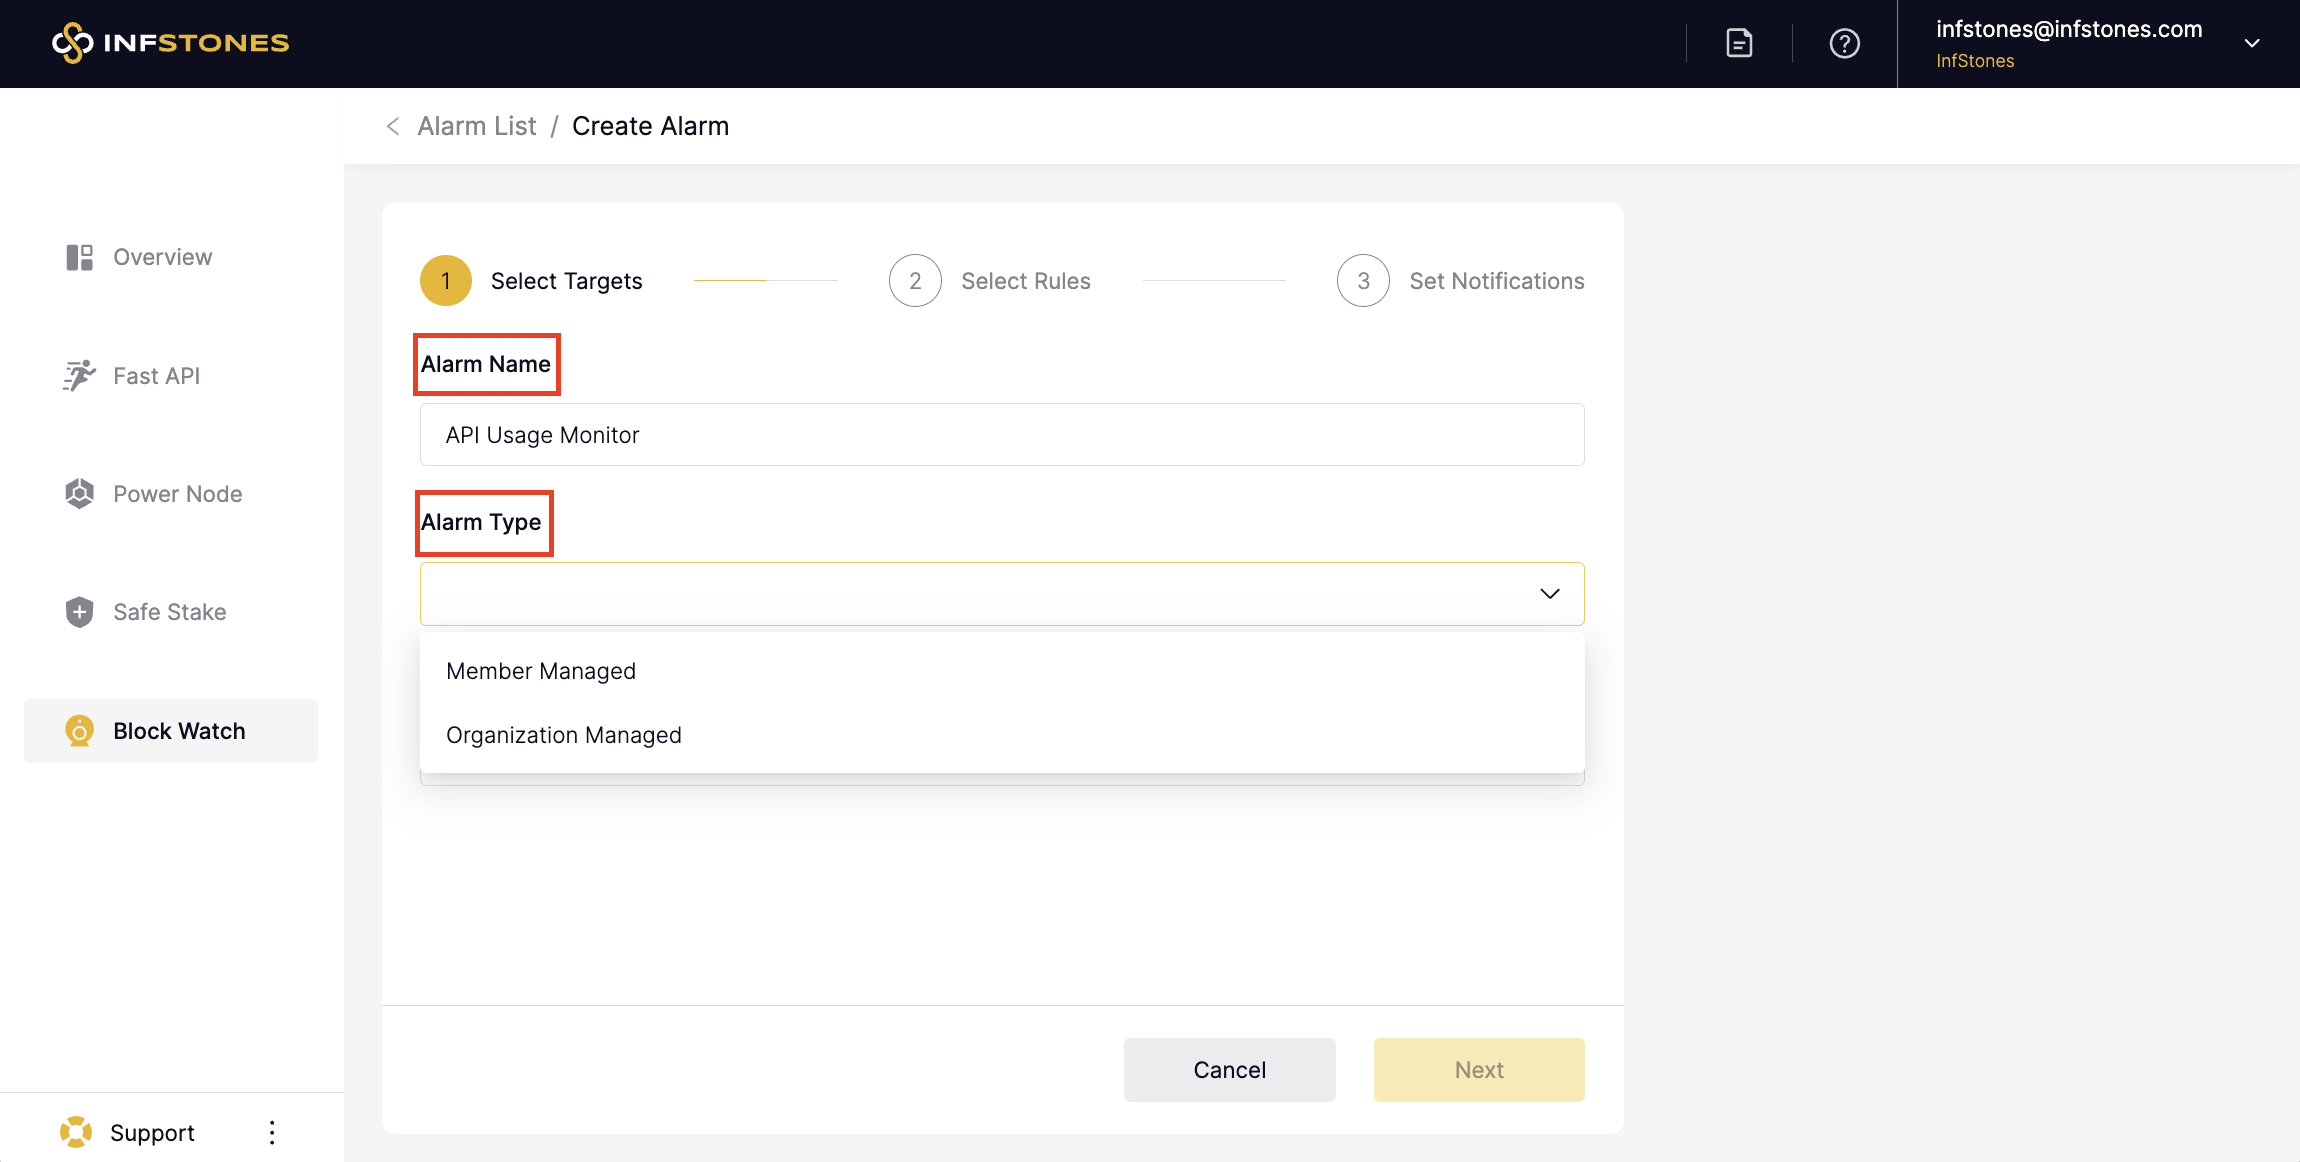
Then, select the resource type as Fast API and select the desired targets you want to monitor.
An alarm can monitor multiple targets at the same time. In the case of a Fast API alarm, the target will be the protocol with Fast API service that you want to monitor.

Once you have selected your desired targets, click the Next button to proceed.

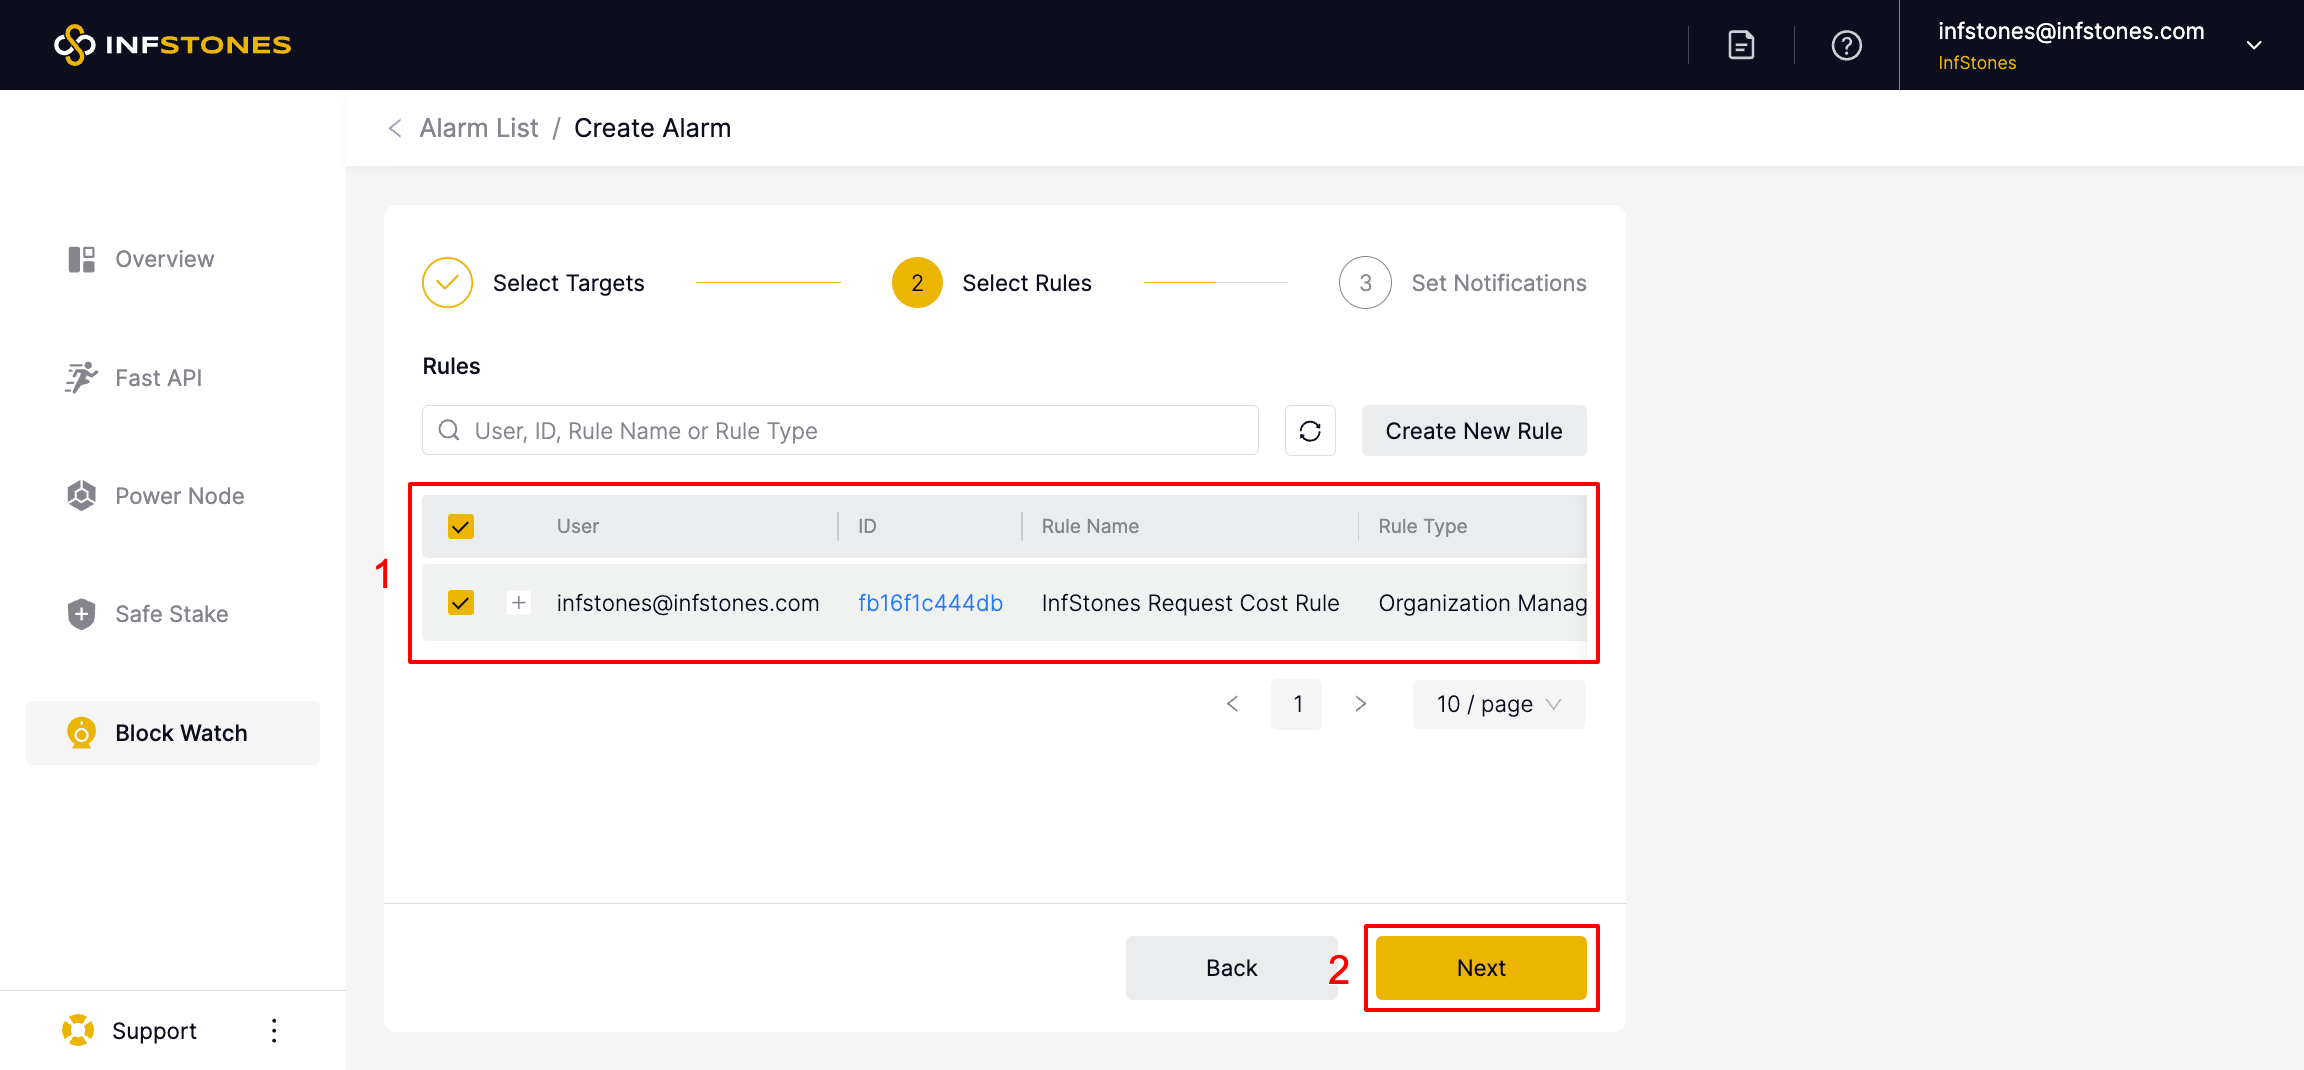
The next step is to select rules for your new alarm. Each alarm can have multiple rules that define various trigger conditions. Whenever any of these conditions specified in any rule are met, you will receive a notification.
You can either select from existing rules or quickly create a new one by selecting the Create New Rule option. Once you have selected the desired rules, click the Next button to proceed.
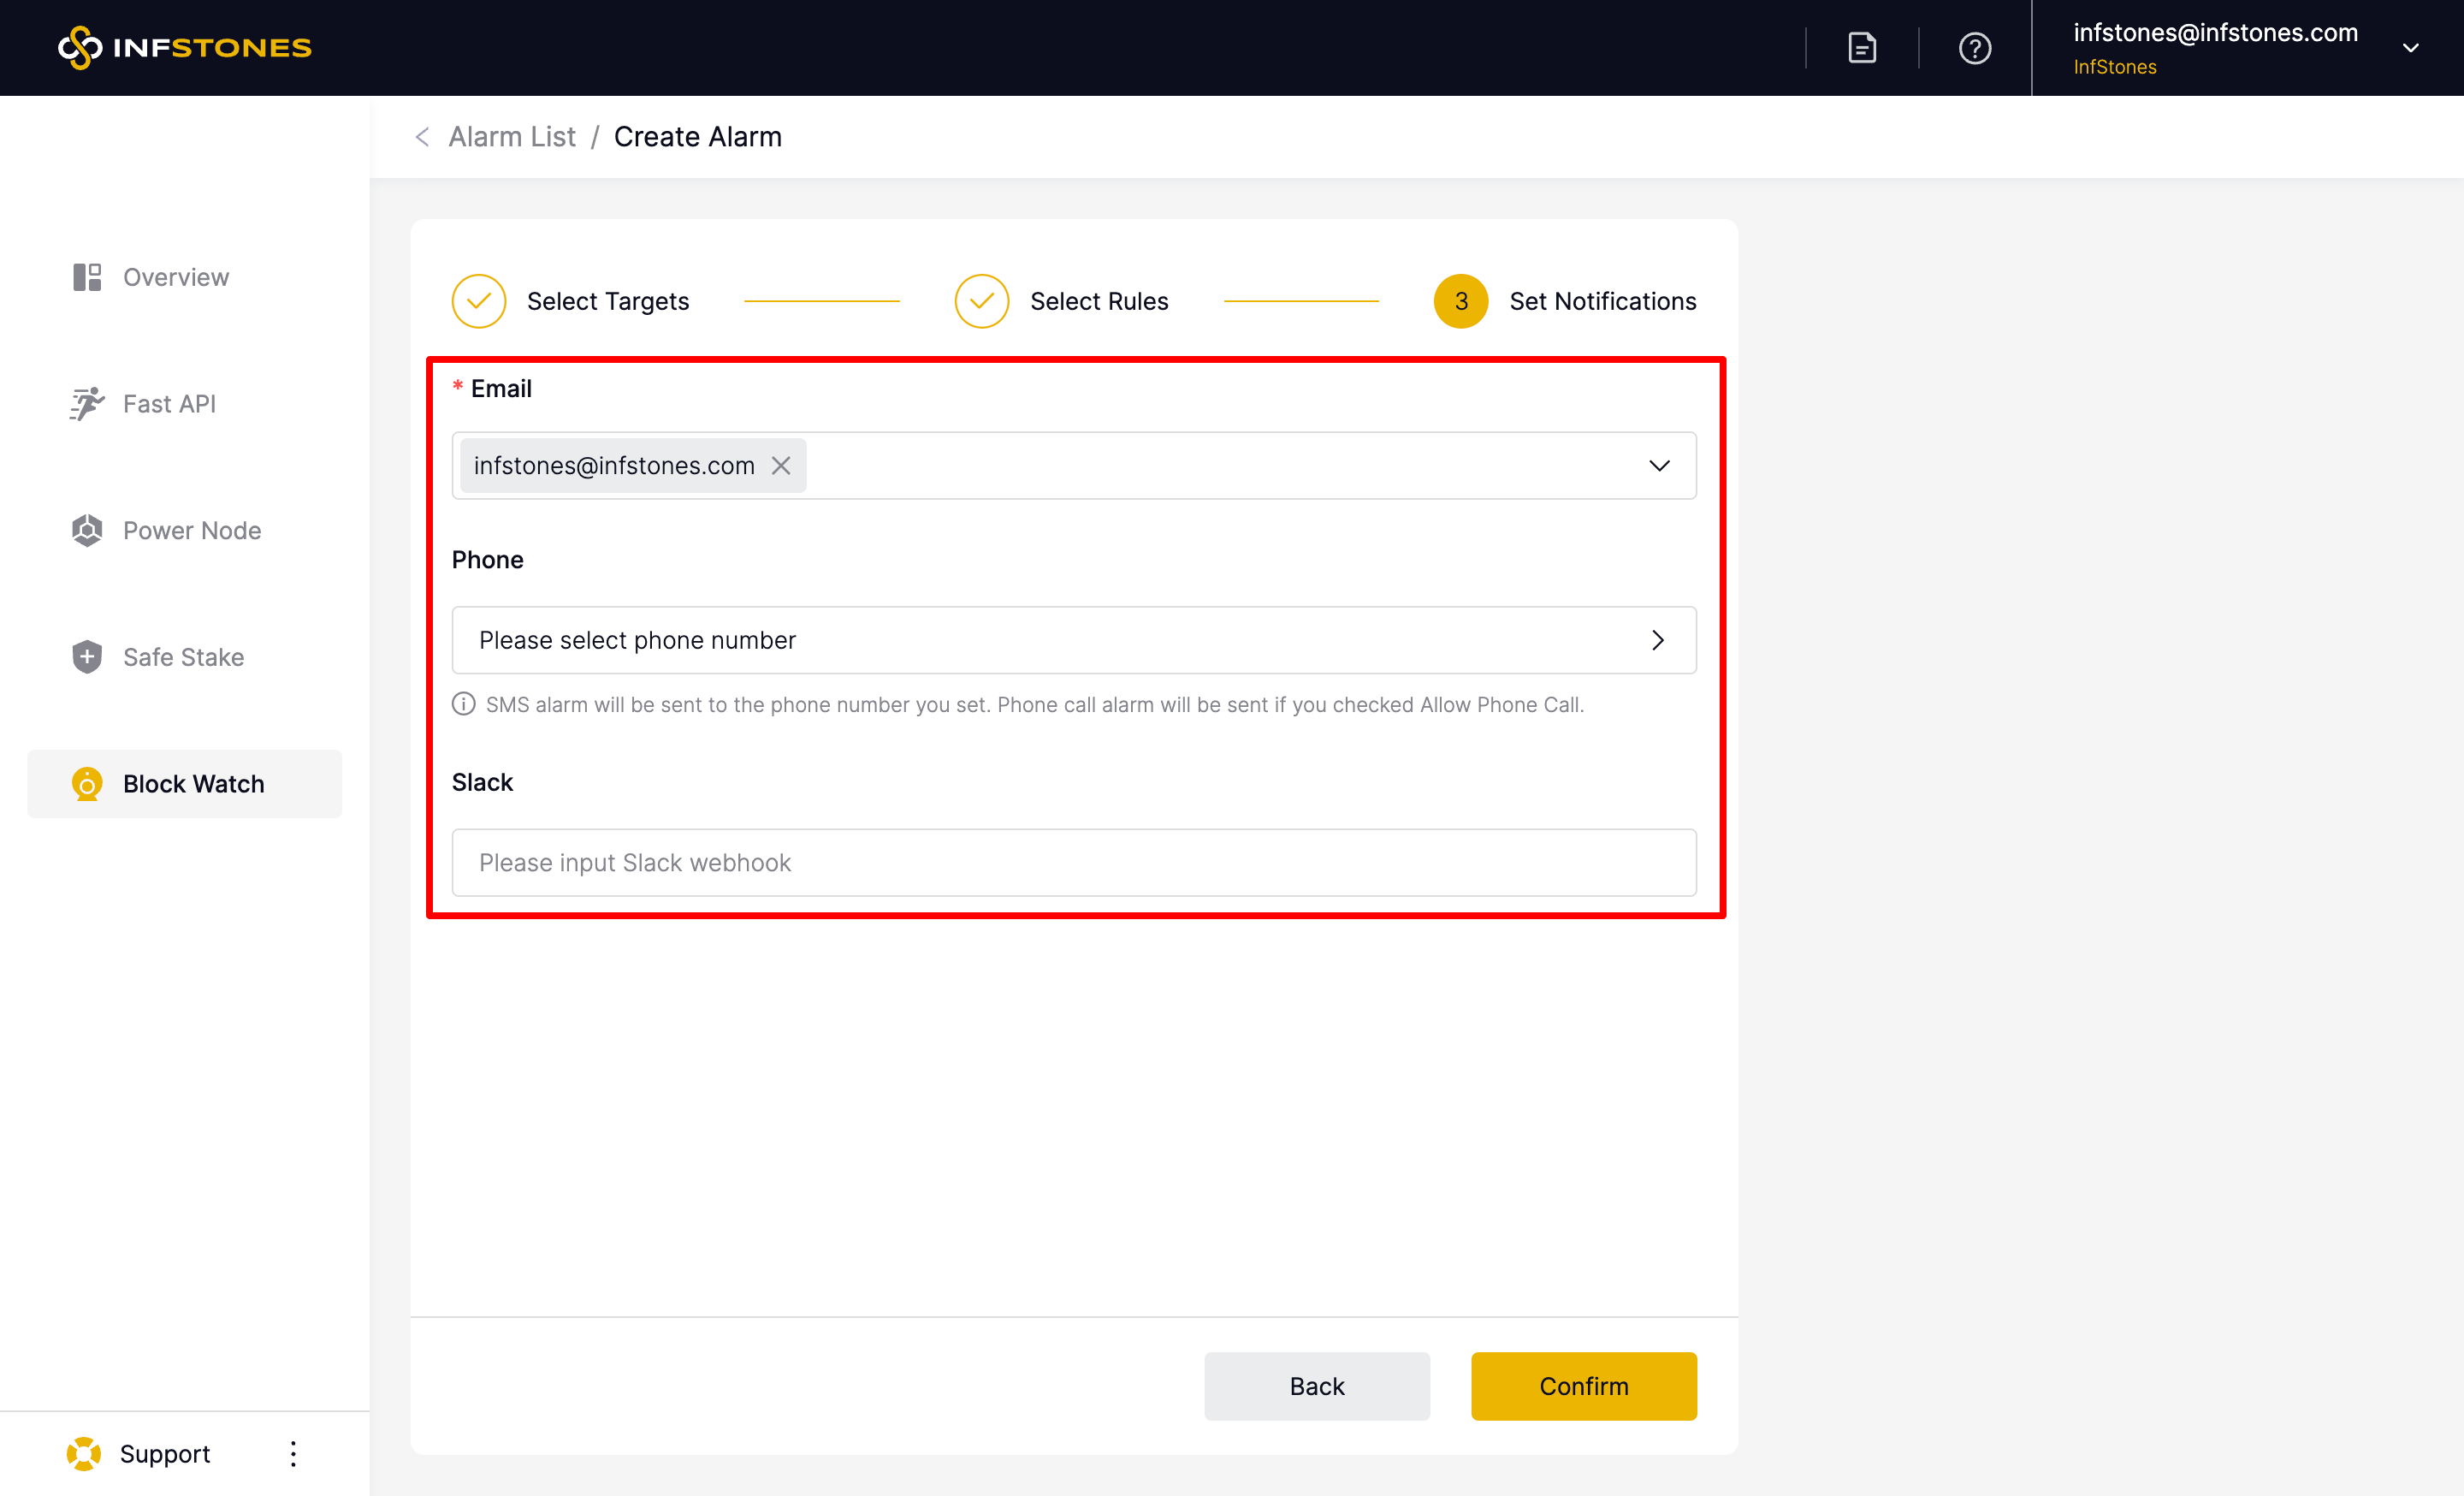
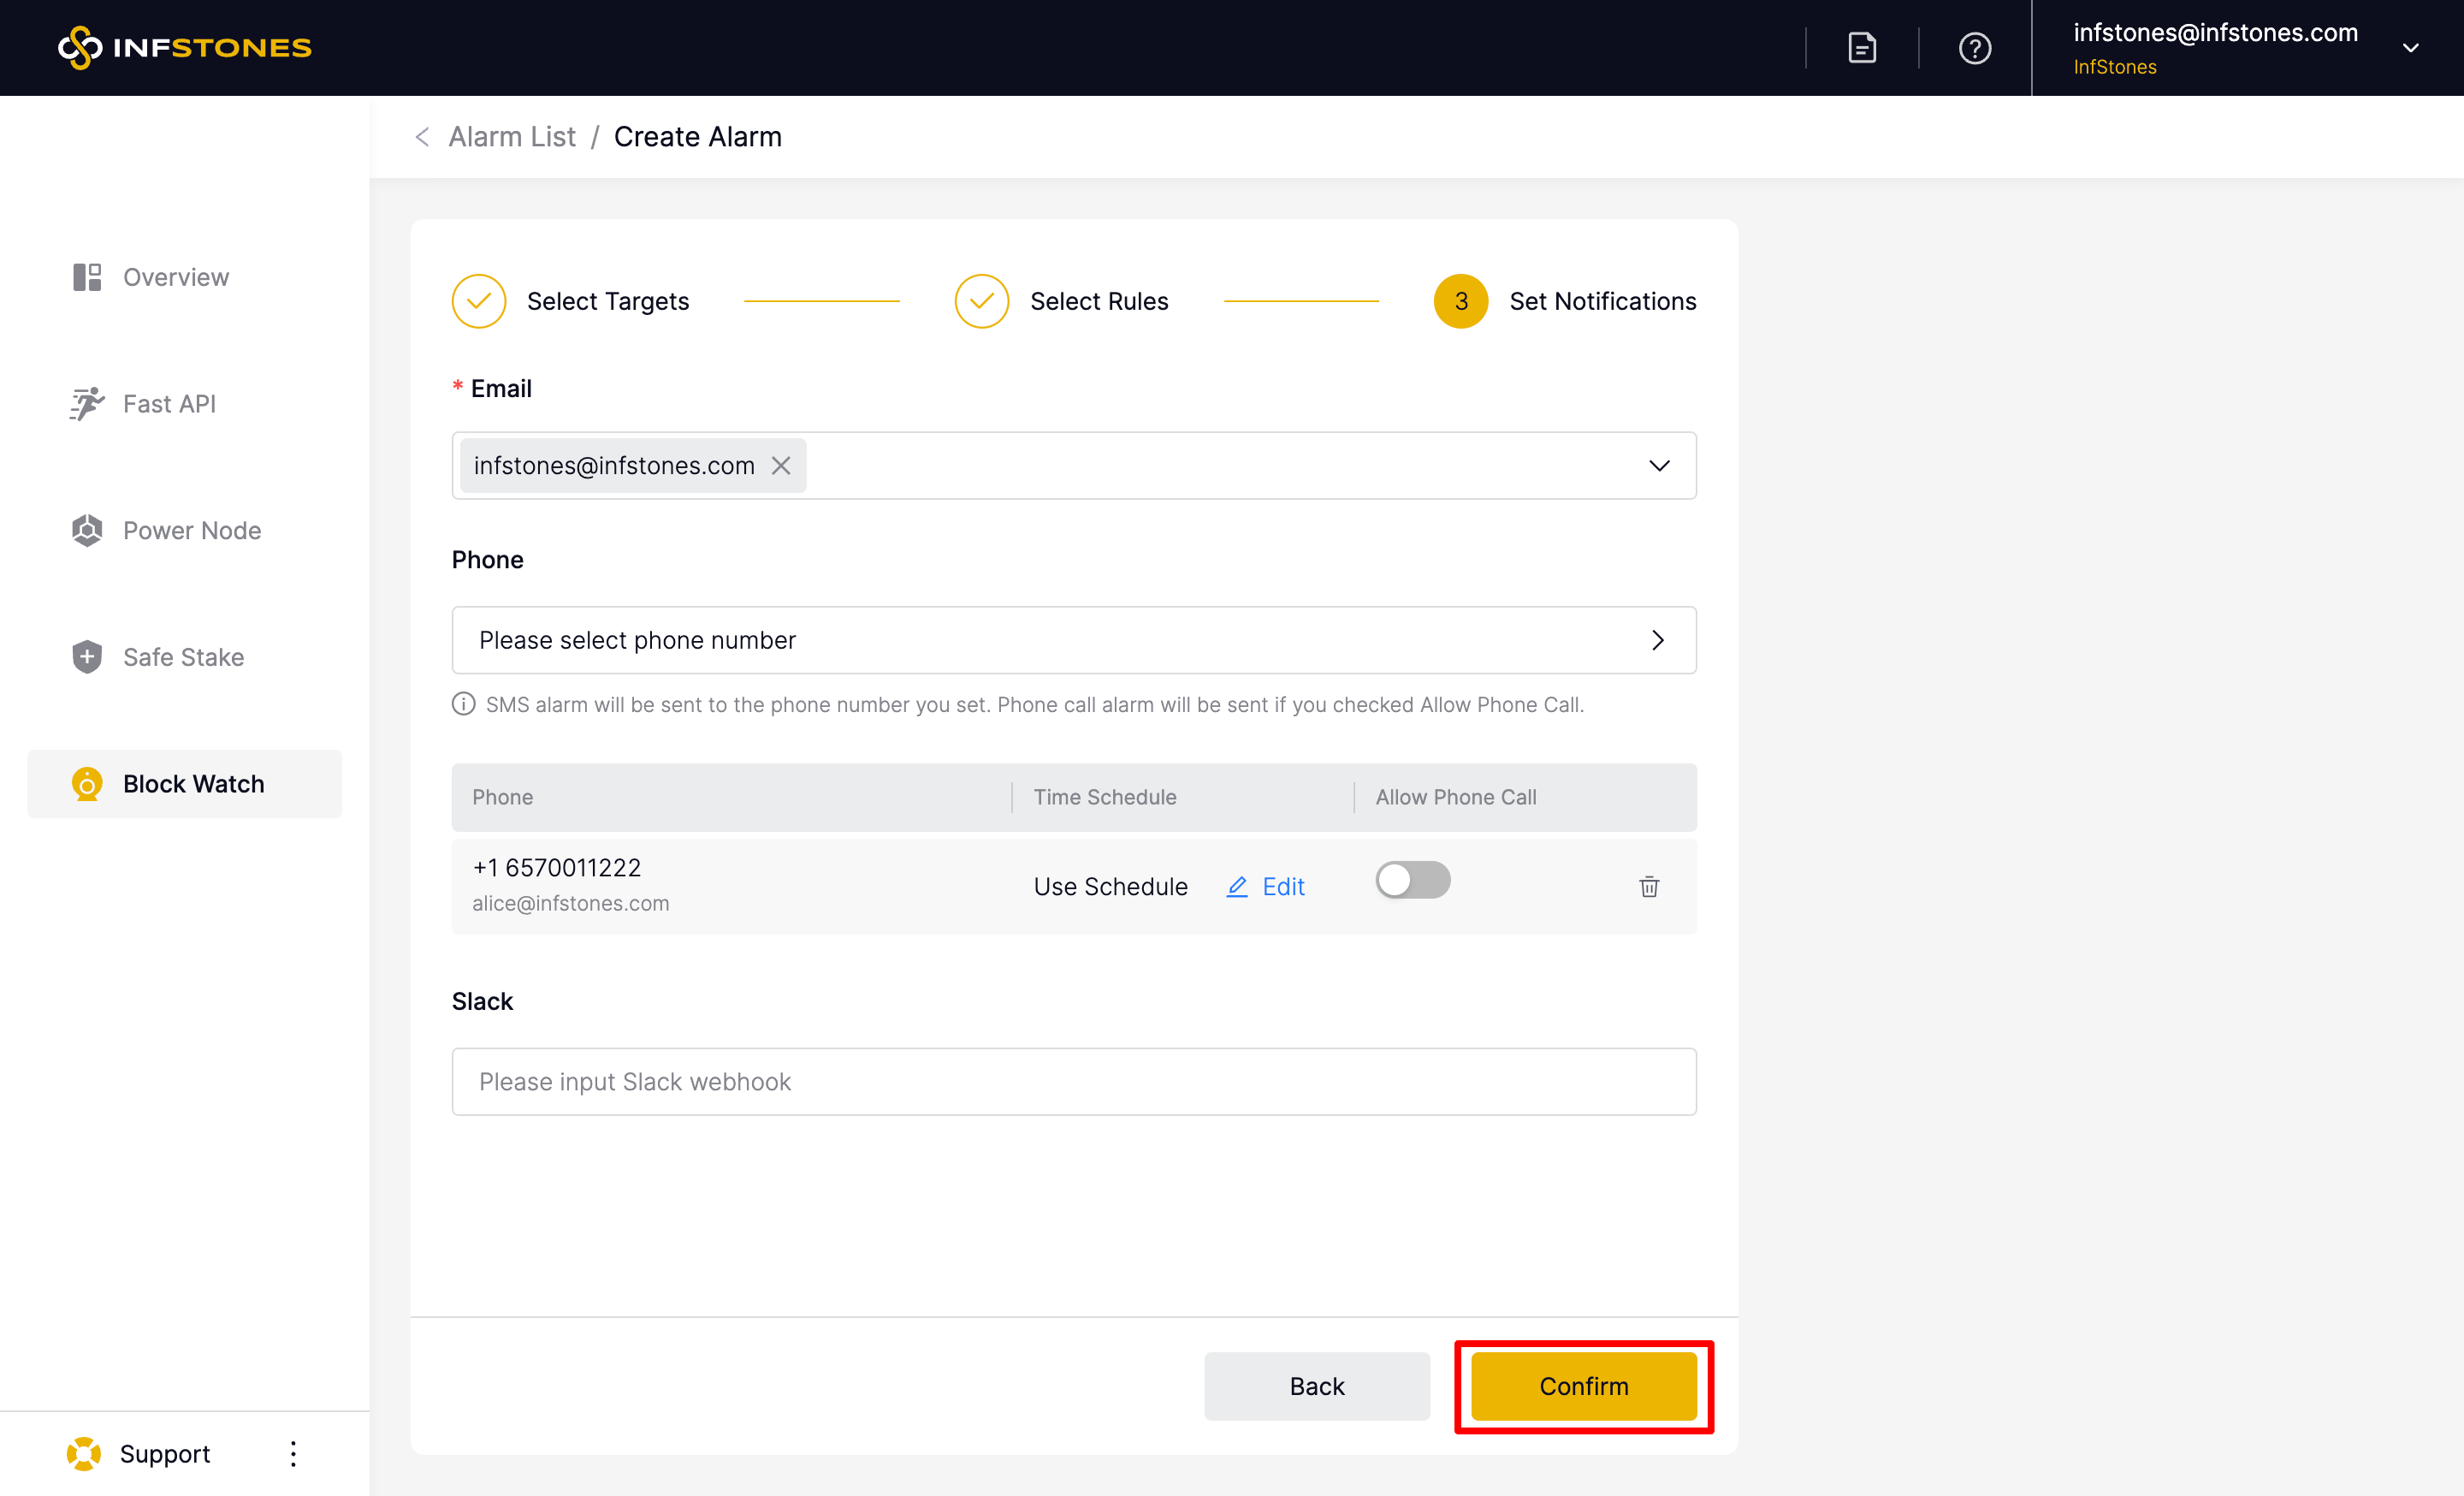
Next, configure your notification methods. Our platform supports various methods of notification, including email, phone, and Slack. Email notifications are enabled by default, while phone and Slack notifications are optional.
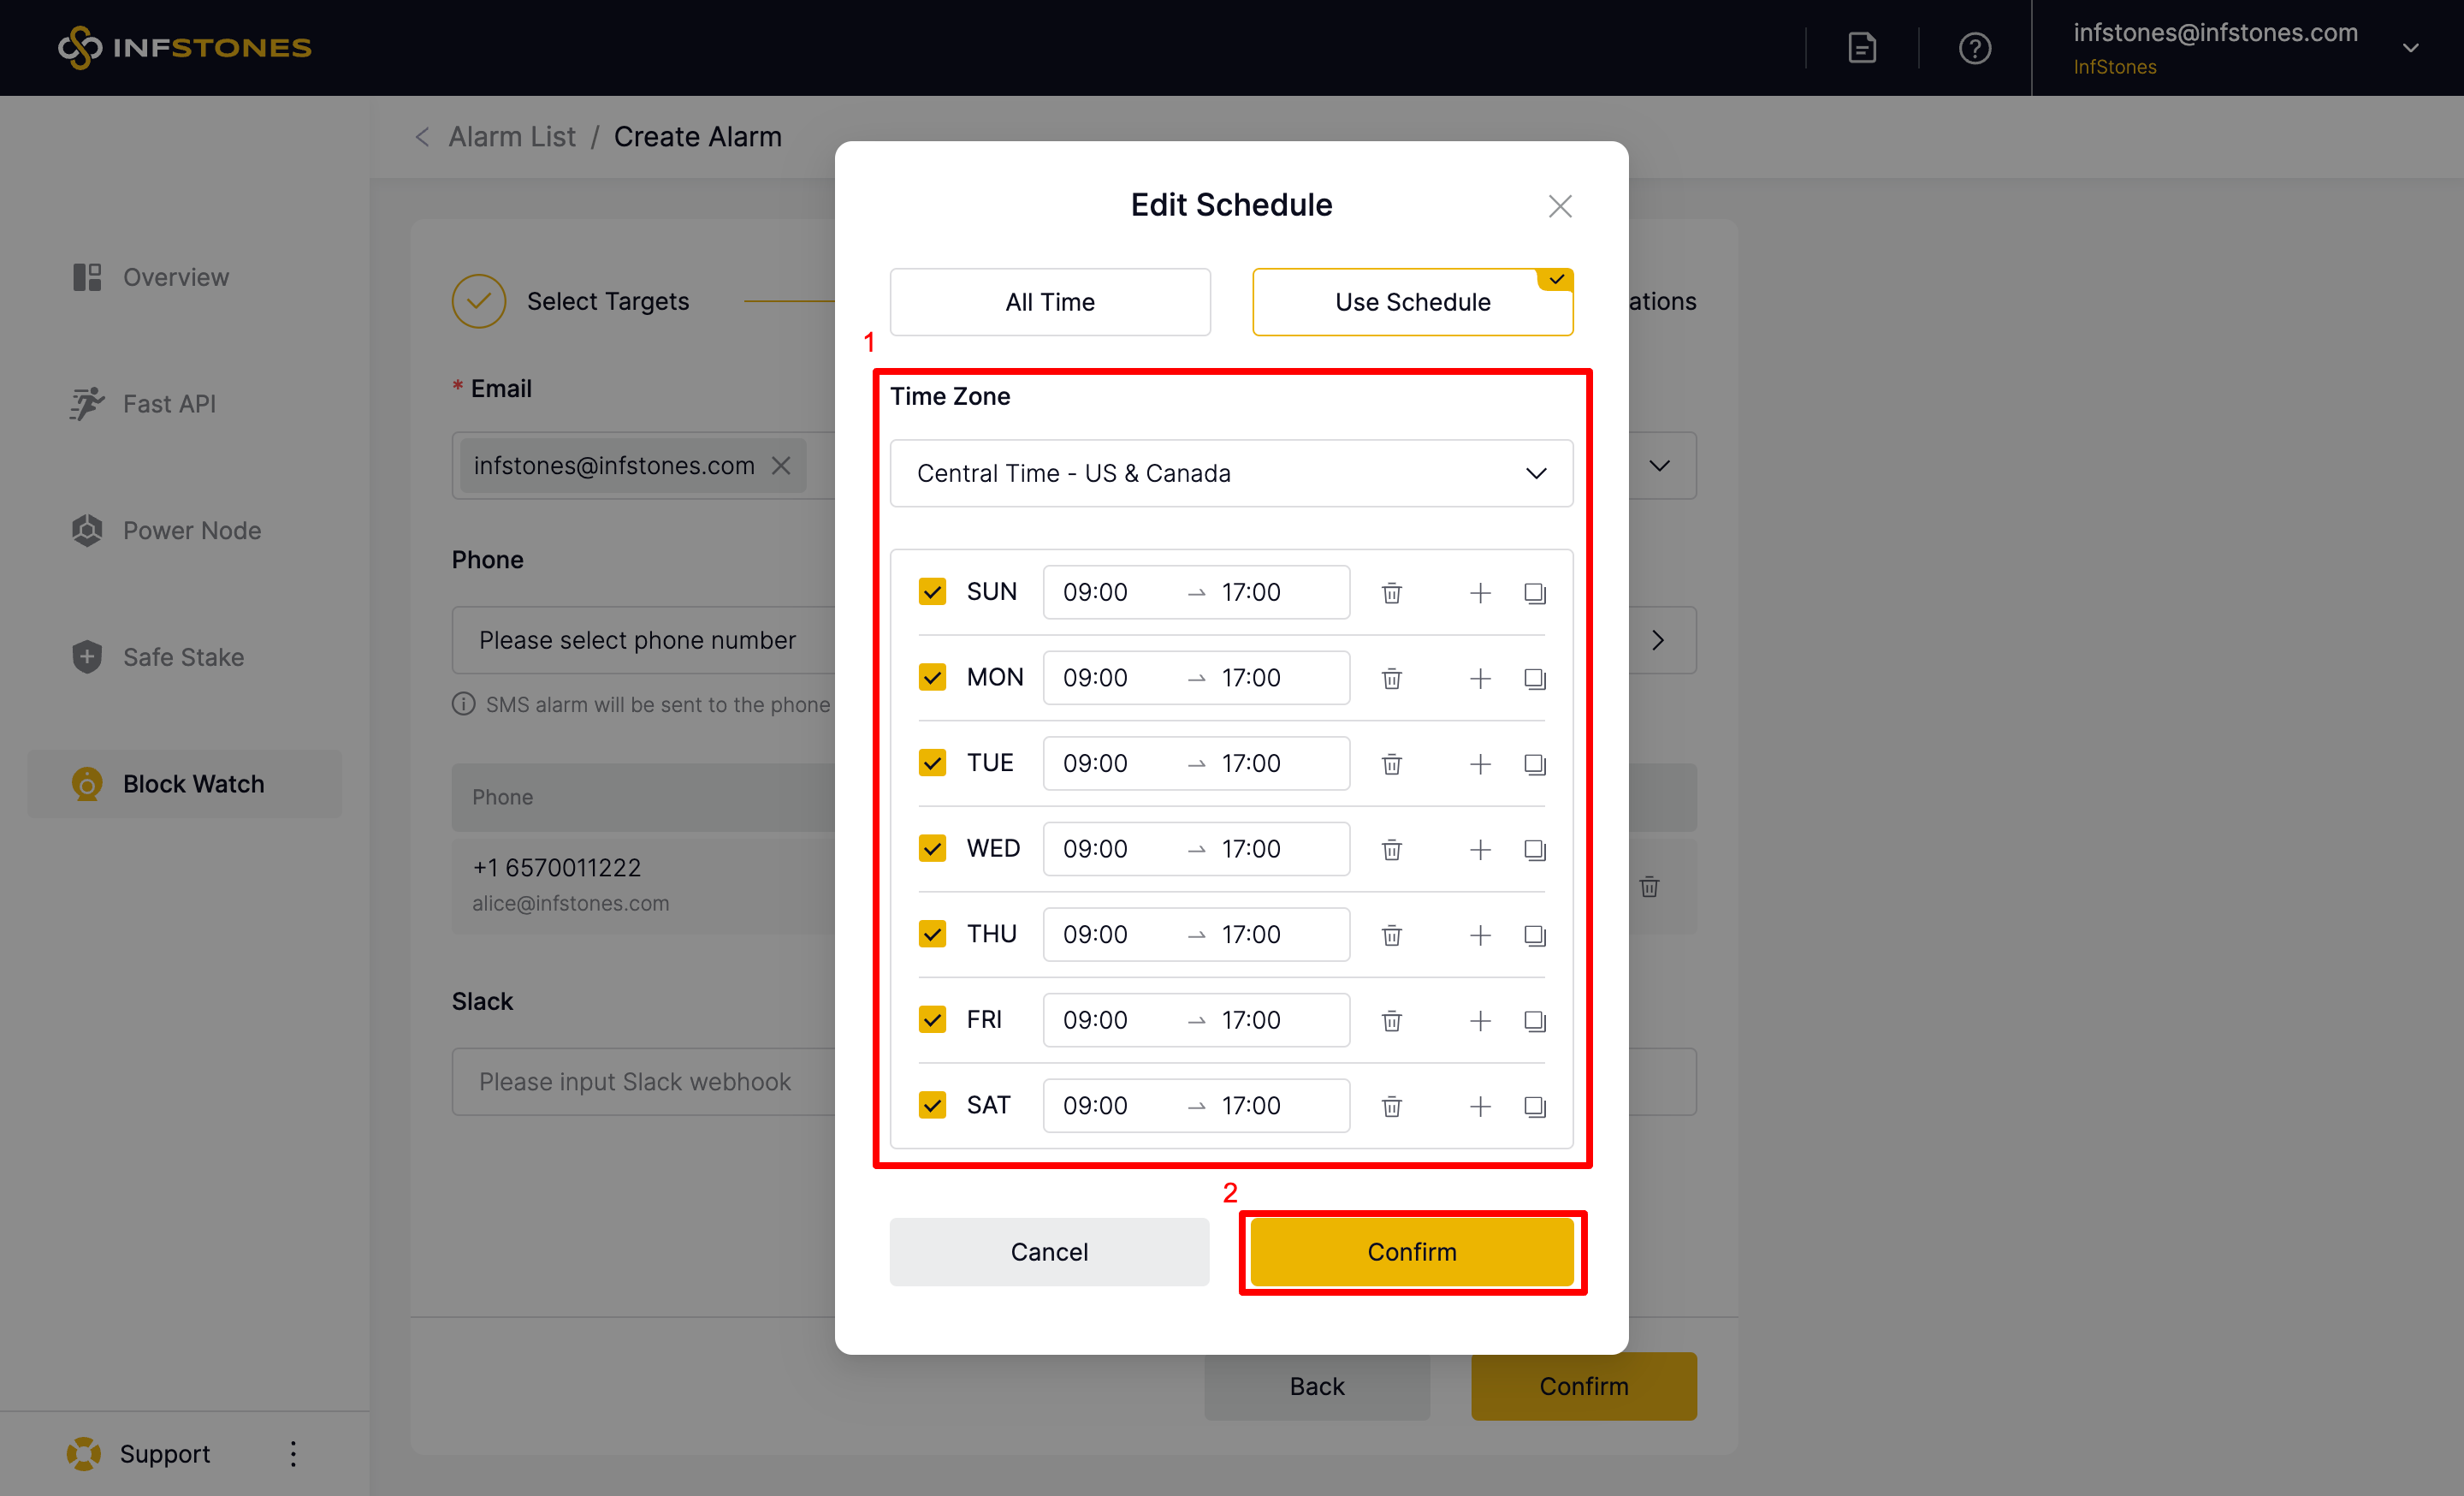
If you choose Phone as one of the notification methods, you can set up flexible phone notifications to different organization users at different times by clicking Edit and applying the option of Use Schedule.
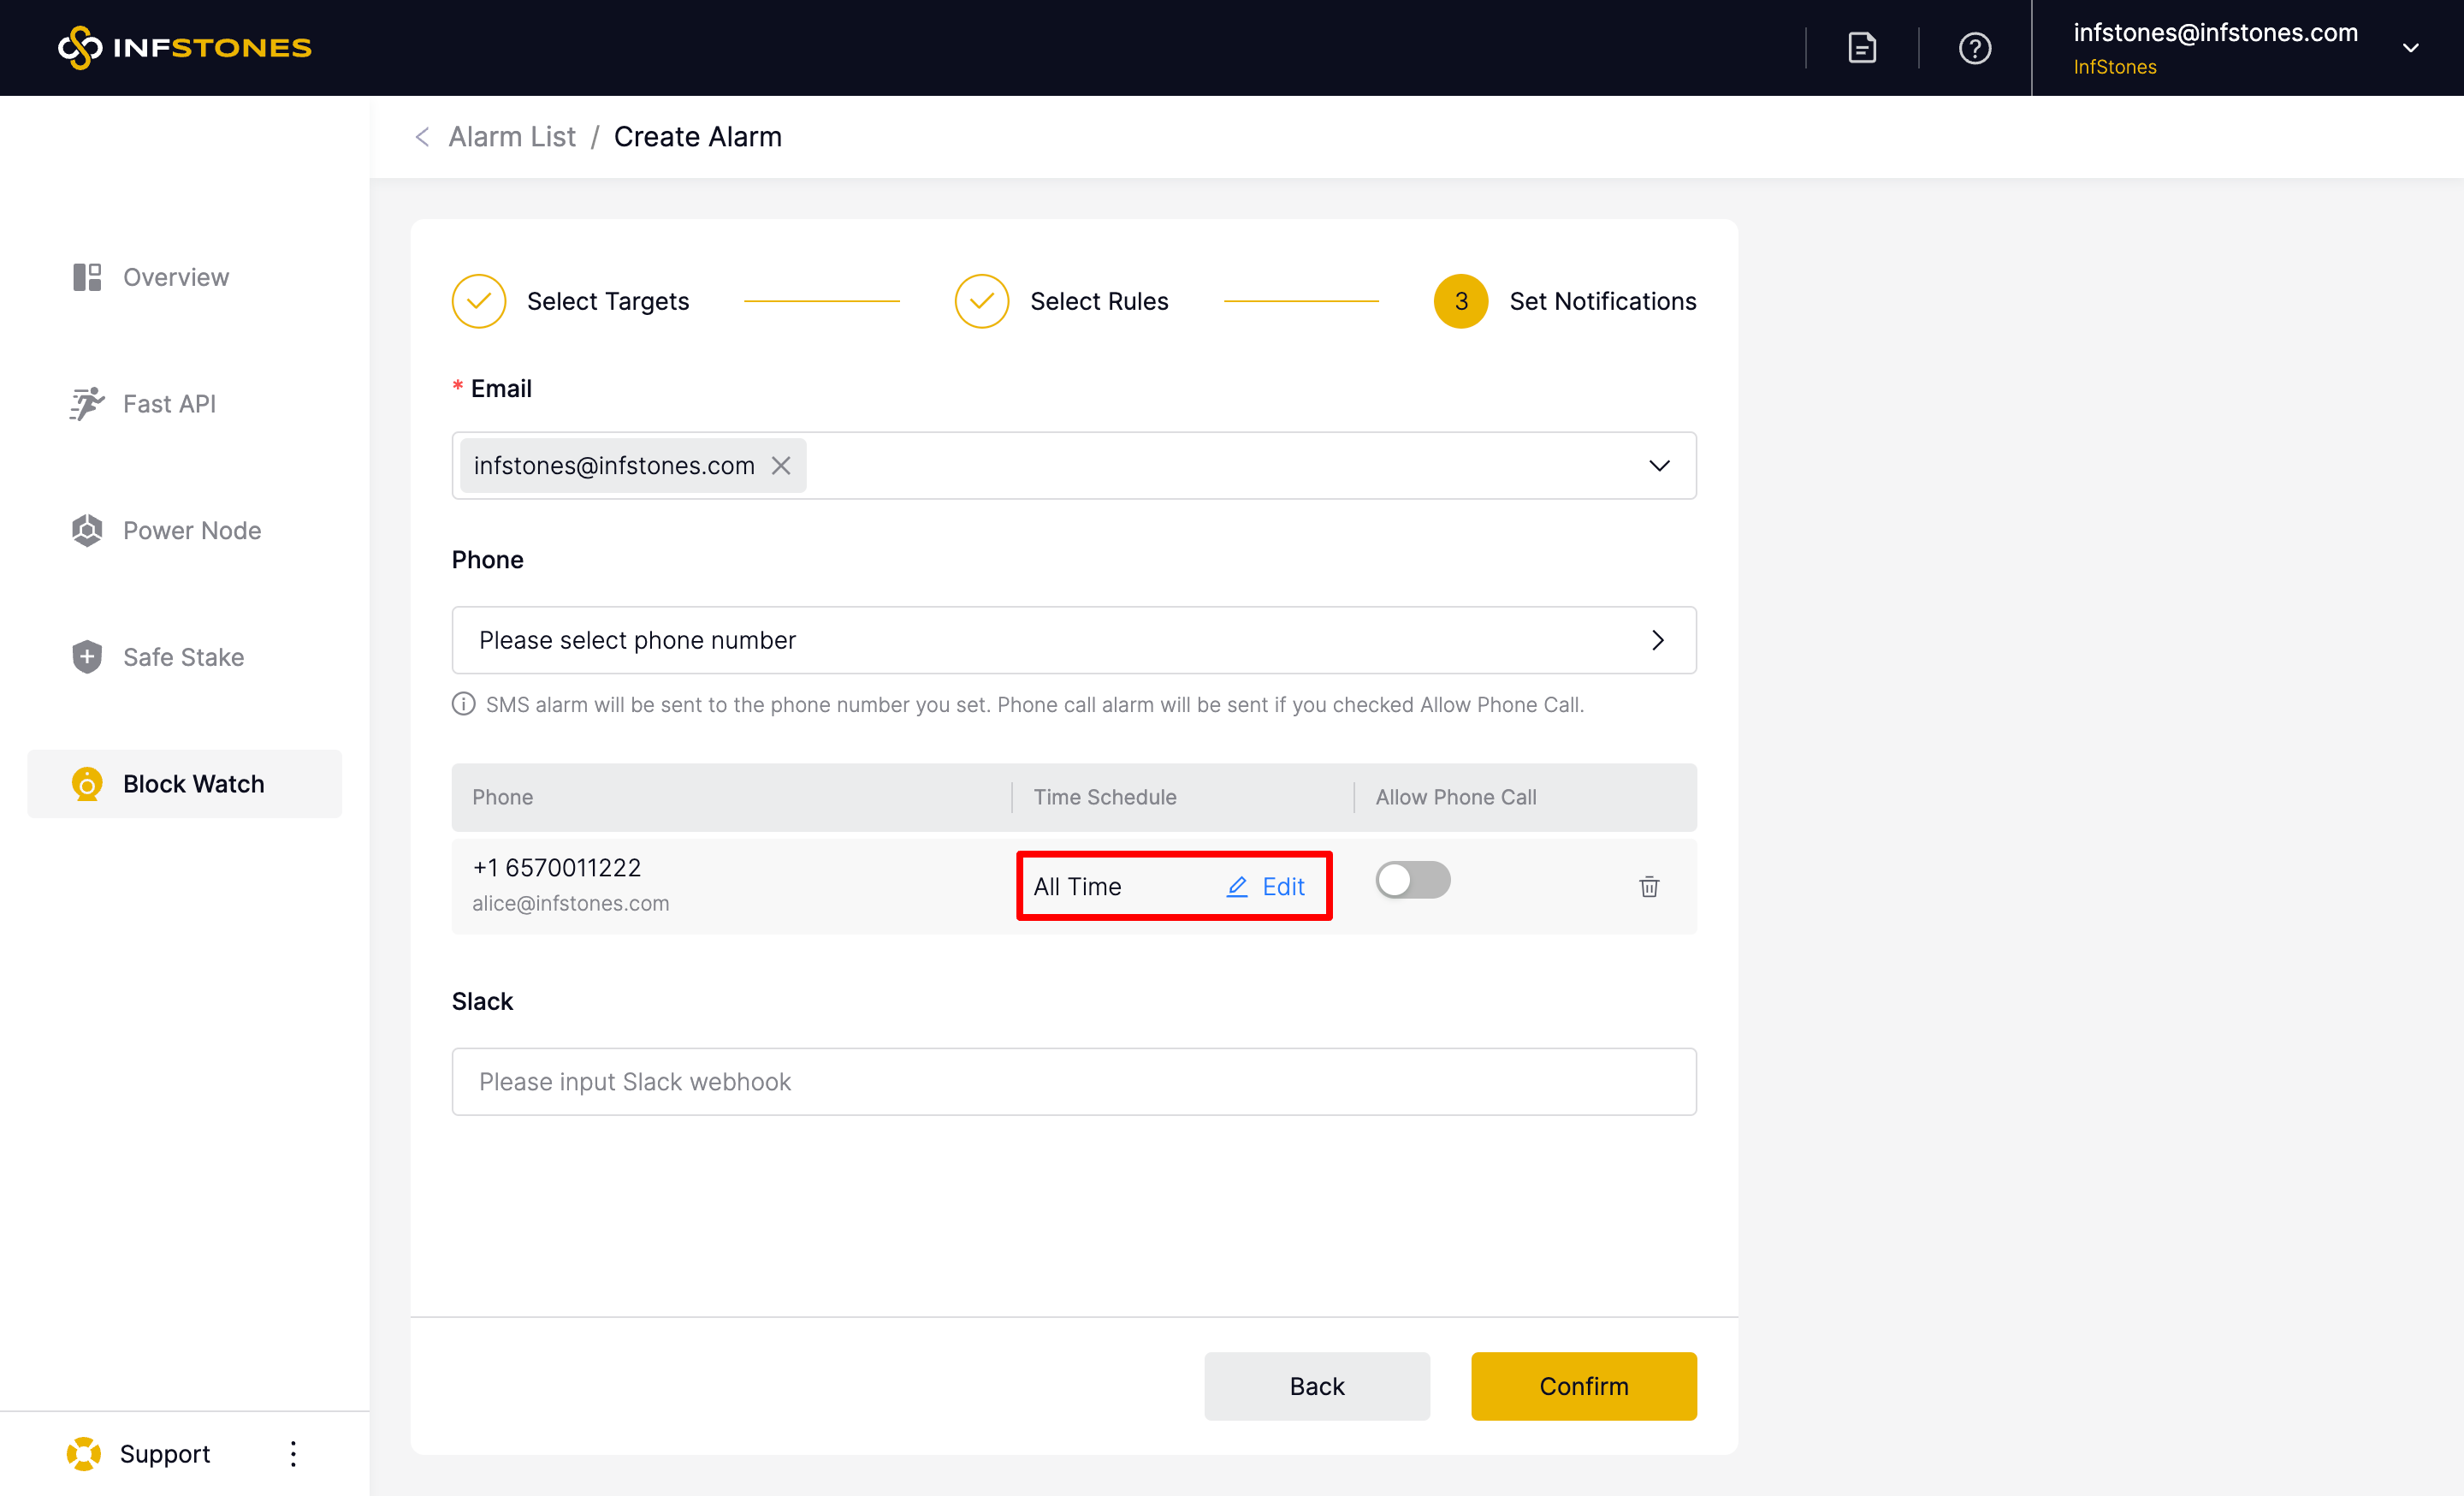

For instance, you can configure the system to send a phone call to a US number during US daytime if the API is overused, and to a Chinese number during China daytime for the same event. Click the Confirm button to proceed.
After selecting your preferred notification methods, click the Confirm button to complete the process.
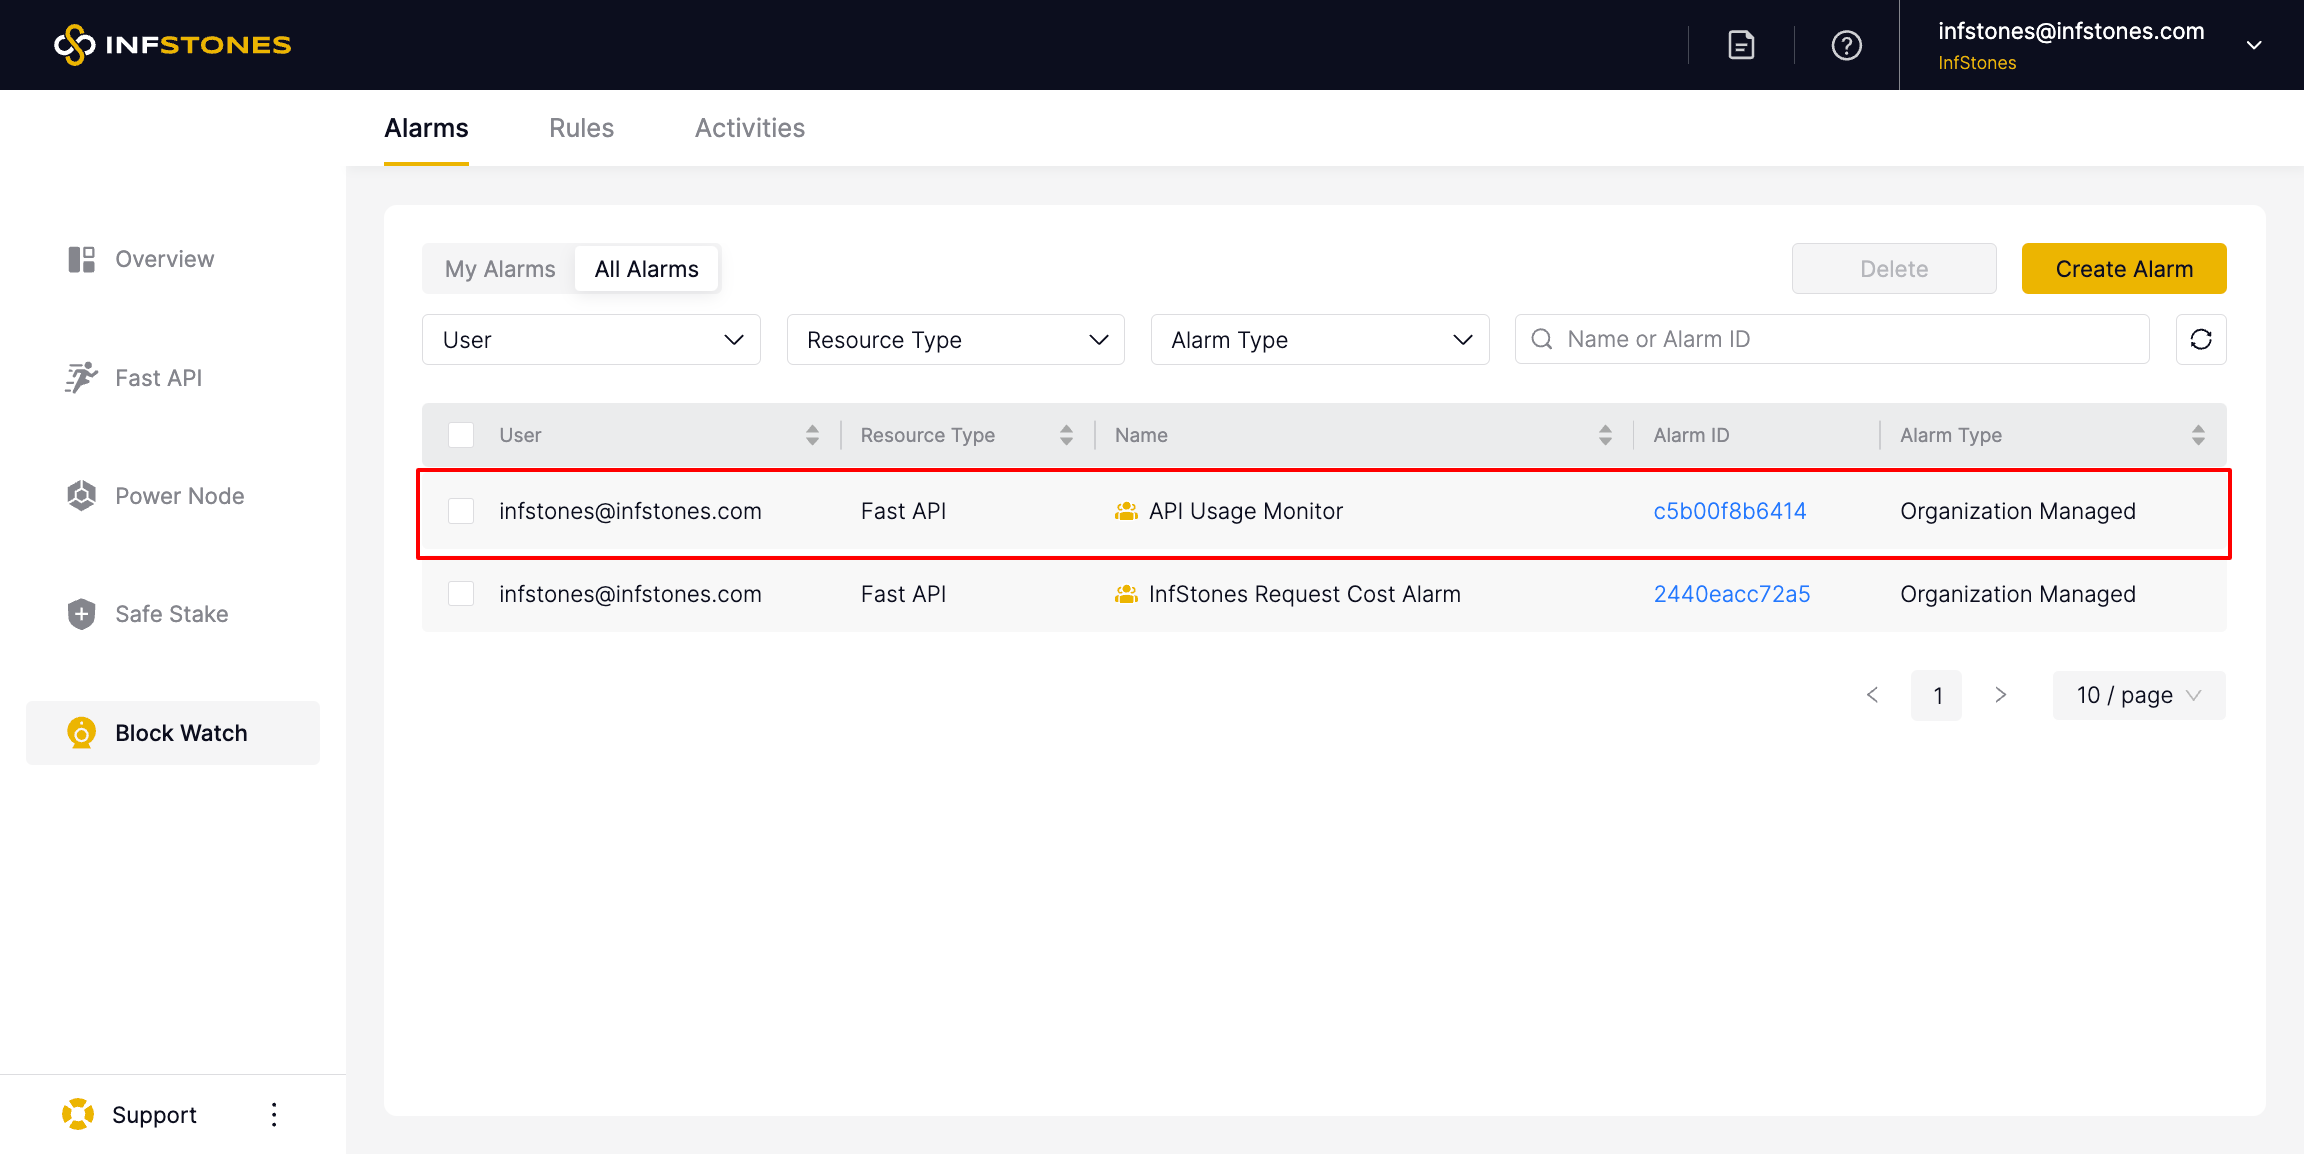
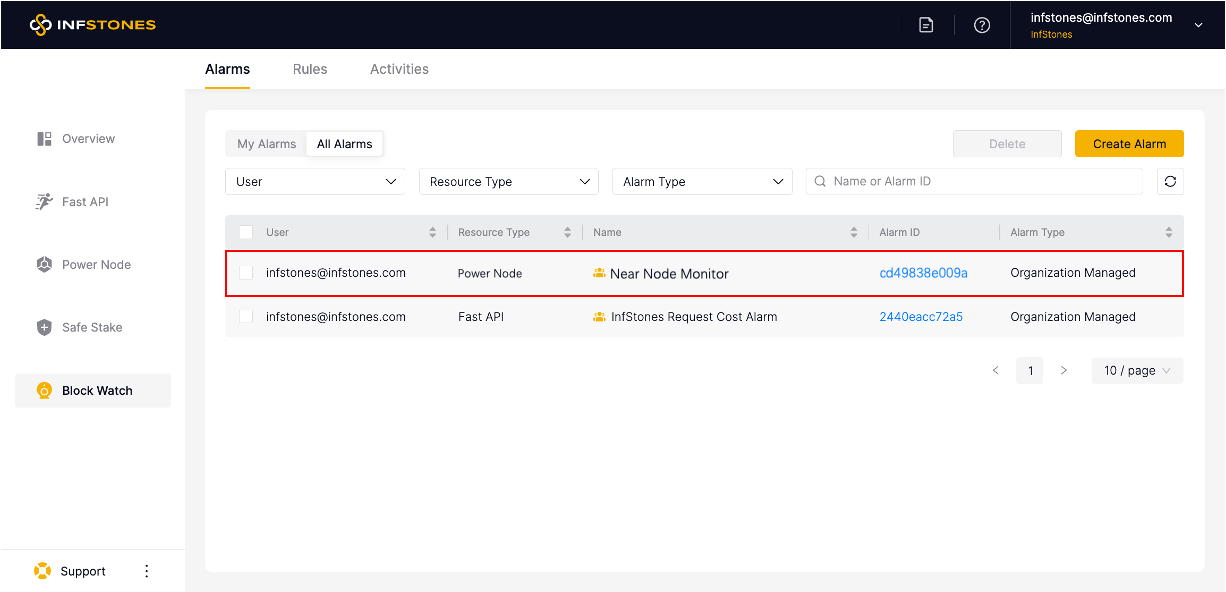
The newly created alarm should now be displayed on the Alarms page.
4 Create Alarm for Power Node
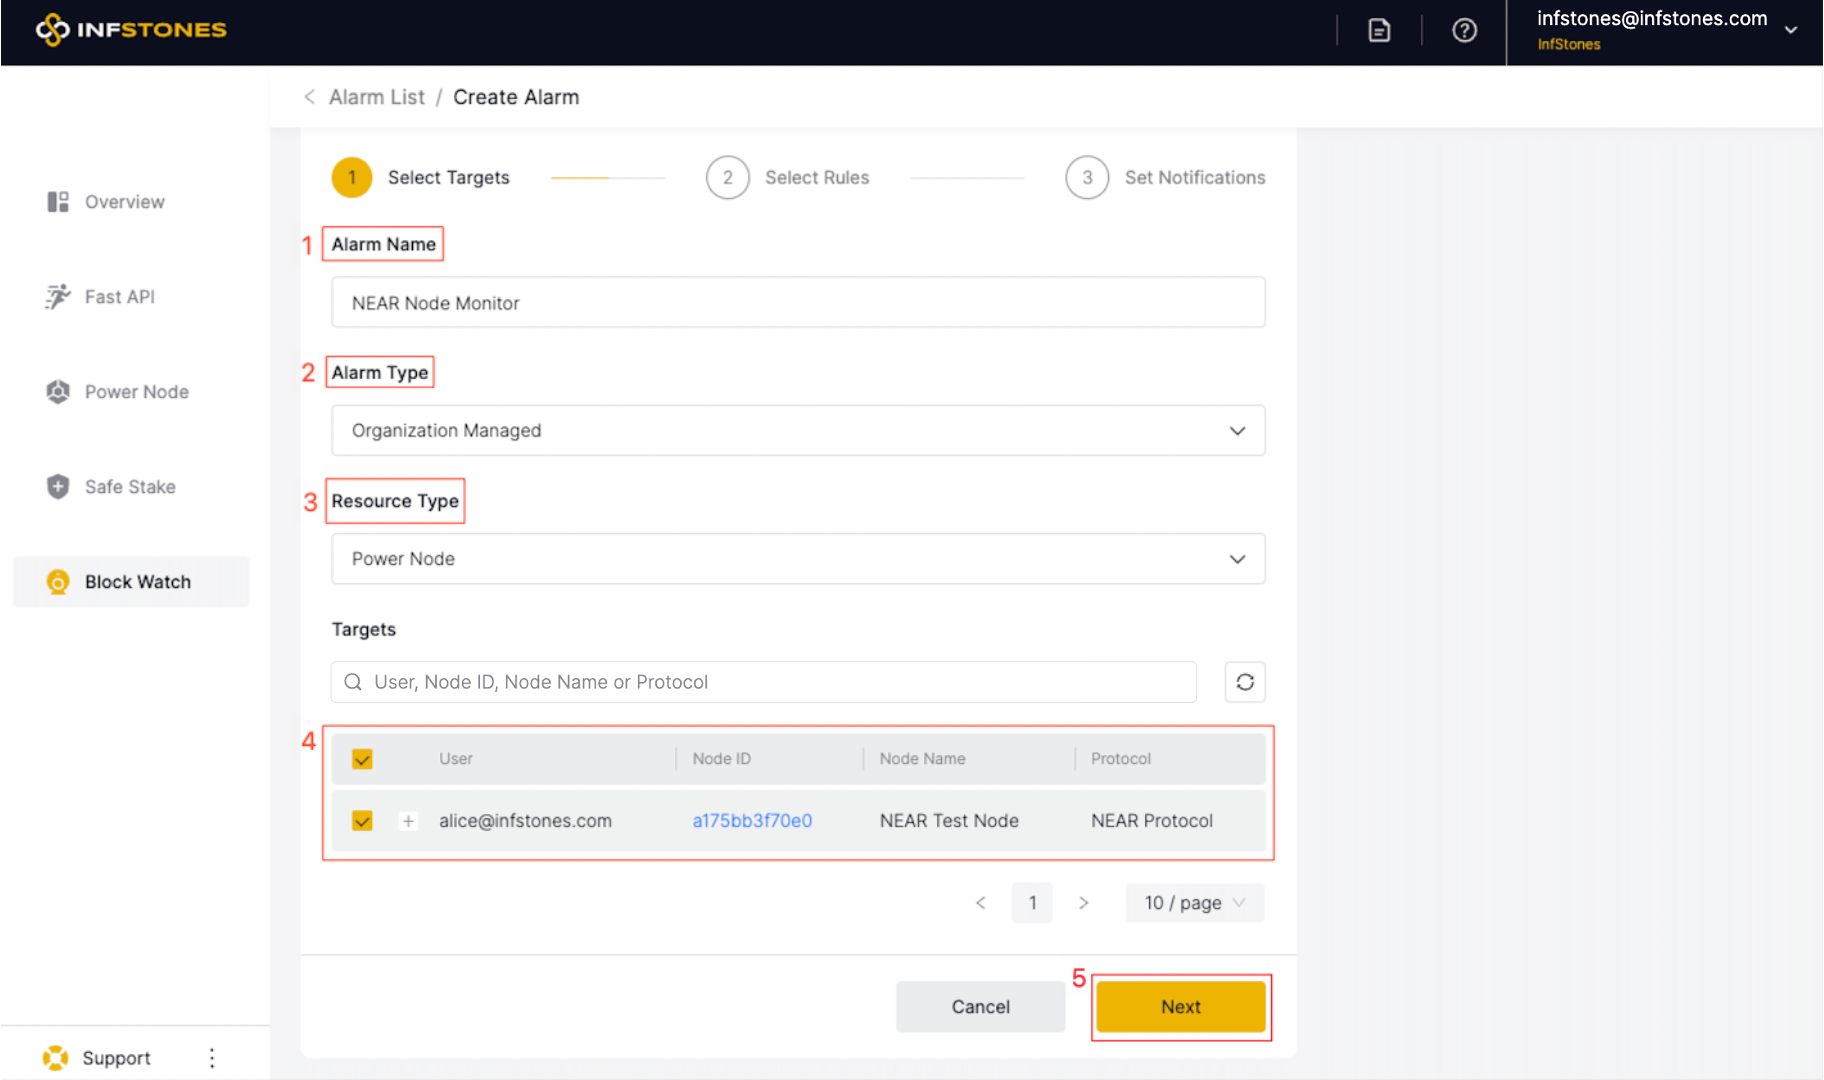
To create an alarm for Power Node, go to Block Watch page, click the Create Alarm button, and you will forward to the Create Alarm page.
First, give your alarm a name that clearly identifies the monitored service. Then, choose the Alarm Type as Power Node. There are two Alarm Type: Member Managed and Organization Managed.
Then select the resource type as Power Node.
An alarm can monitor multiple targets at the same time. In the case of a Power Node alarm, the target will be the nodes you launched.
Once you have selected your desired targets, click the Next button to proceed.
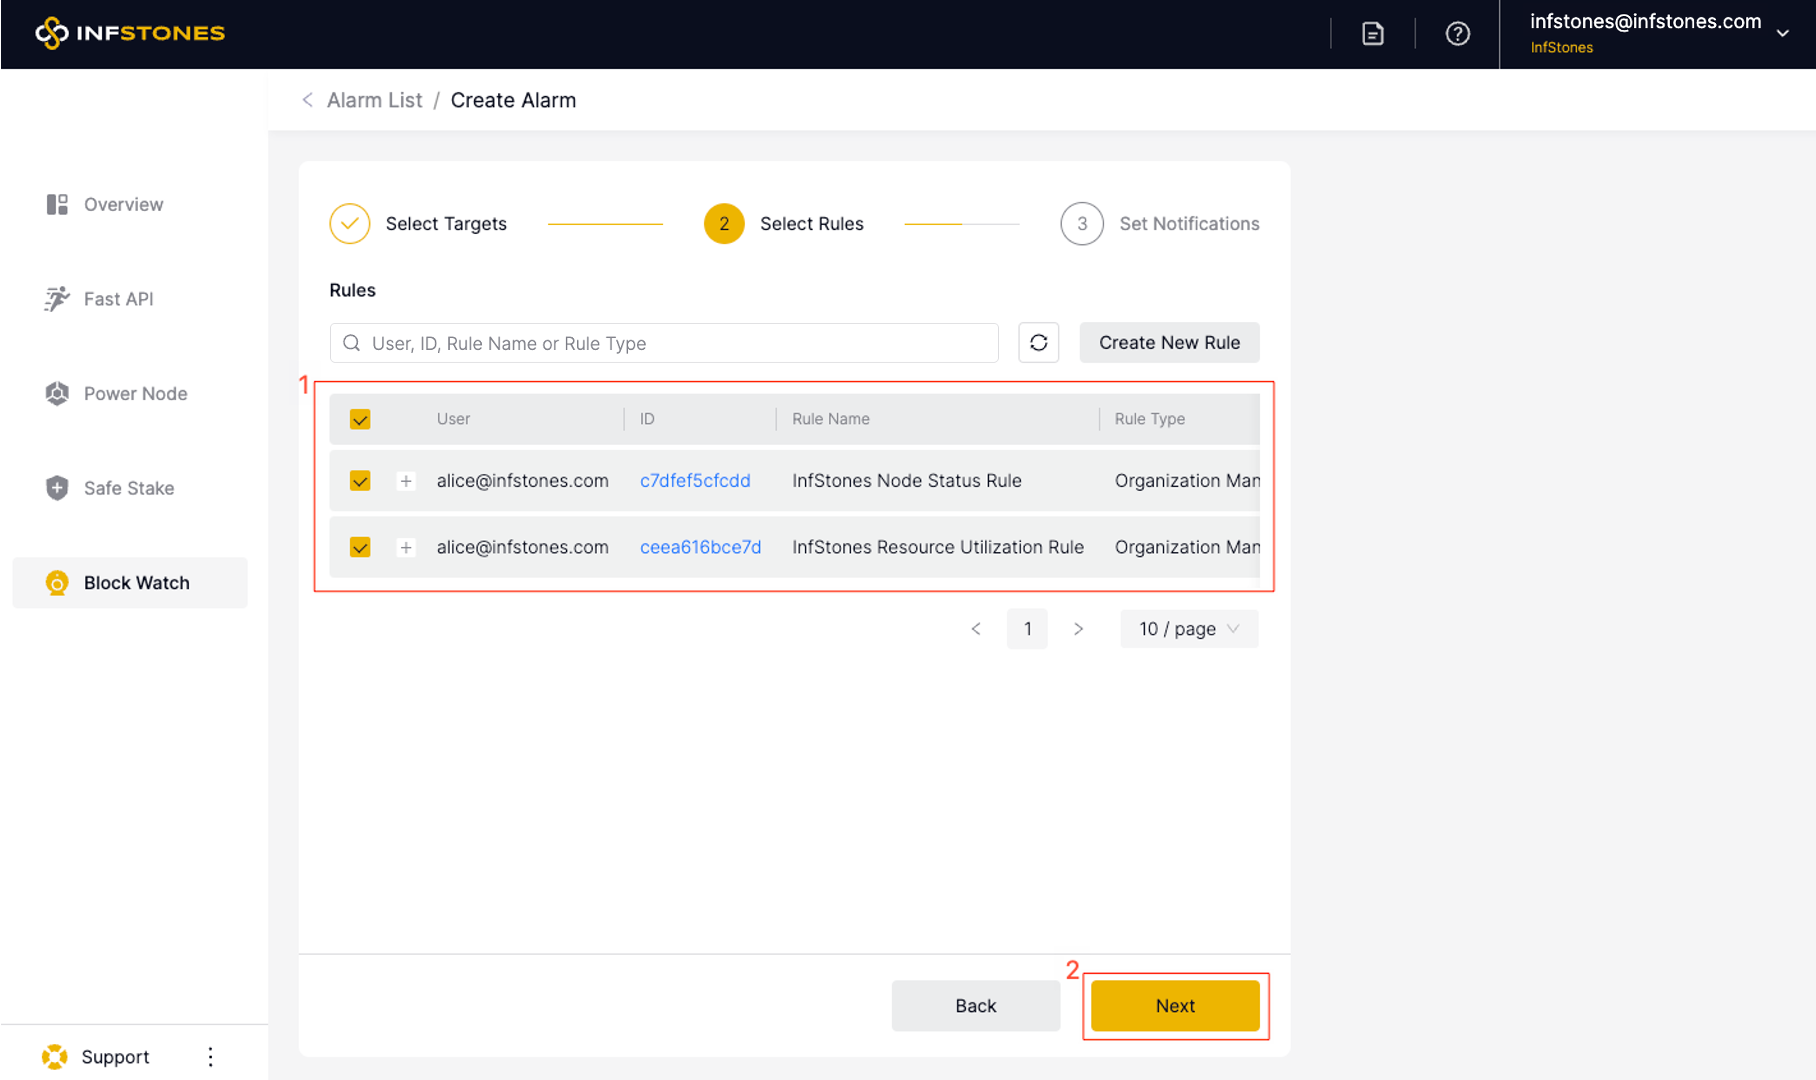
The next step is to select rules for your new alarm. Each alarm can have multiple rules that define various trigger conditions. Whenever any of these conditions specified in any rule are met, you will receive a notification.
You can either select from existing rules or quickly create a new one by selecting the Create New Rule option. Once you have selected the desired rules, click the Next button to proceed.
Next, configure your notification methods. Our platform supports various methods of notification, including email, phone, and Slack. Email notifications are enabled by default, while phone and Slack notifications are optional.
If you choose Phone as one of the notification methods, you can set up flexible phone notifications to different organization users at different times by clicking Edit and applying the option of Use Schedule.
For instance, you can configure the system to send a phone call to a US number during US daytime if the API is overused, and to a Chinese number during China daytime for the same event. Click the Confirm button to proceed.
After selecting your preferred notification methods, click the Confirm button to complete the process.
The newly created alarm should now be displayed on the Alarms page.
Updated 6 months ago