Run Rivalz zNode
1 Purchase Rivalz zNode
1.1 Connect Wallet
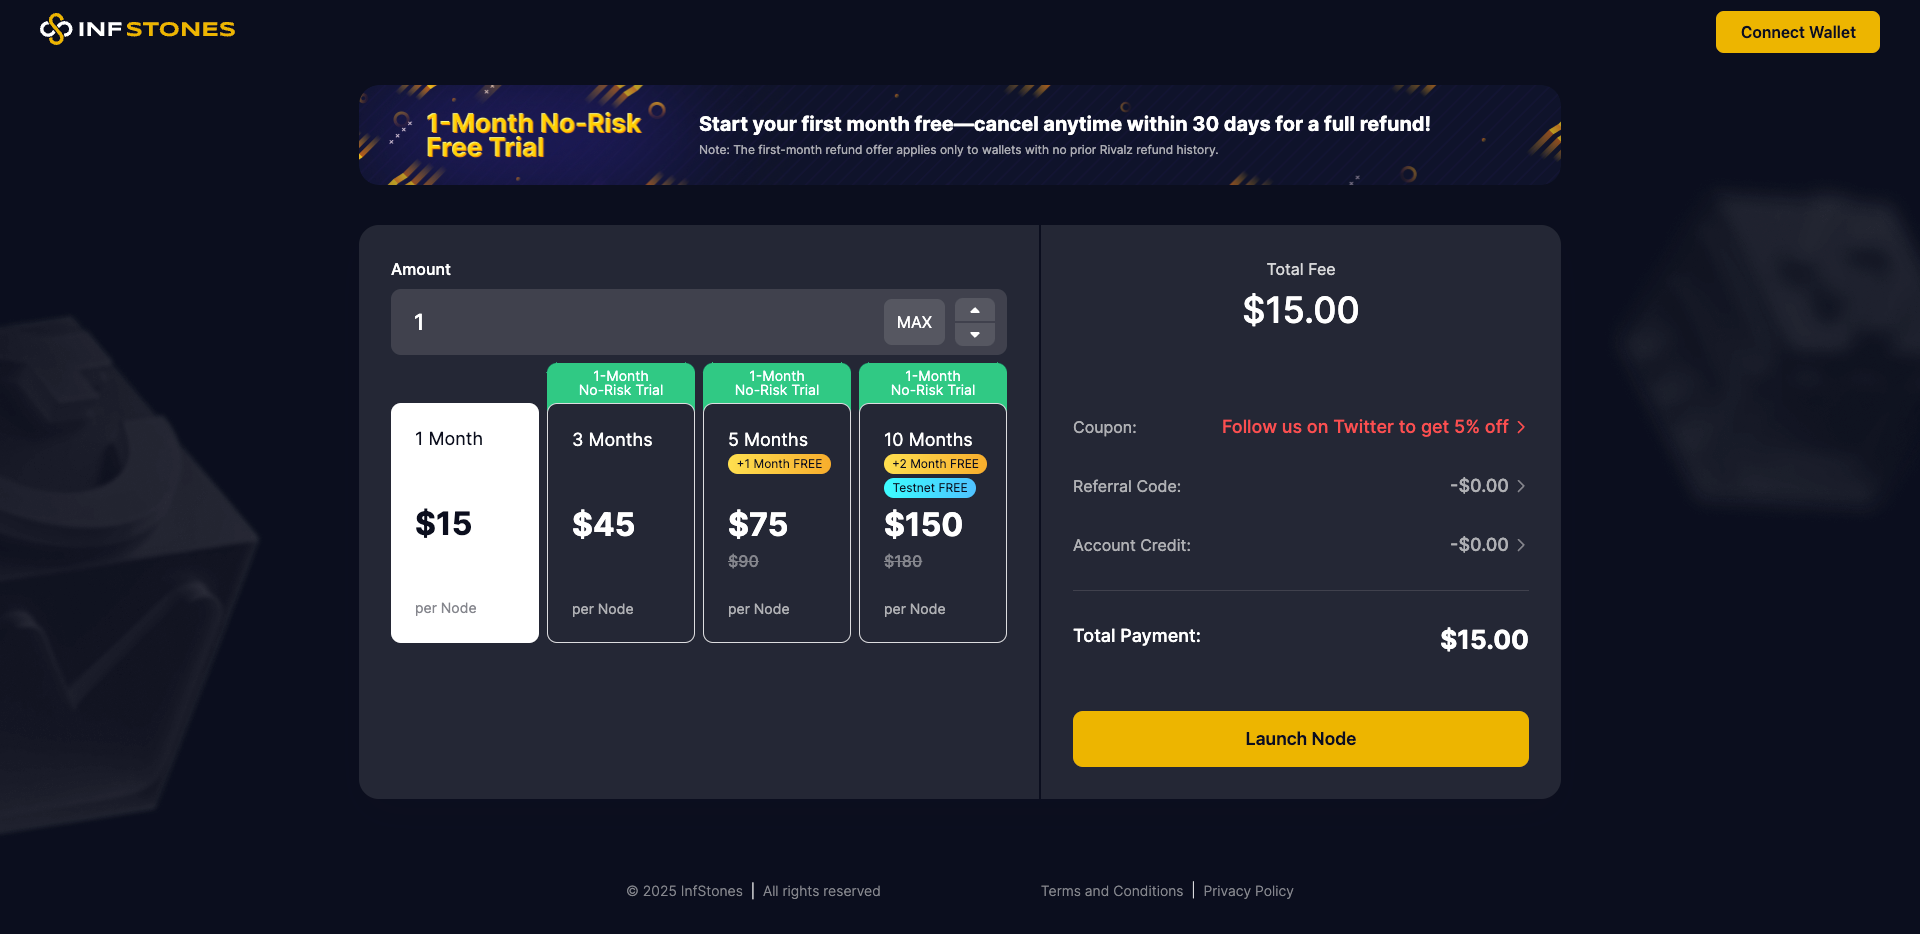
Go to InfStones Rivalz Node Service Dapp at https://app.infstones.com/rivalz, and click the "Connect Wallet" button on the upper right corner. You can choose your preferred wallet to connect.
1.2 Select Preferred Node Package
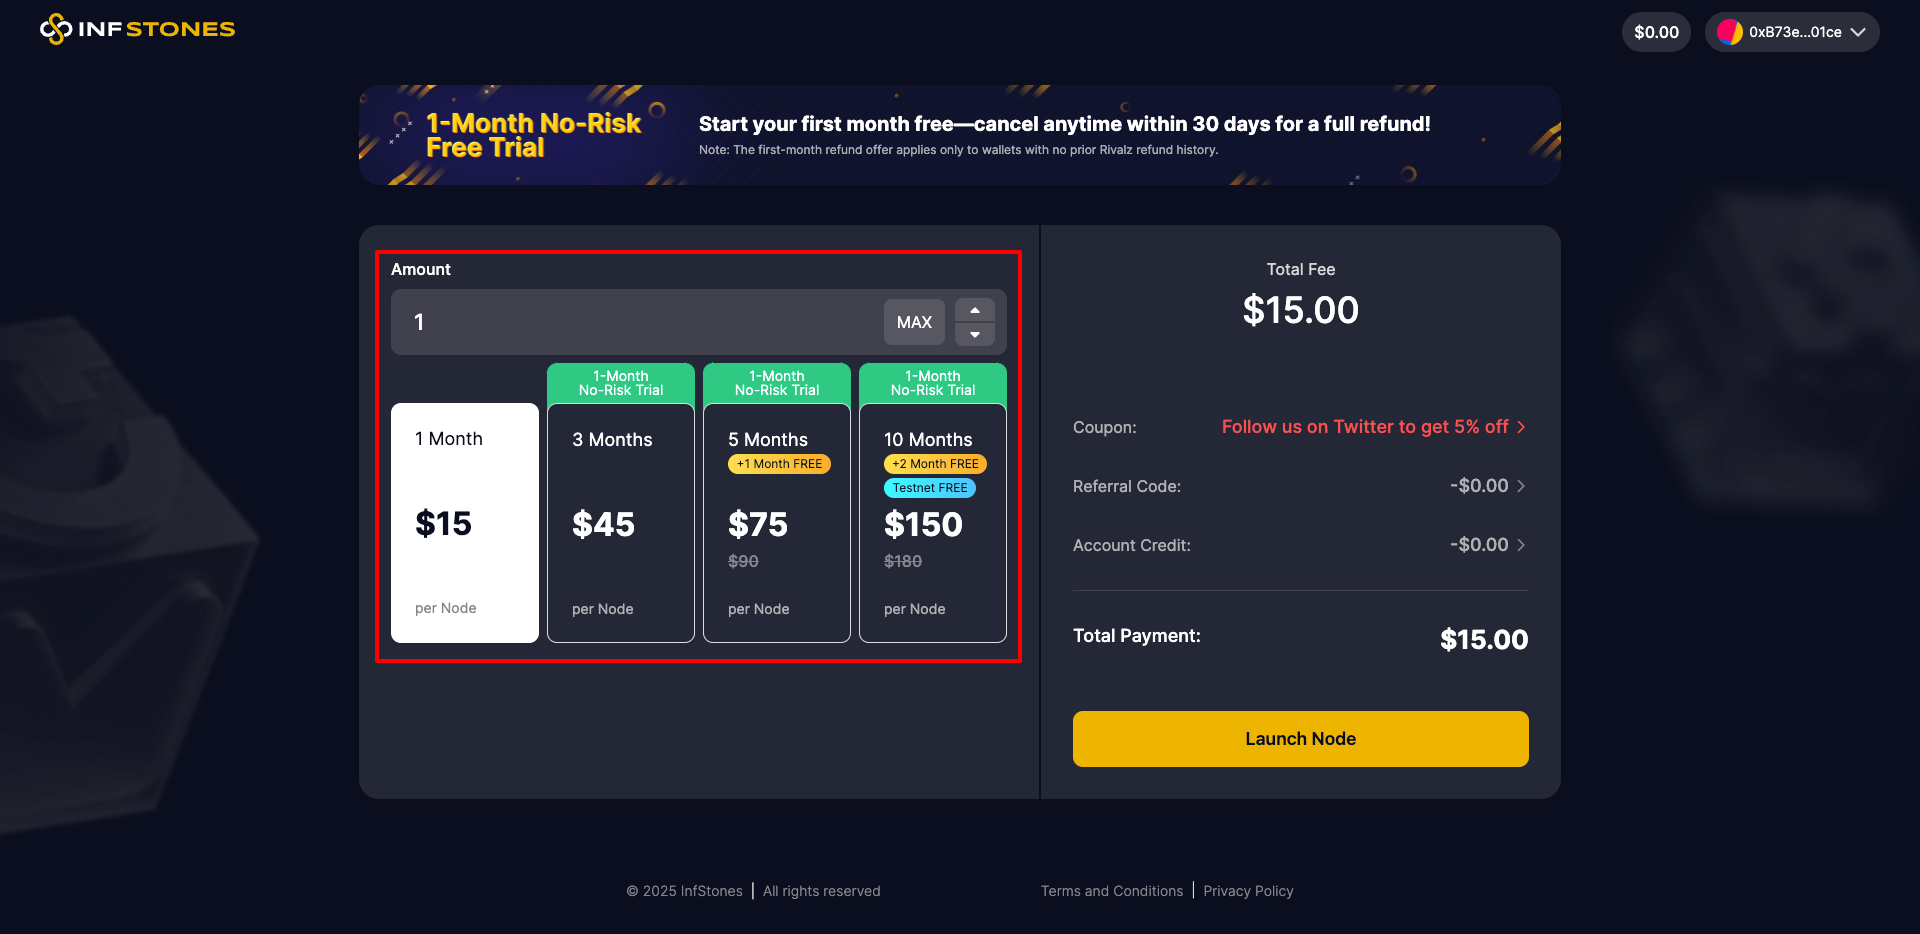
After connecting, you can customize the amount and duration of the node package you are about to purchase. The total price will vary depending on the customization. You can select up to 10 nodes and a package duration of 1, 3, 6, and 12 months in one single purchase.
1.3 Follow Us on Twitter for Discount
By following InfStones on Twitter, you are eligible to get 5% off when you purchase.
Note: You must authorize the app to follow by clicking on the area marked with the red box in the image below in order to get the coupon.

1.4 Apply Referral Code for Discount
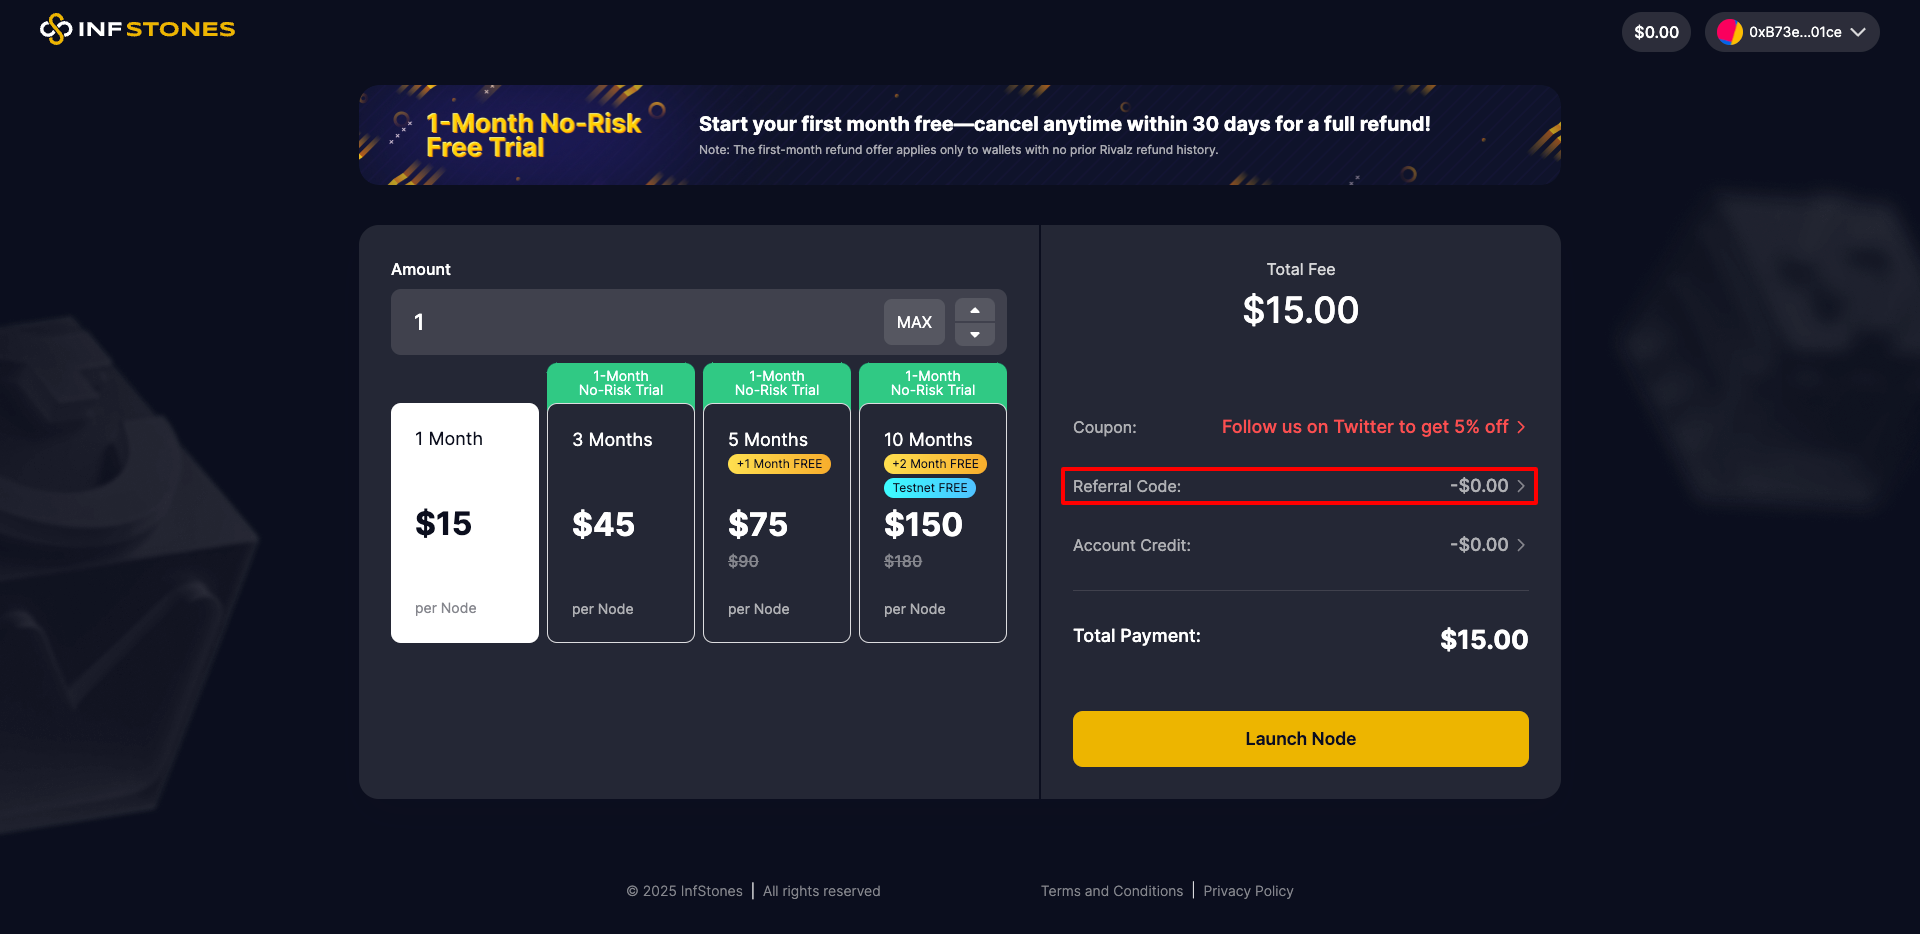
Furthermore, you can click on the area marked with the red box in the image below and enter a referral code to get an extra 5% discount on the total amount!
1.5 Complete Purchase
By clicking the ‘Launch Node’ button, you can access the purchasing process. InfStones supports two types of payment methods, including credit card and crypto. You will find your Rivalz zNode after completing the payment.
1.6 Check Node ID
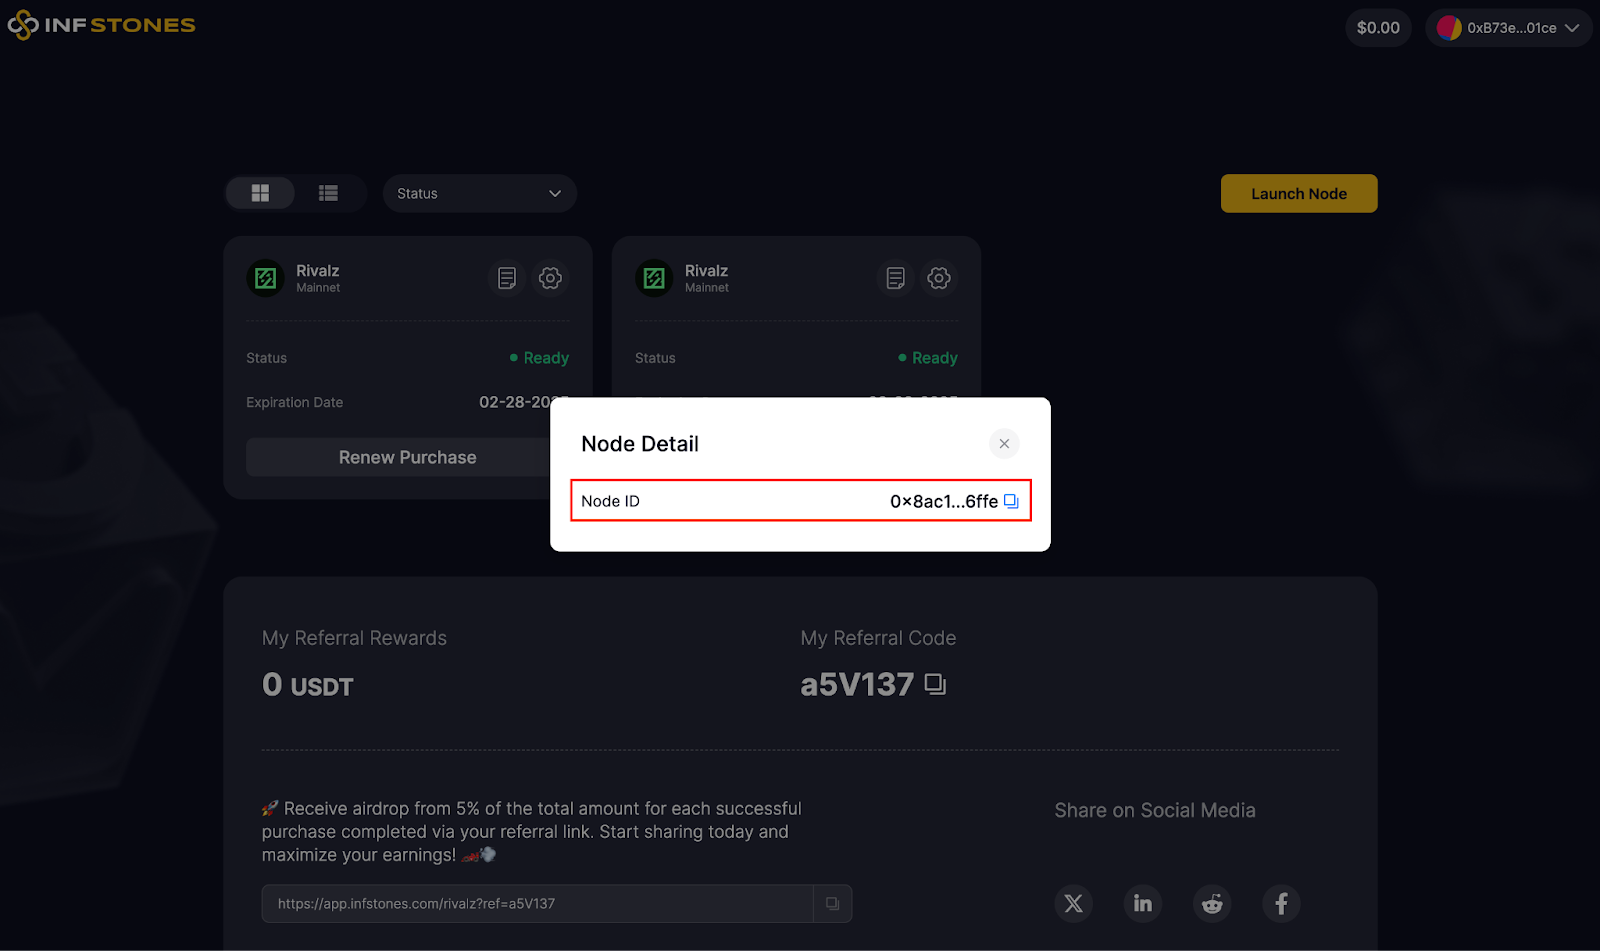
By clicking the ‘Launch Node’ button, you can access the purchasing process. InfStones supports two types of payment methods, including credit card and crypto. You will find your Rivalz zNode after completing the payment.
Note: The ID of each node is the credential for delegation, please ensure it is only visible to yourself.
2 Delegate zNode Licenses
2.1 Log in to Rivalz Website
Go to https://znode.rivalz.ai and click the "Connect Wallet" button in the upper right corner to log in. The zNode licenses in your account should show up under the "Licenses" page.
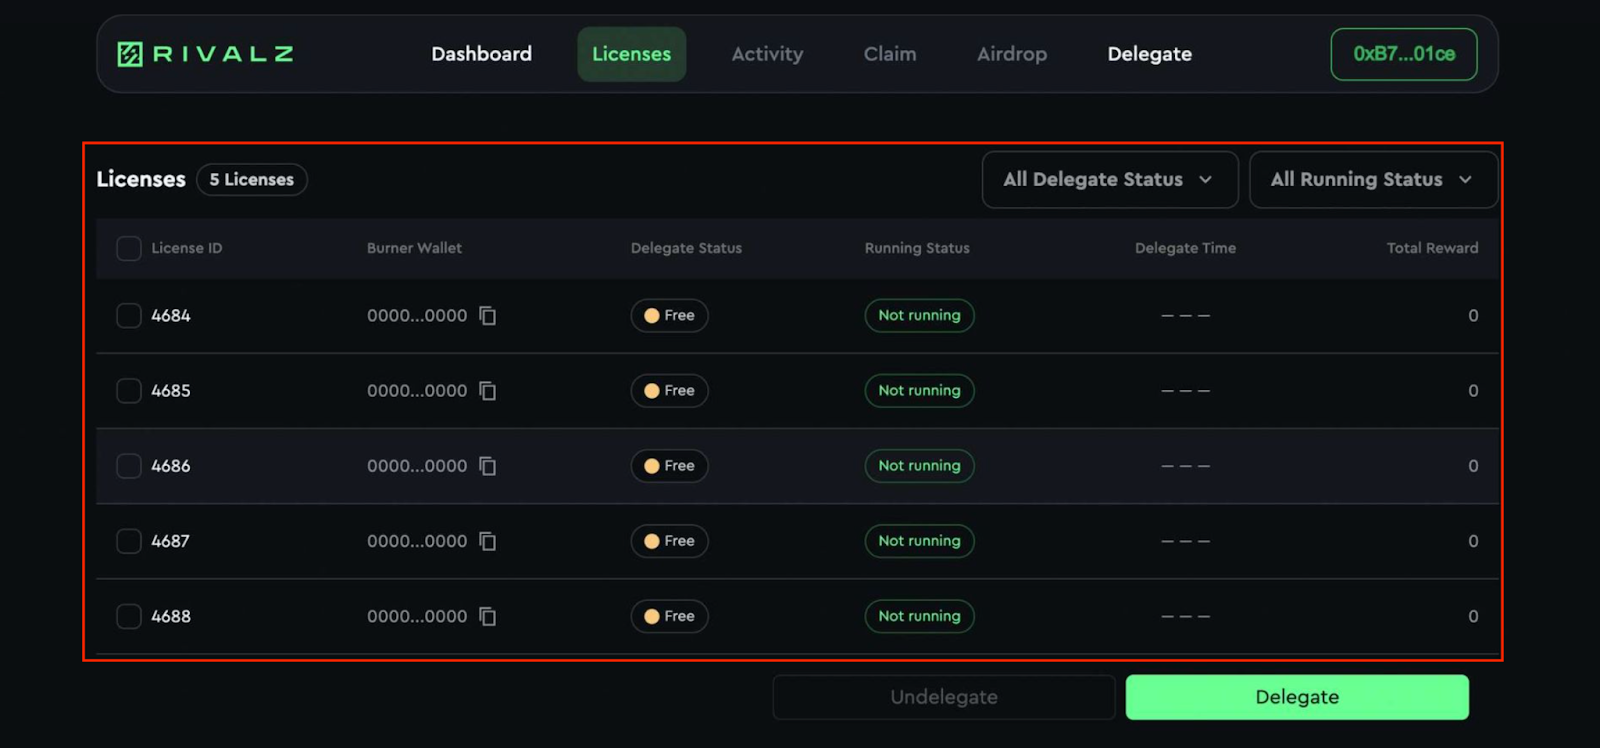
2.2 Delegate to your zNode
You can select the License IDs you would like to delegate and click the "Delegate" button.
Copy and paste the Node ID from Step 1.6 into the pop-up window’s first line, and enter the number of licenses to delegate.
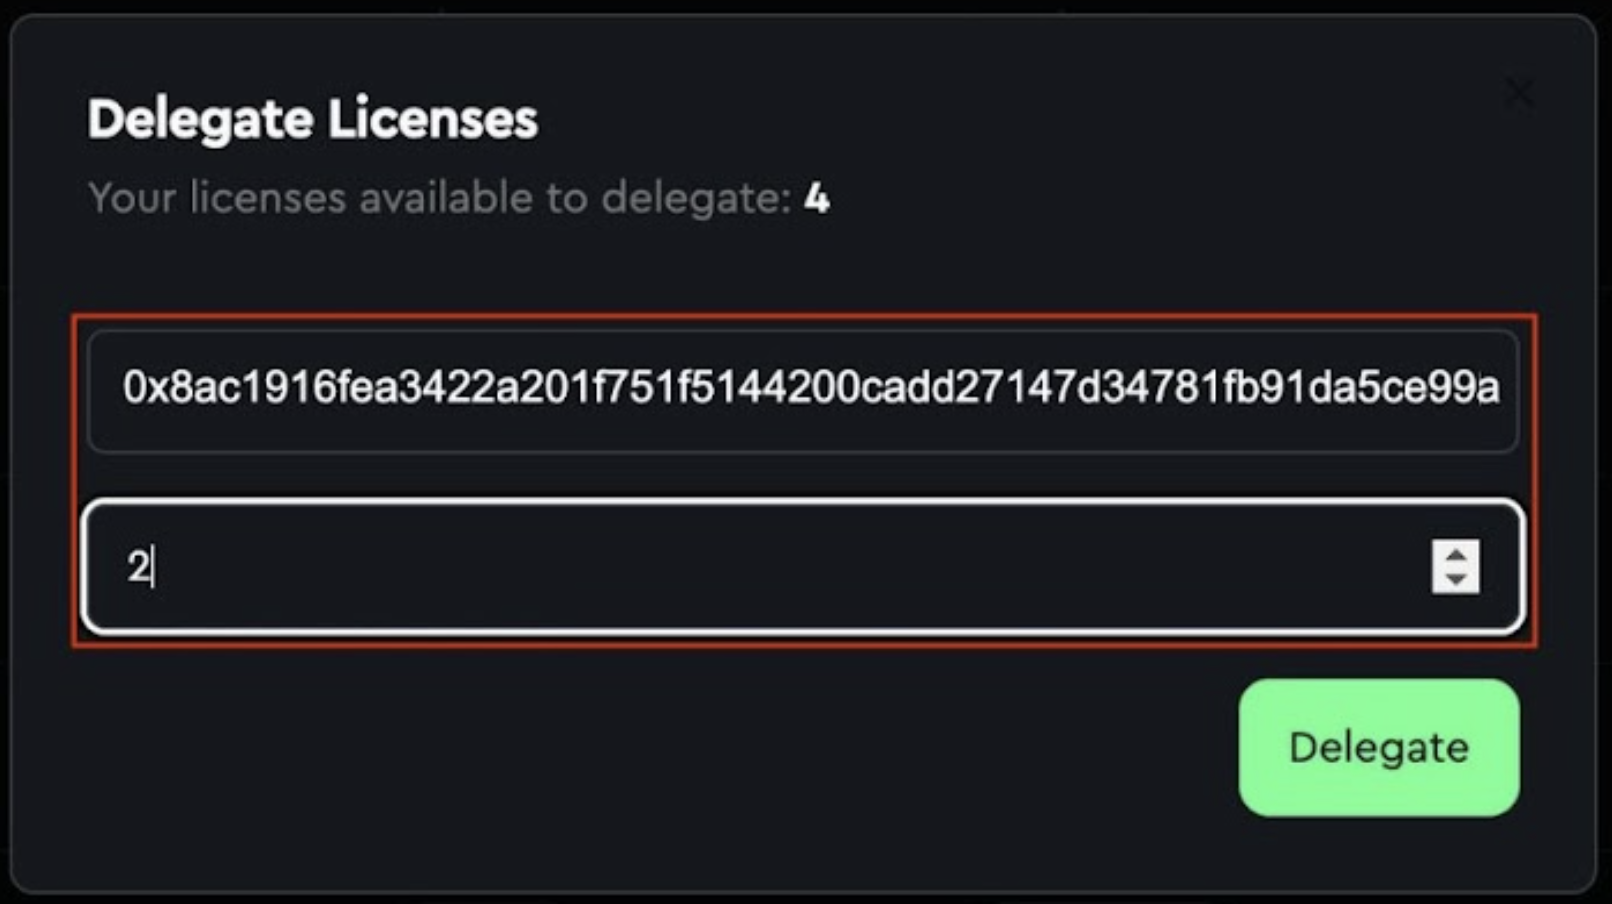
After clicking the "Delegate" button, you need to sign a transaction to confirm the delegation. Once successful, congratulations, your Rivalz zNode delegation is now fully set up.
Note: The delegation process requires you to sign the transaction on the Arbitrum Blockchain, so you need to have a small network gas fee in the wallet beforehand.
Updated 8 months ago