Stake for NEAR Protocol
# 1 Overview
The NEAR Protocol allows users to participate in the network consensus and earn rewards by staking their NEAR tokens. Stakers receive a portion of the transaction fees generated by the inflation process, which is determined by the total amount of NEAR staked.
The staking information is highlighted in the table below:
| | |
| :--------------------- | :-------------------------------------------------- |
| Minimum Staking Amount | 30 NEAR registration fee for each validator. |
| Rewards Distribution | Automatically distributed to the validator address. |
| Unbonding Period | ~48 hours. |
| Compounding | Auto compounding. |
| Rewards Accumulation | Per epoch (~12 hours) |
> 📘
>
> Actual staking does not happen on InfStones. InfStones only allows you to create your own NEAR validator pools that you and other NEAR users can use to stake your tokens. Tokens are staked in a validator pool via the official NEAR wallet.
# 2 Stake
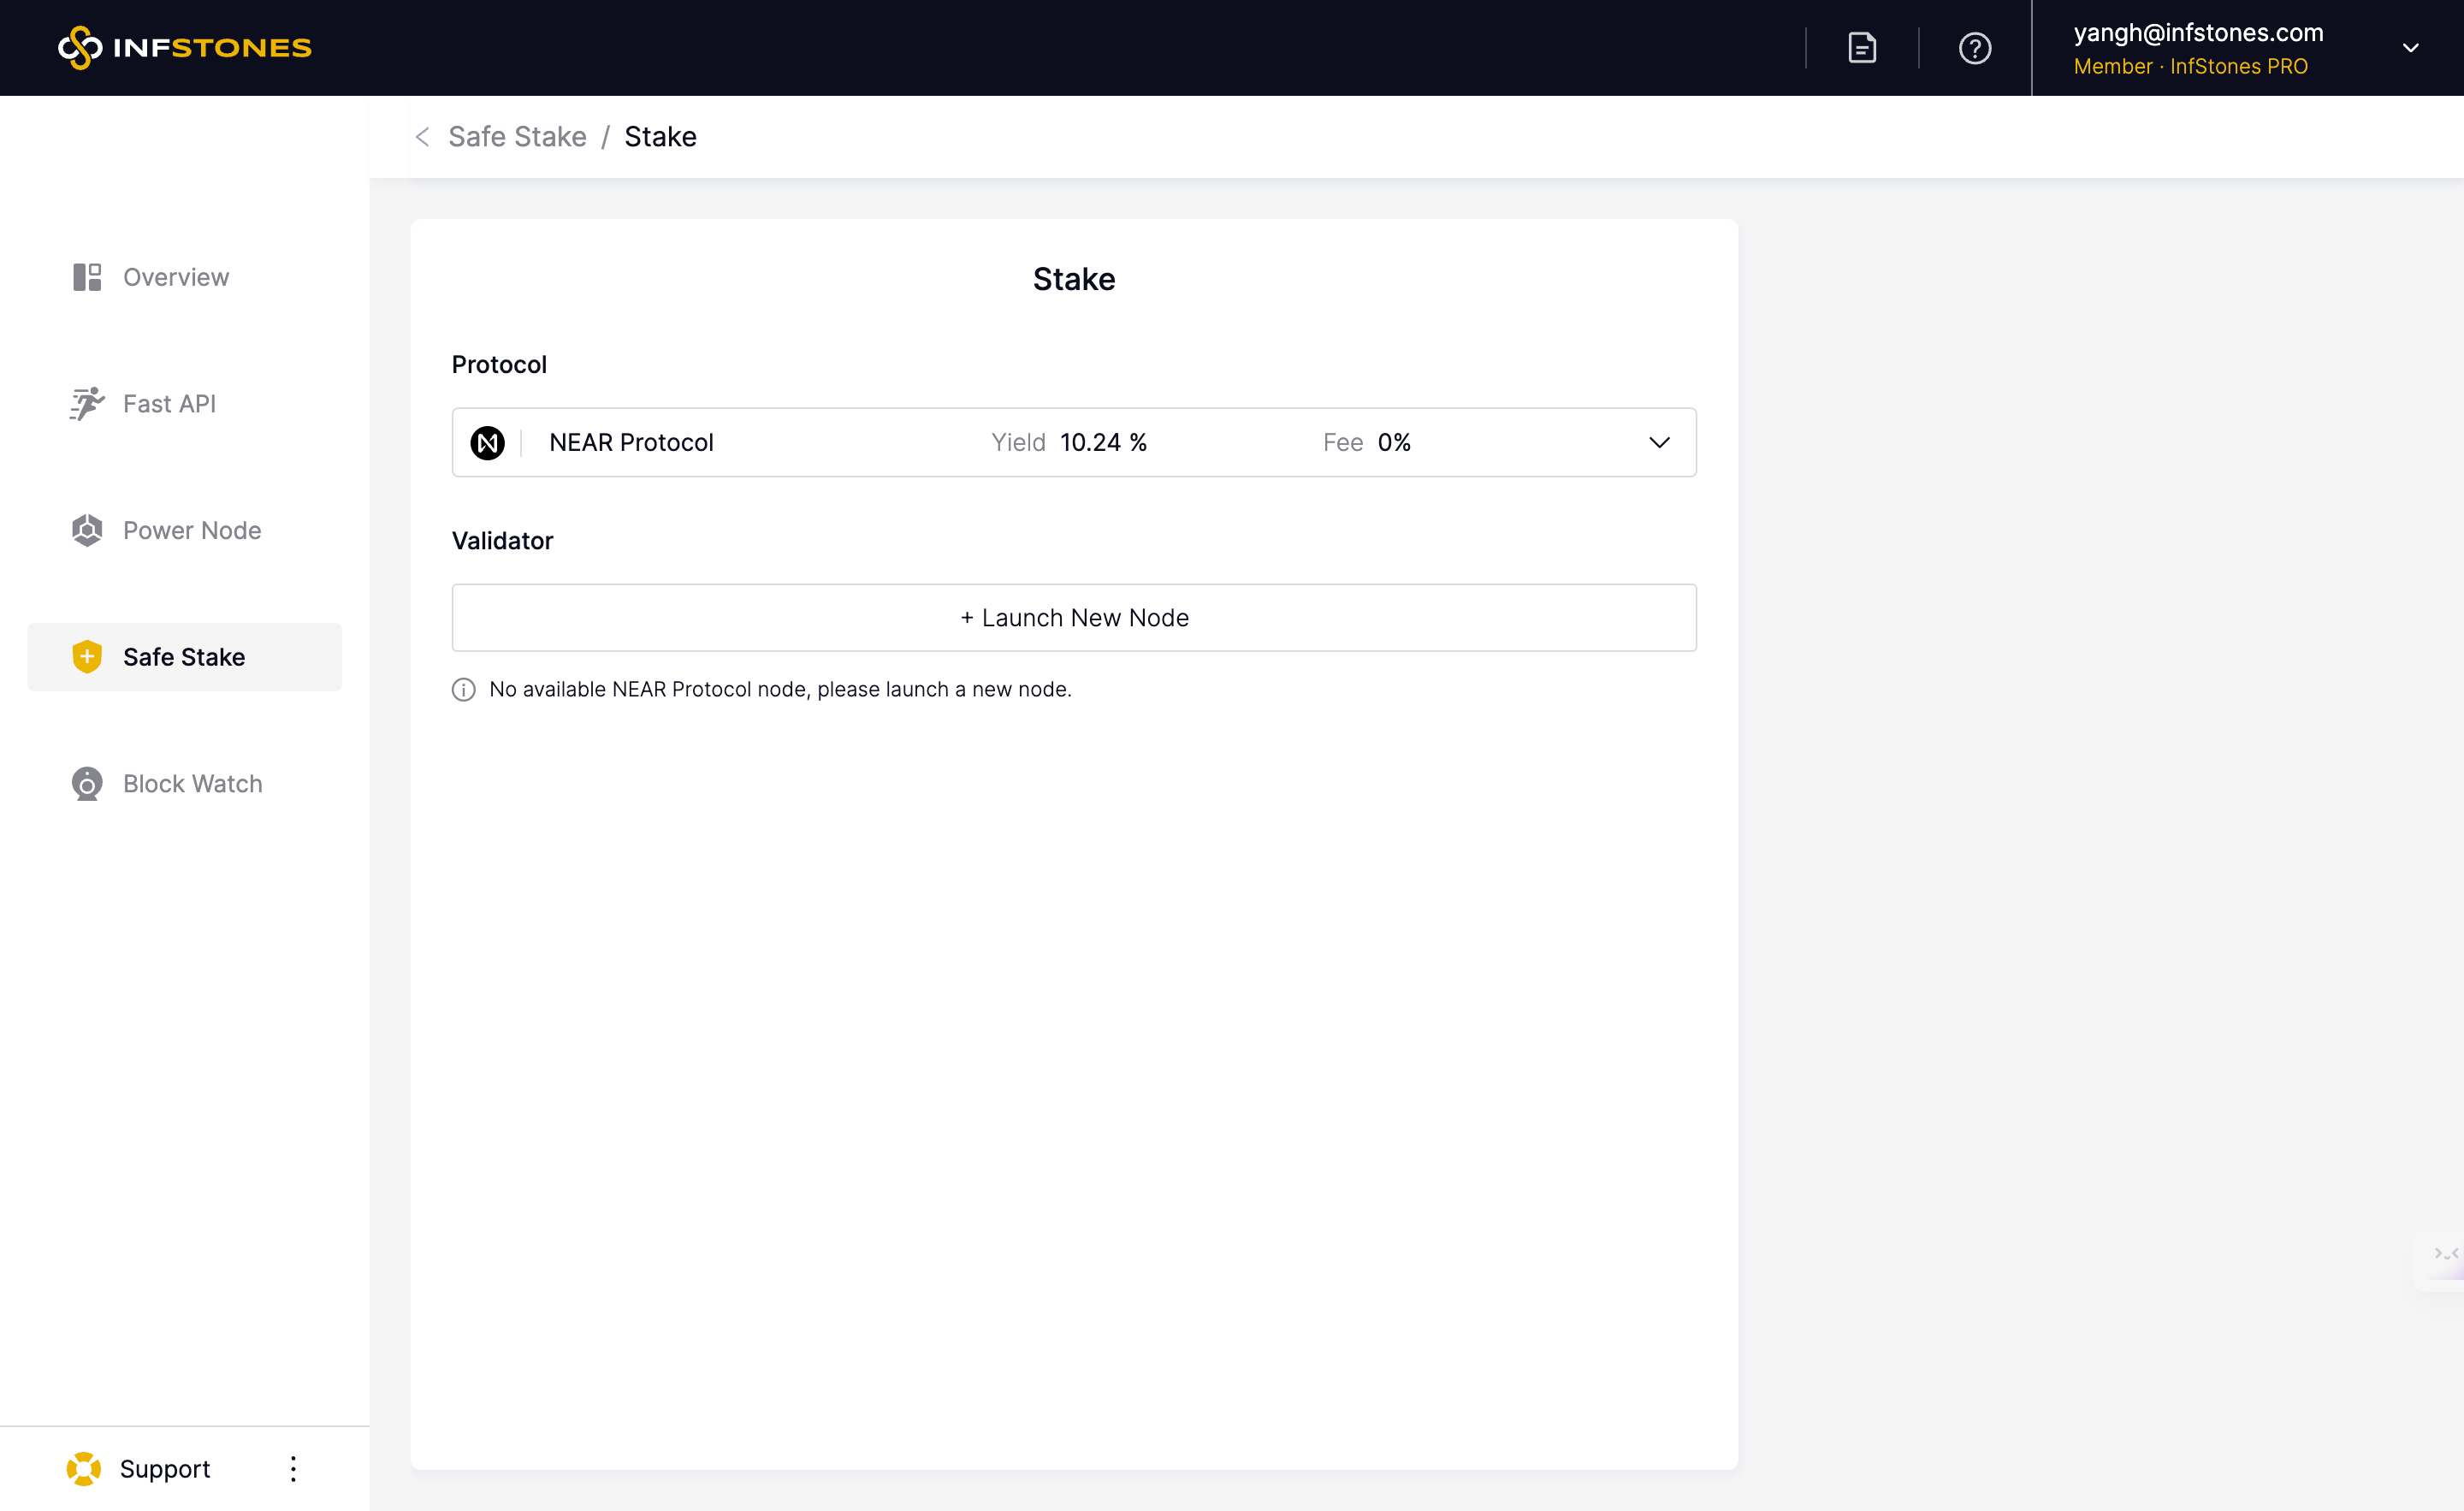
Navigate to [Safe Stake](https://cloud.infstones.com/safe-stake) on your InfStones dashboard and click `Stake Now` button.
Select `NEAR Protocol` as shown below.
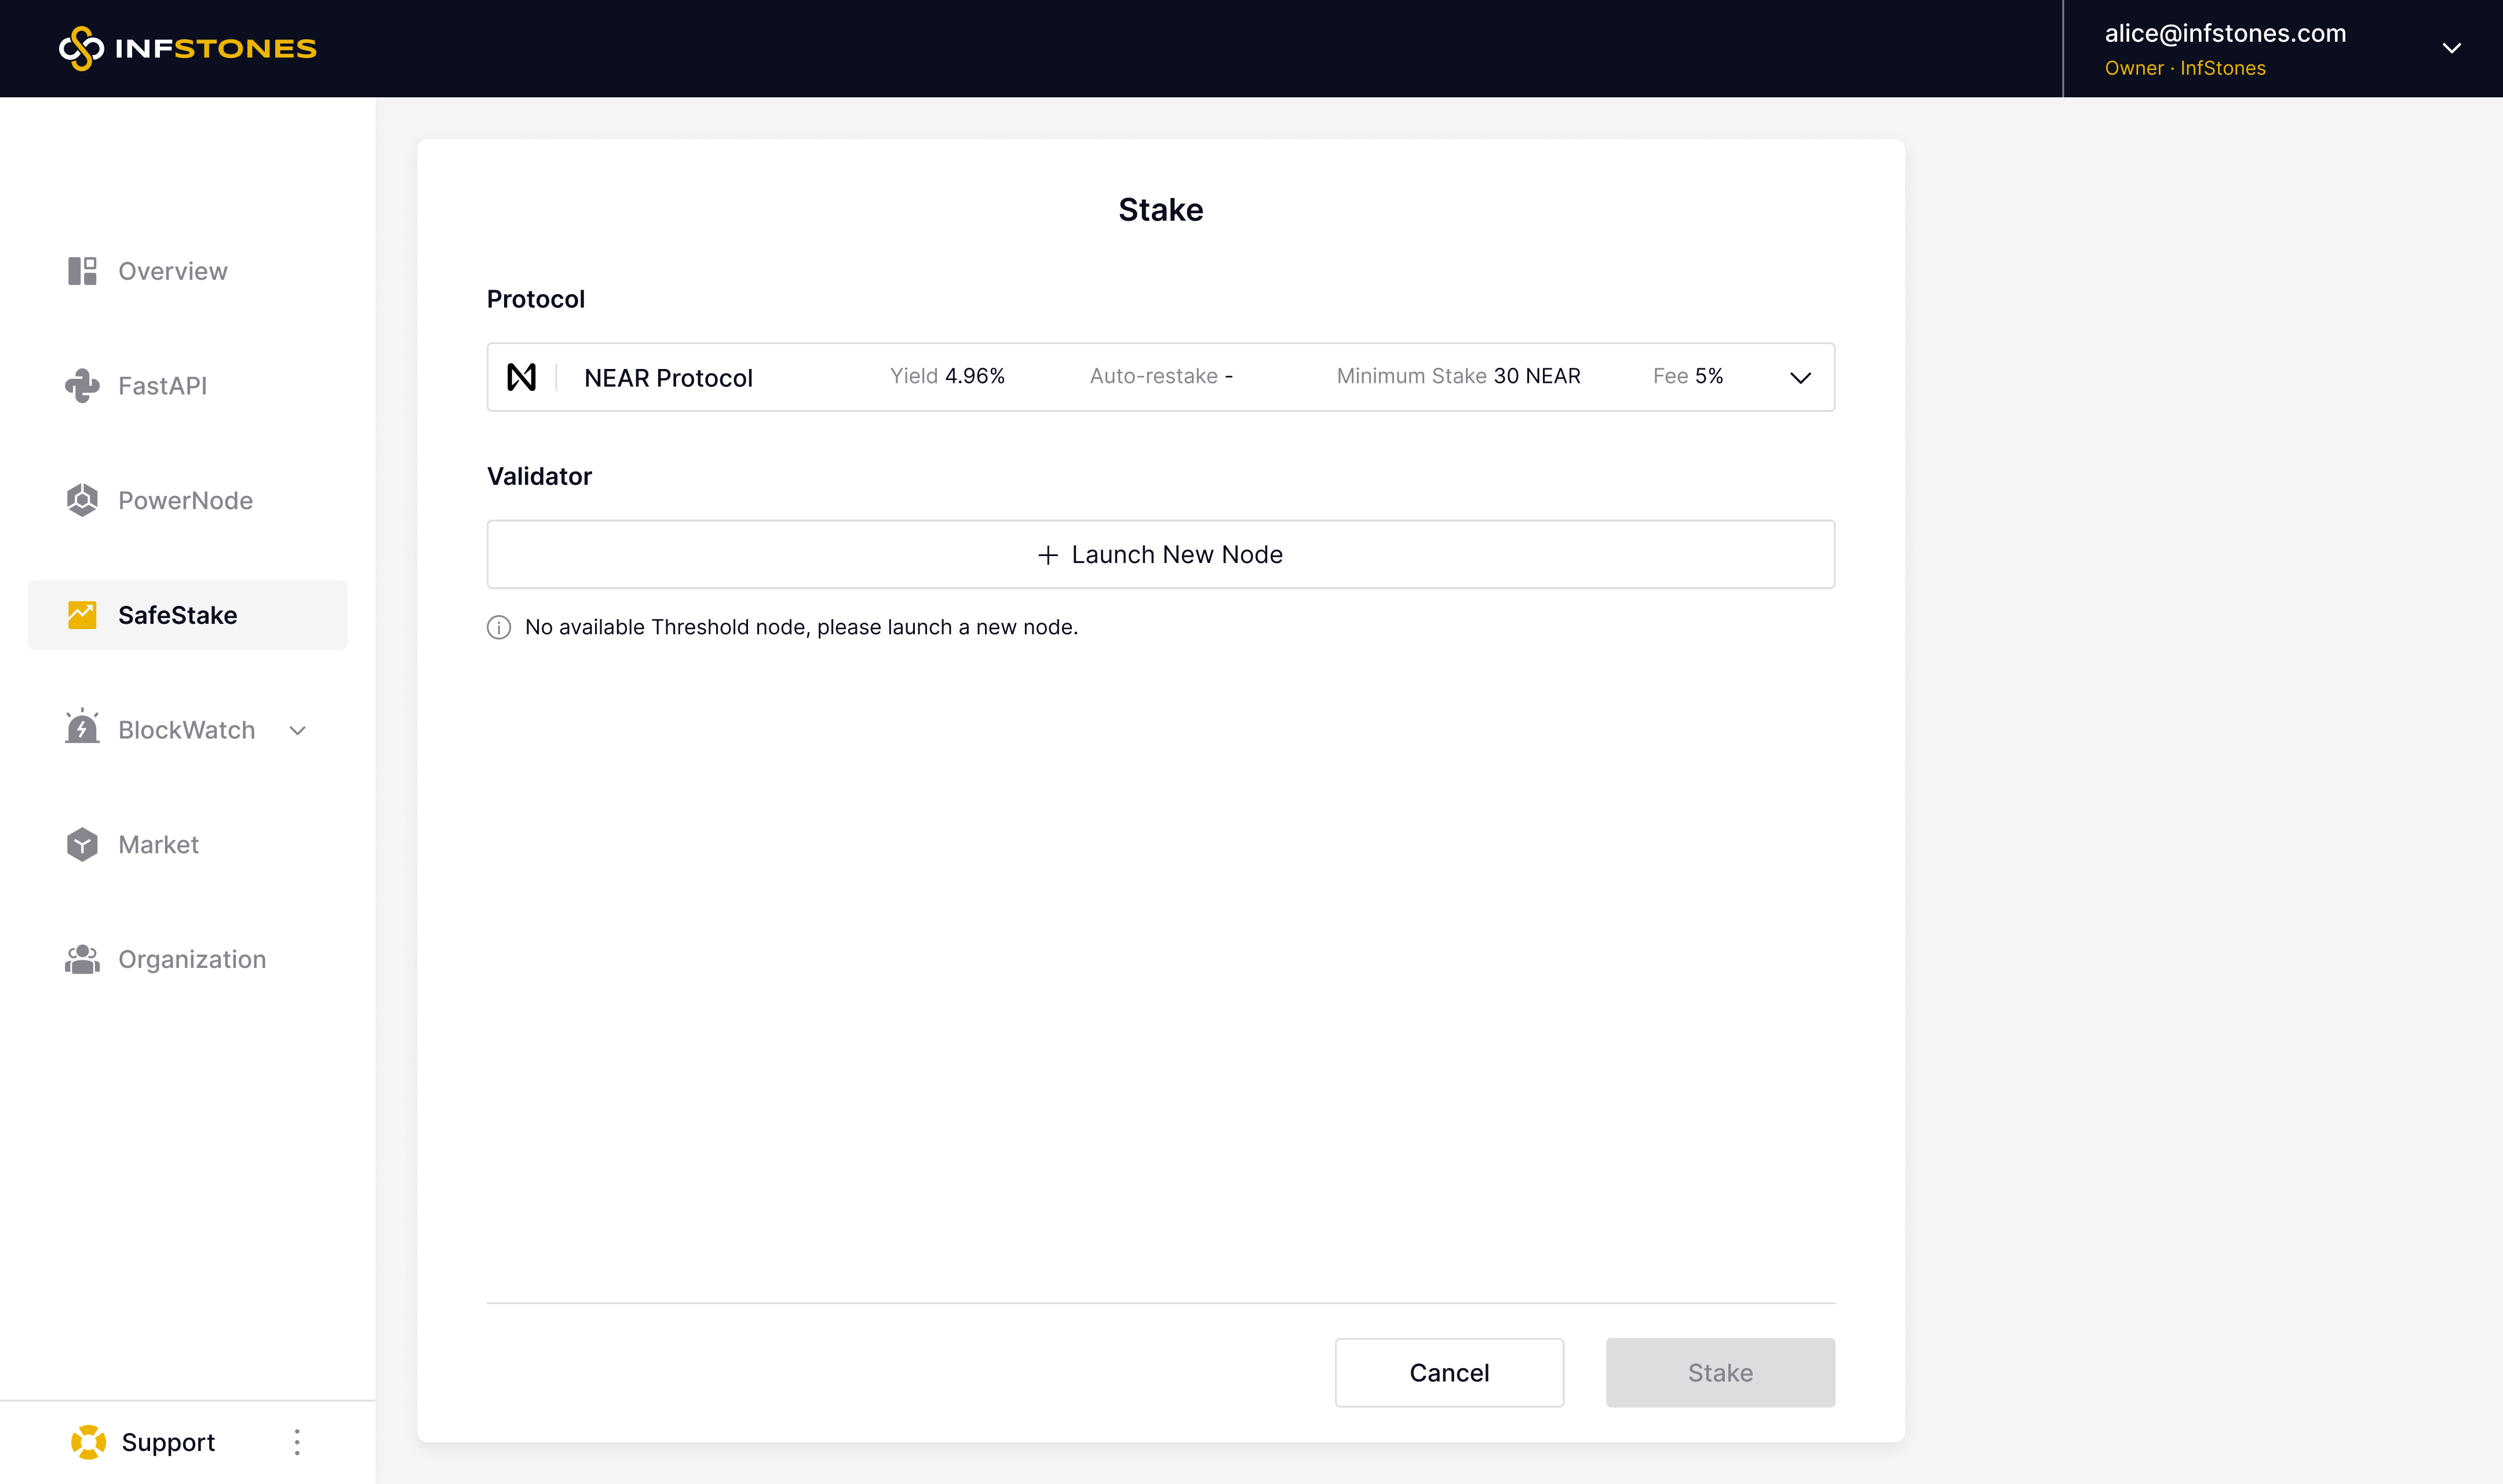
To create a new node, simply click on the `Launch New Node` option as shown below.
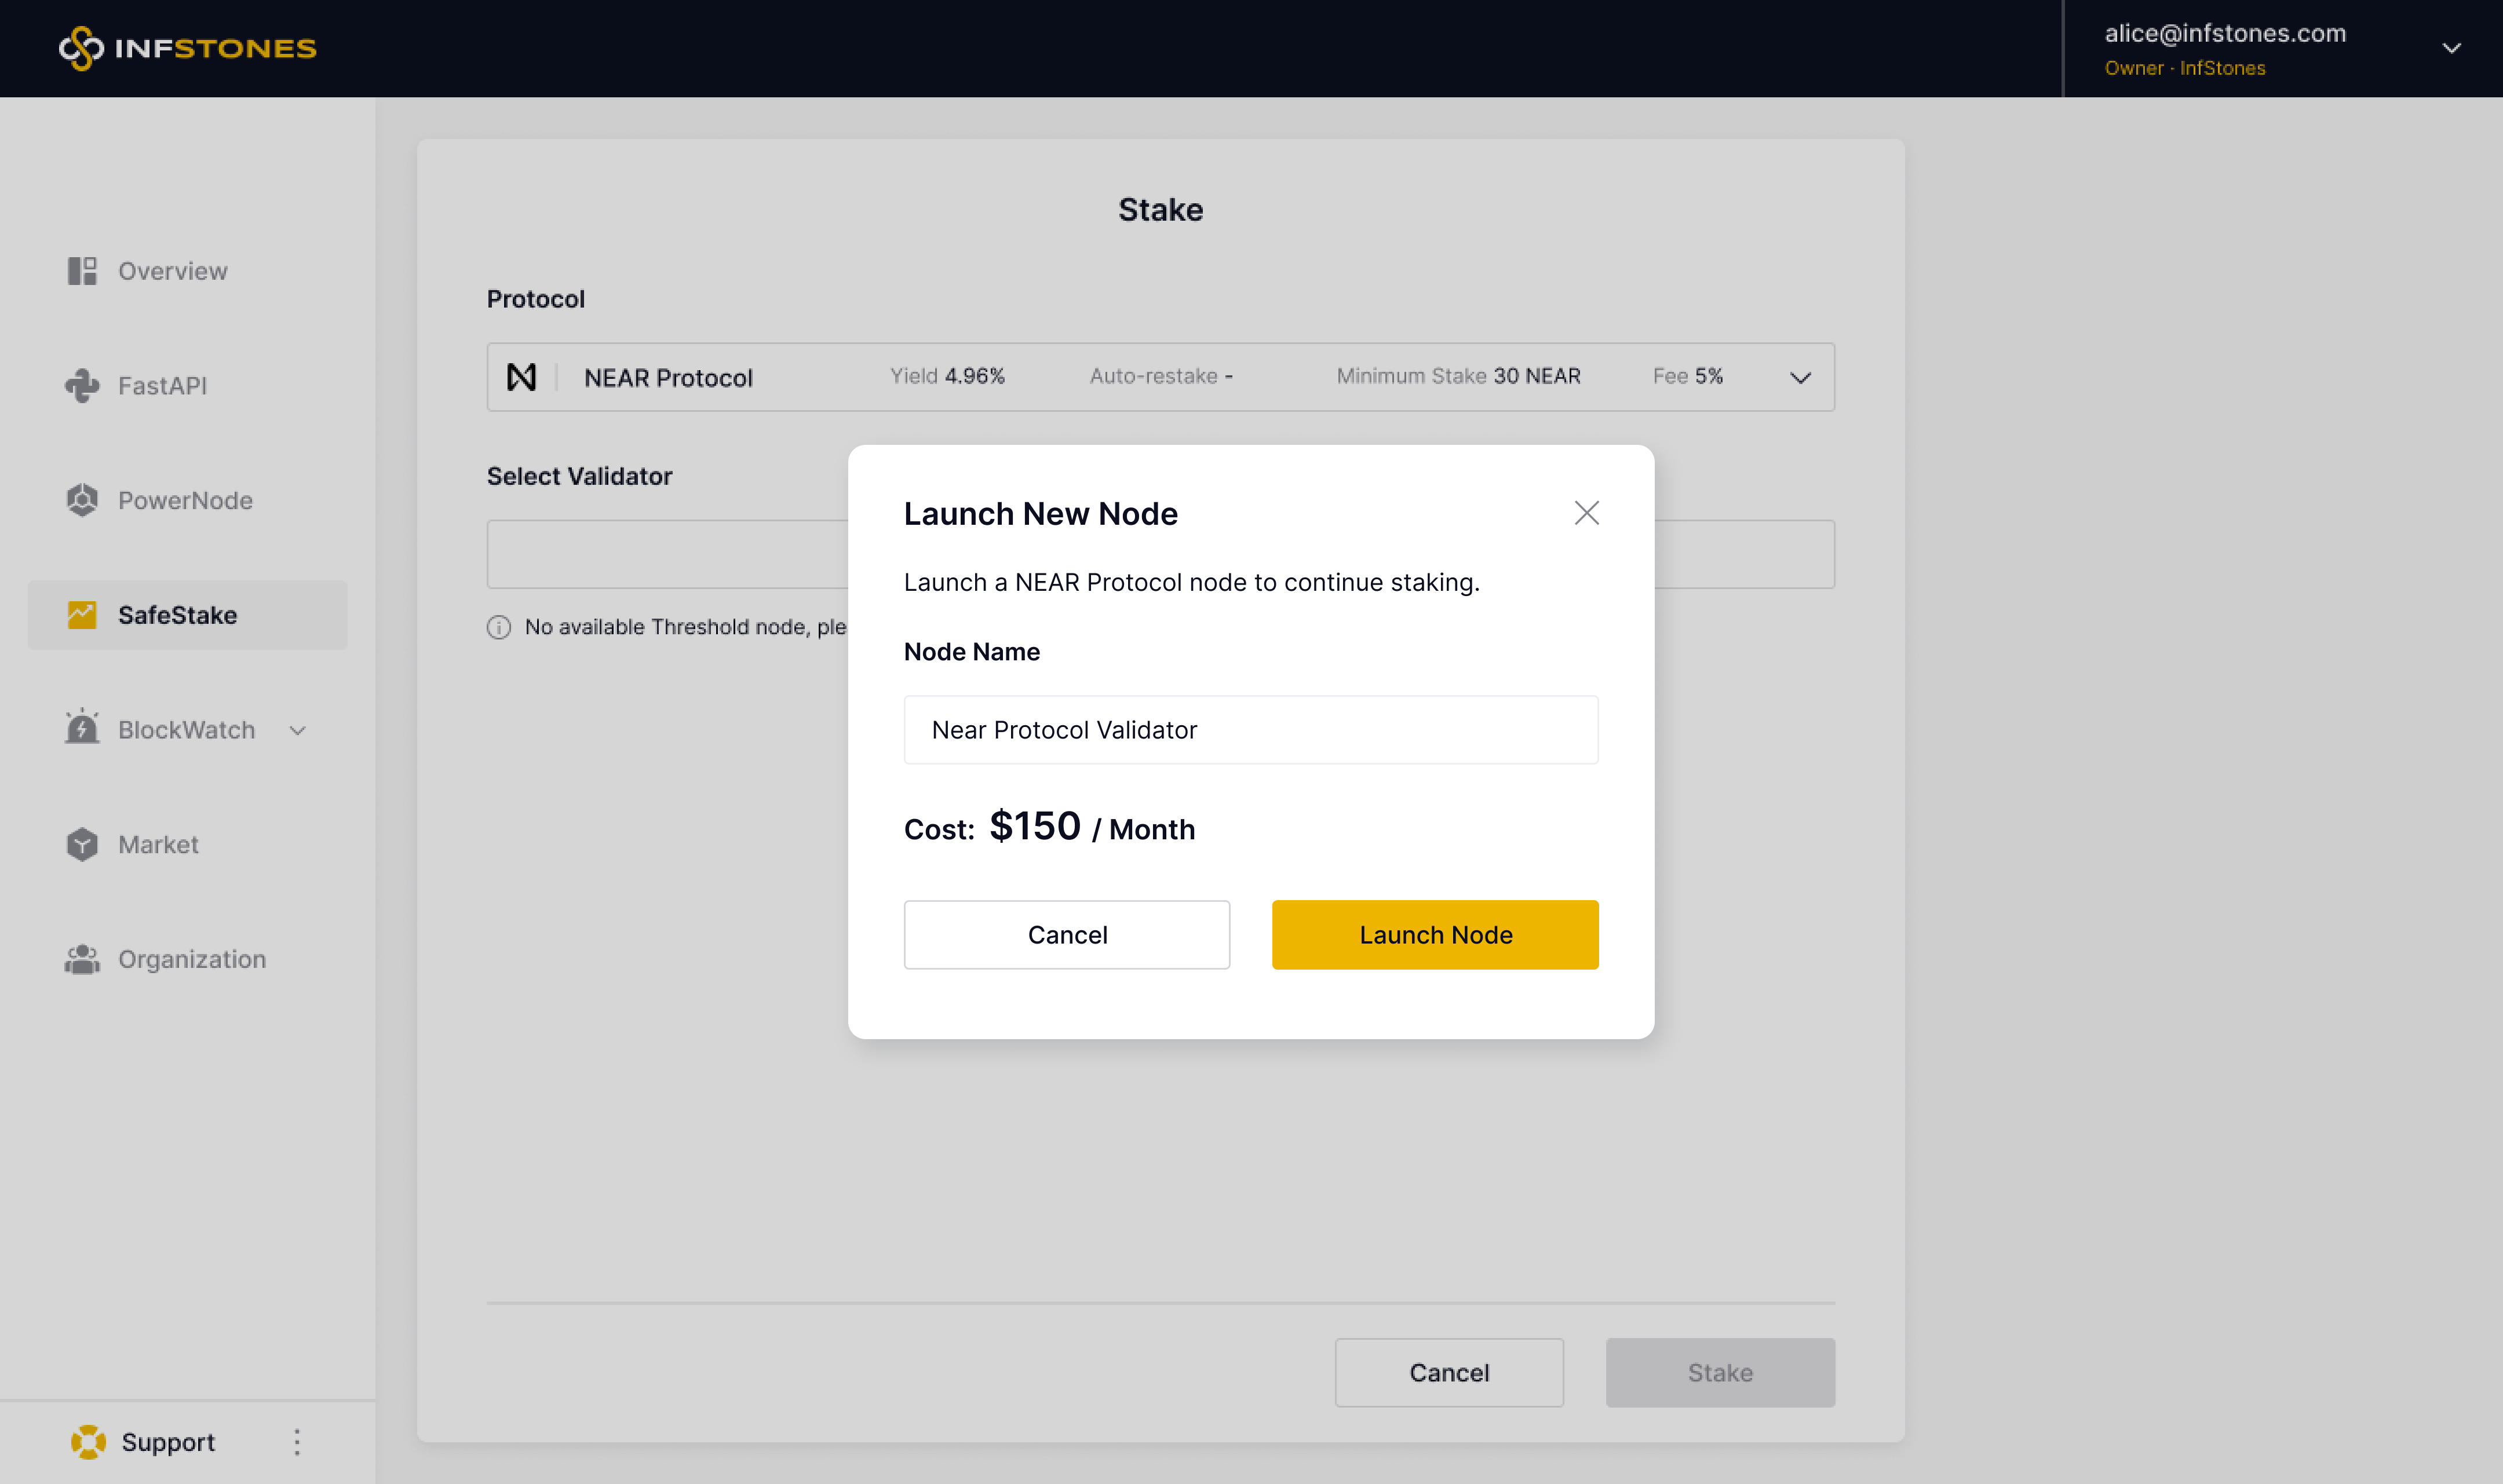
Enter a preferred name for your node and click `Launch Node`.
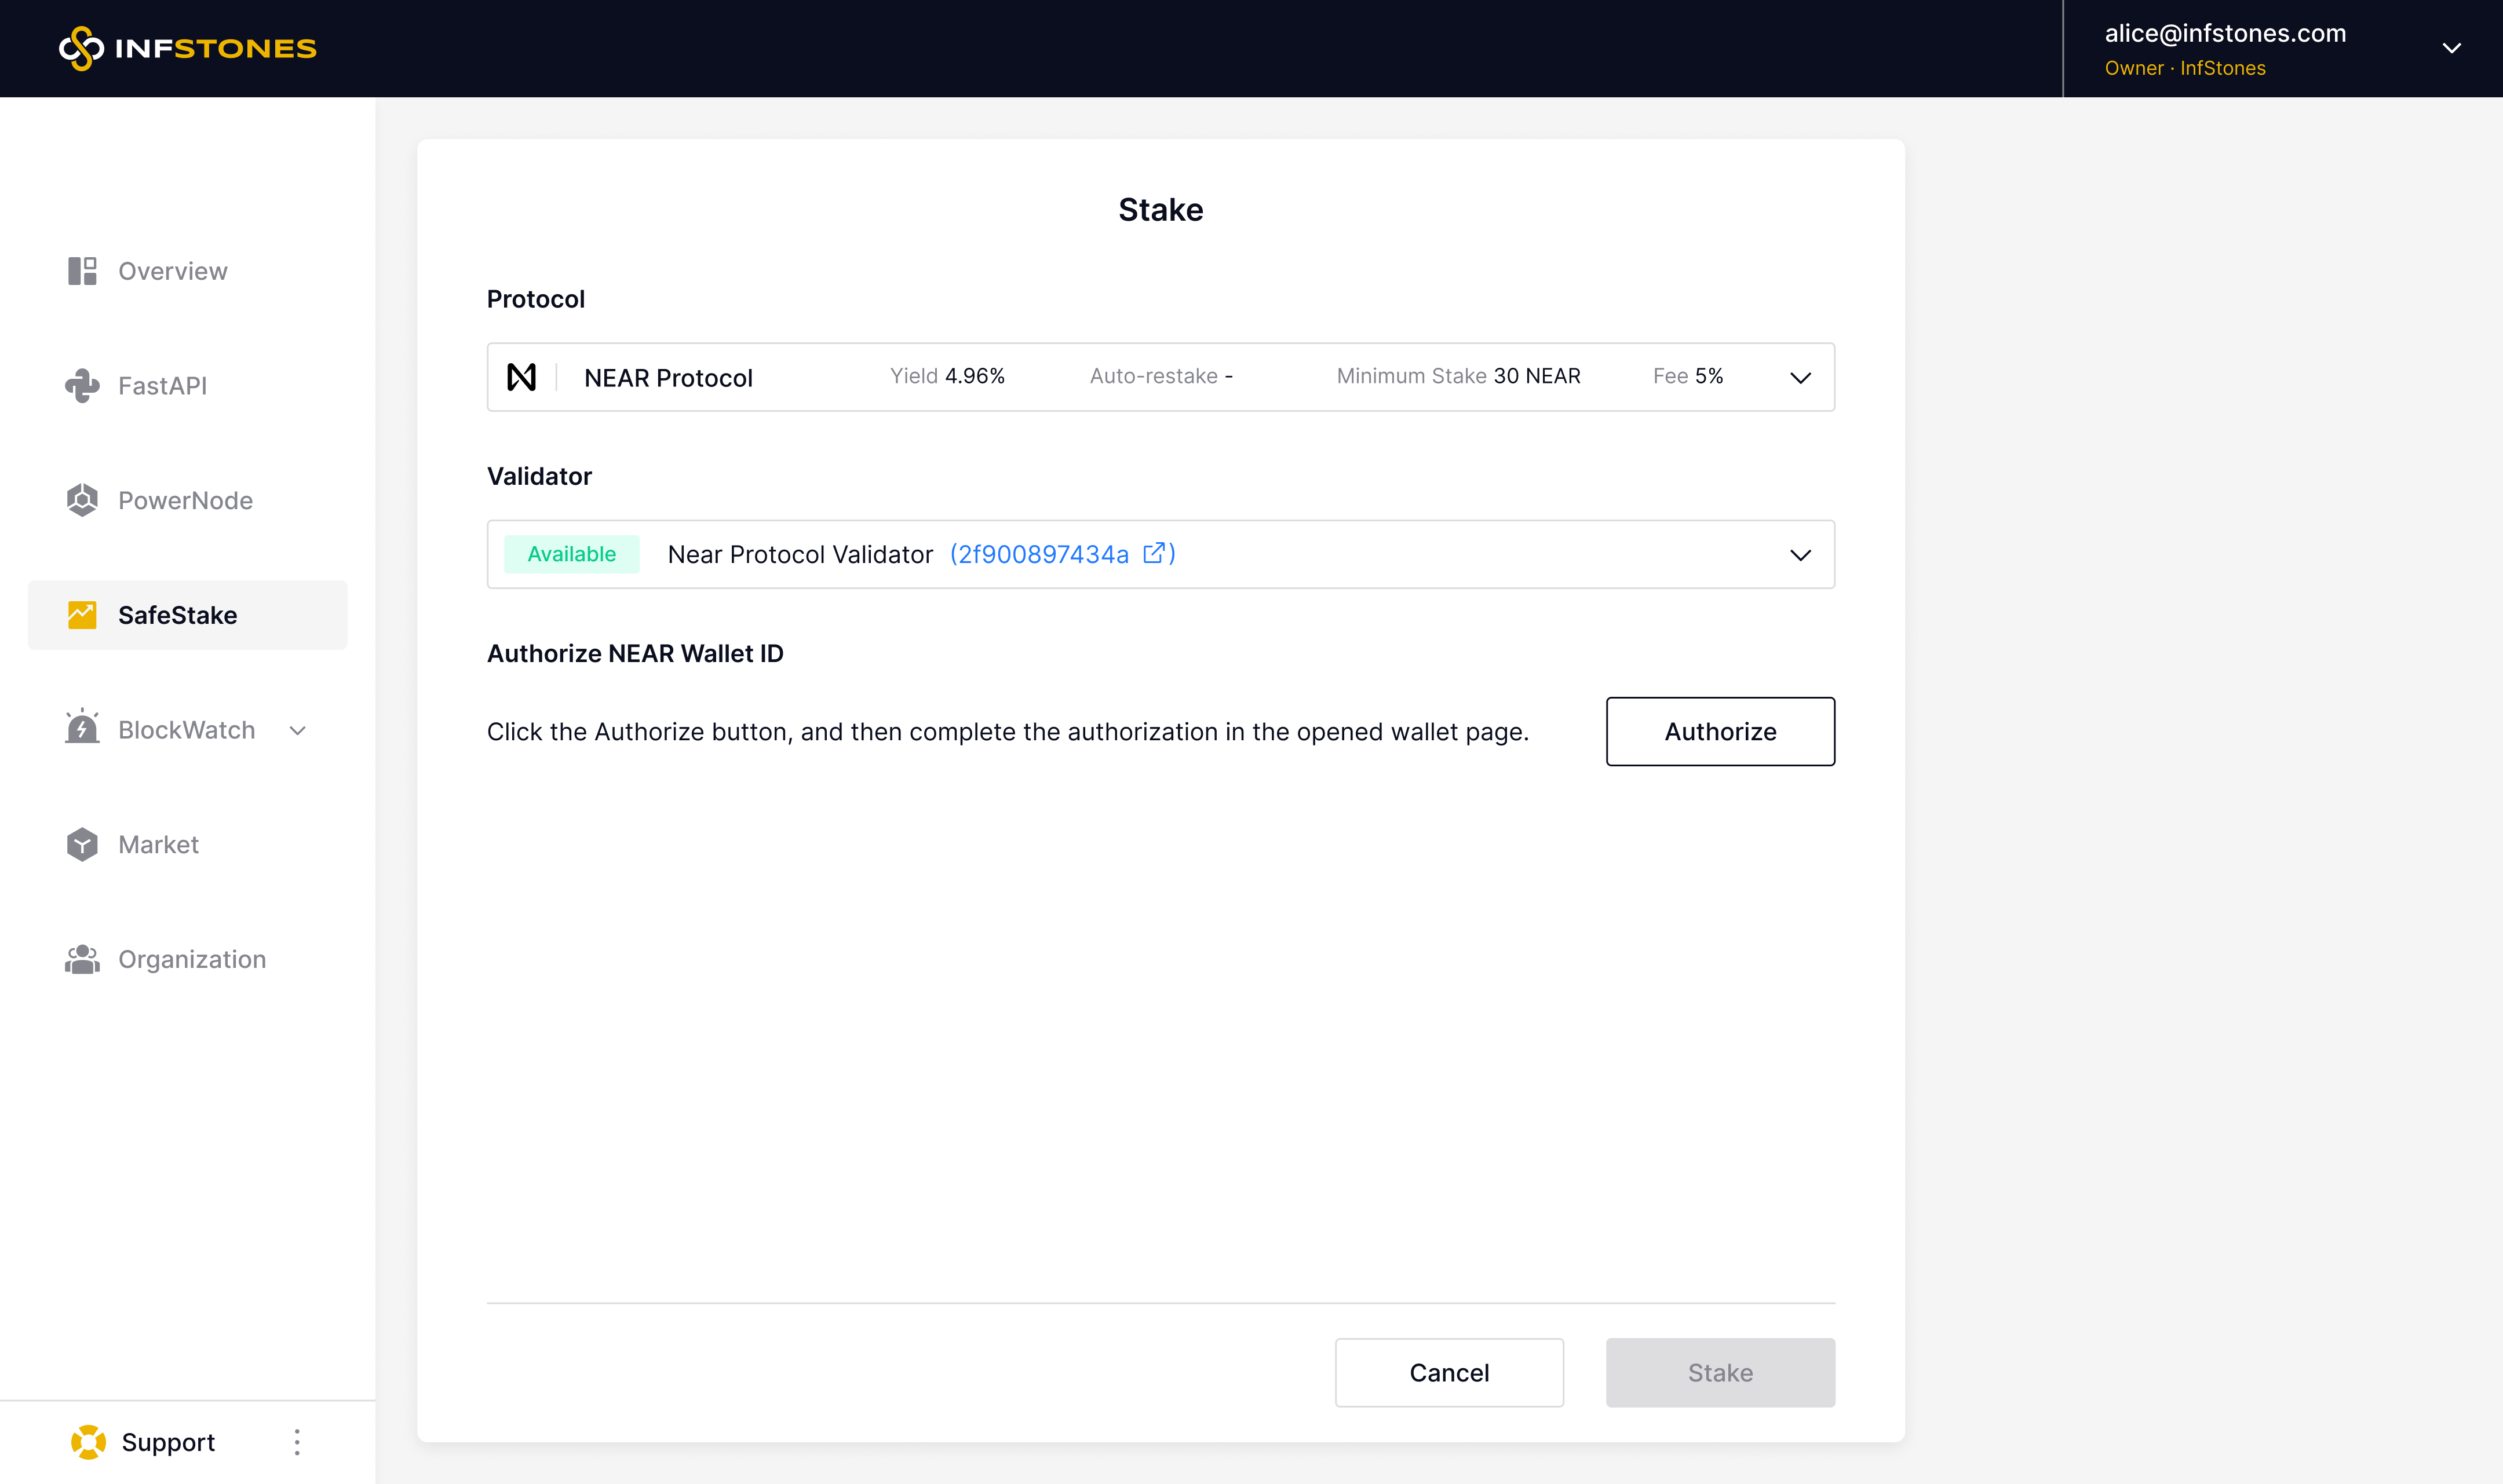
Once your node has finished syncing, you'll need to repeat the previous steps to register your node. However, this time, select the newly registered node. Once you've done that, you'll need to connect your newly launched node to your NEAR wallet. To do so, simply click on the `Authorize` button as shown below.
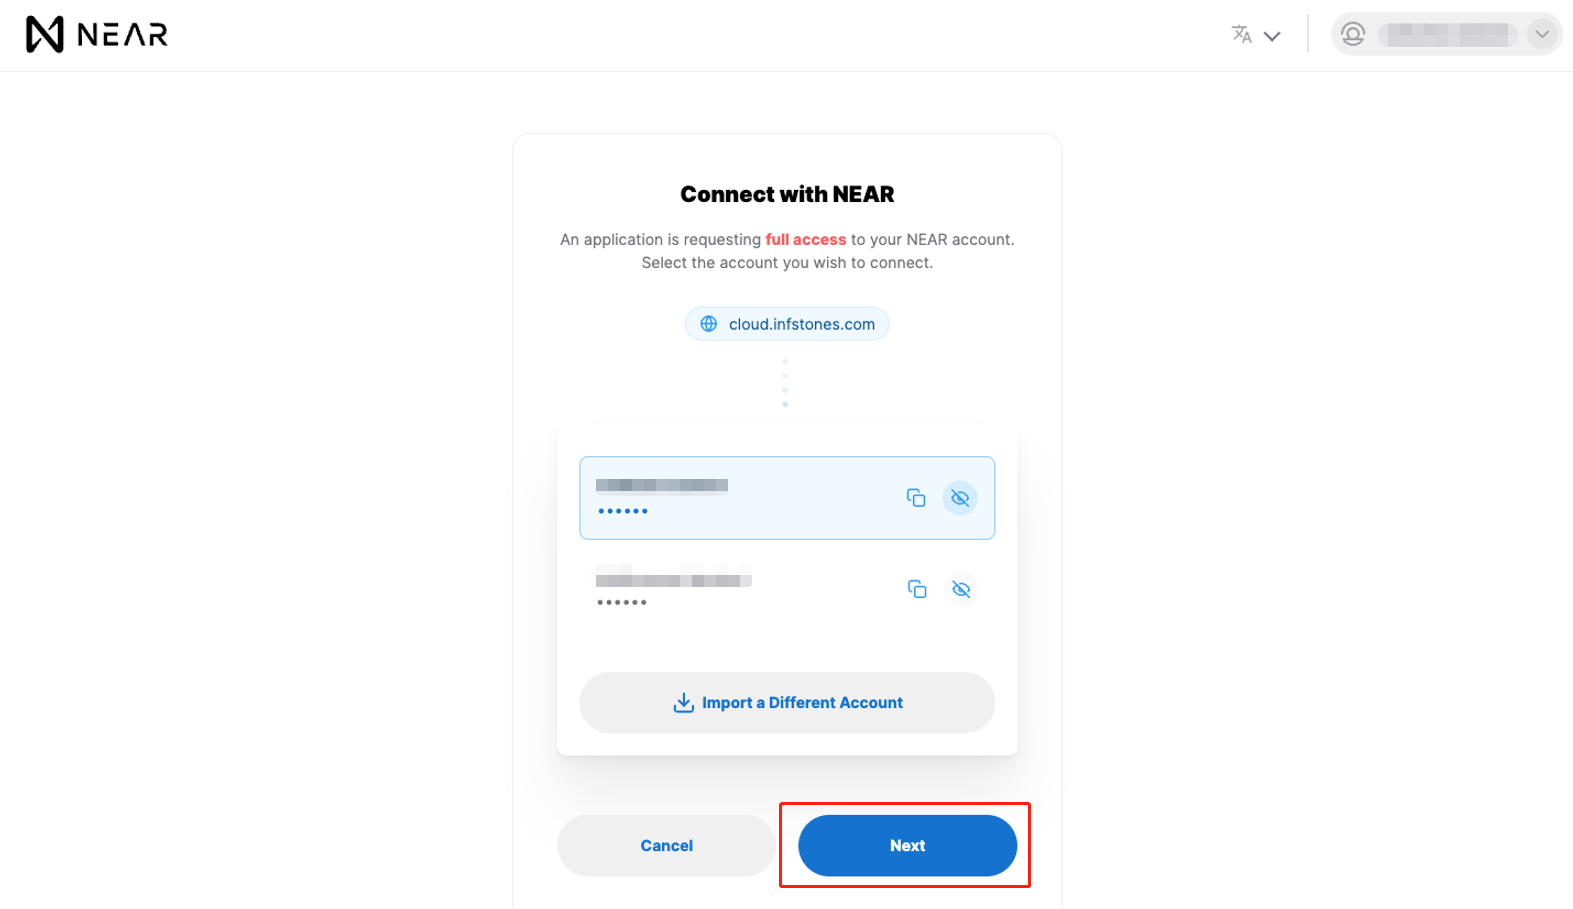
A new page will prompt you to log in to your NEAR wallet. Enter your credentials, and then click `Next`.
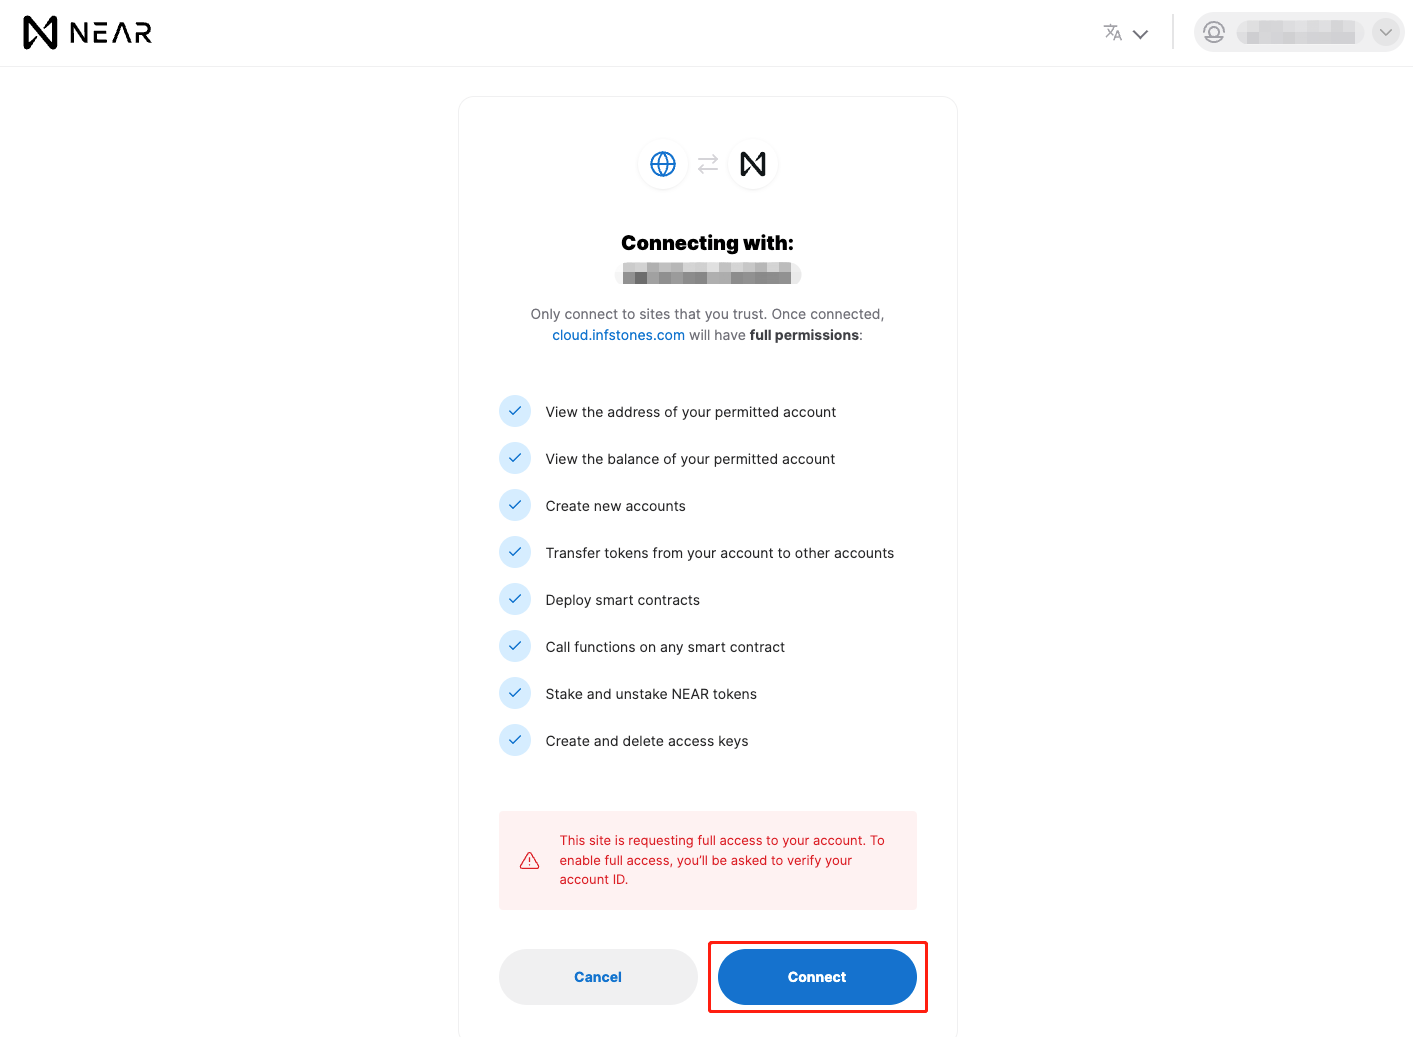
Afterward, click `Connect`.
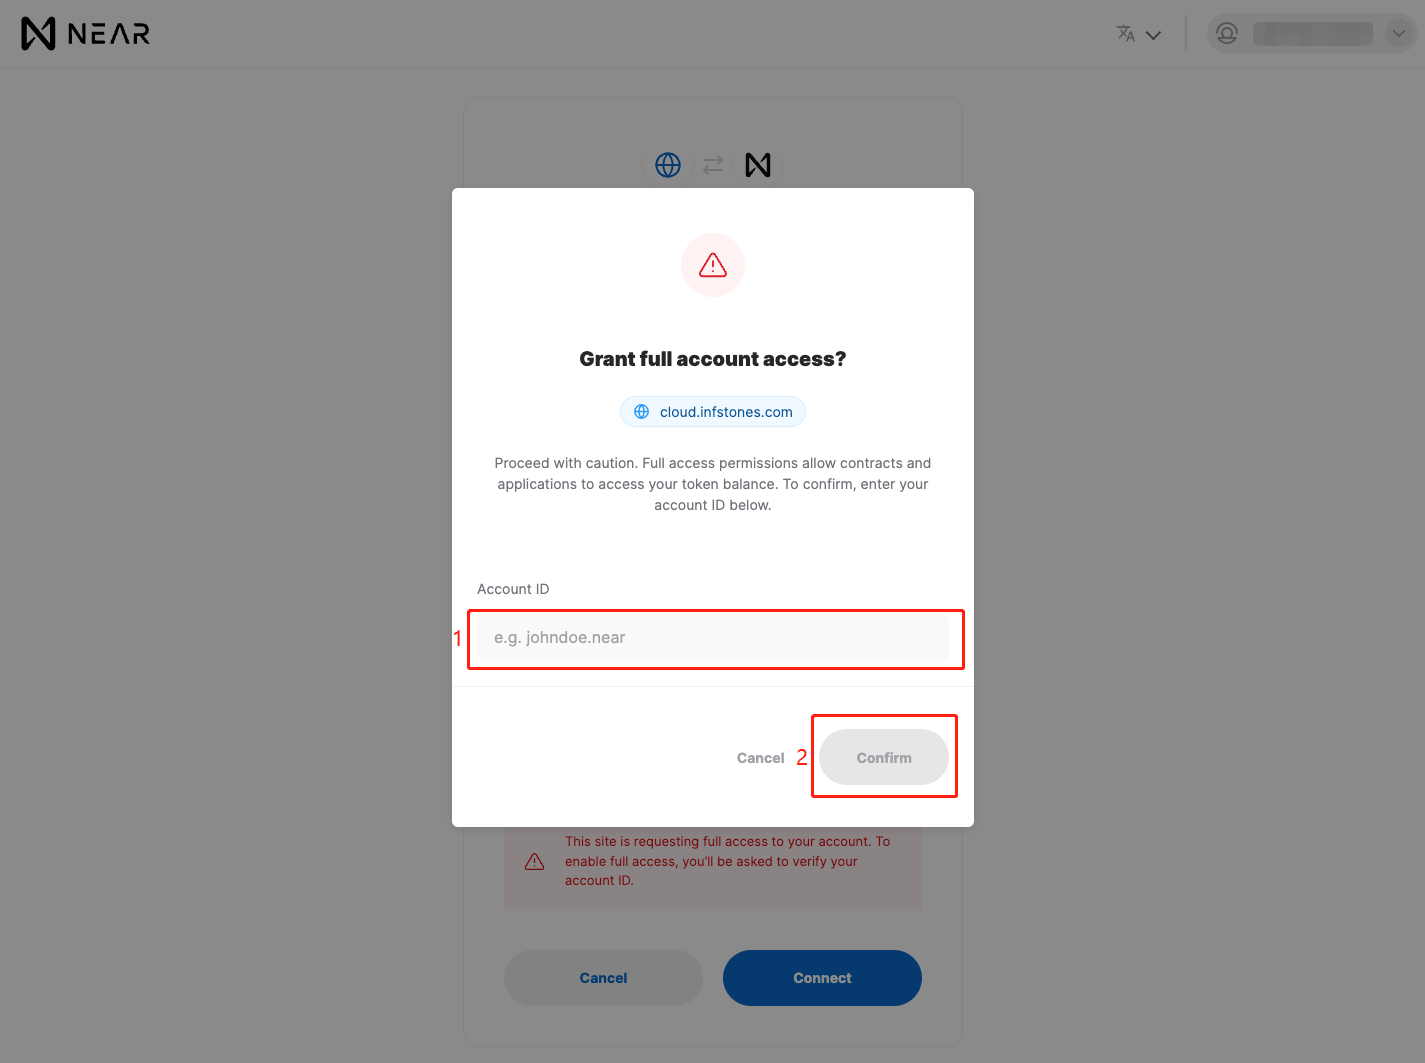
Fill in your NEAR wallet ID, then click `Confirm`.
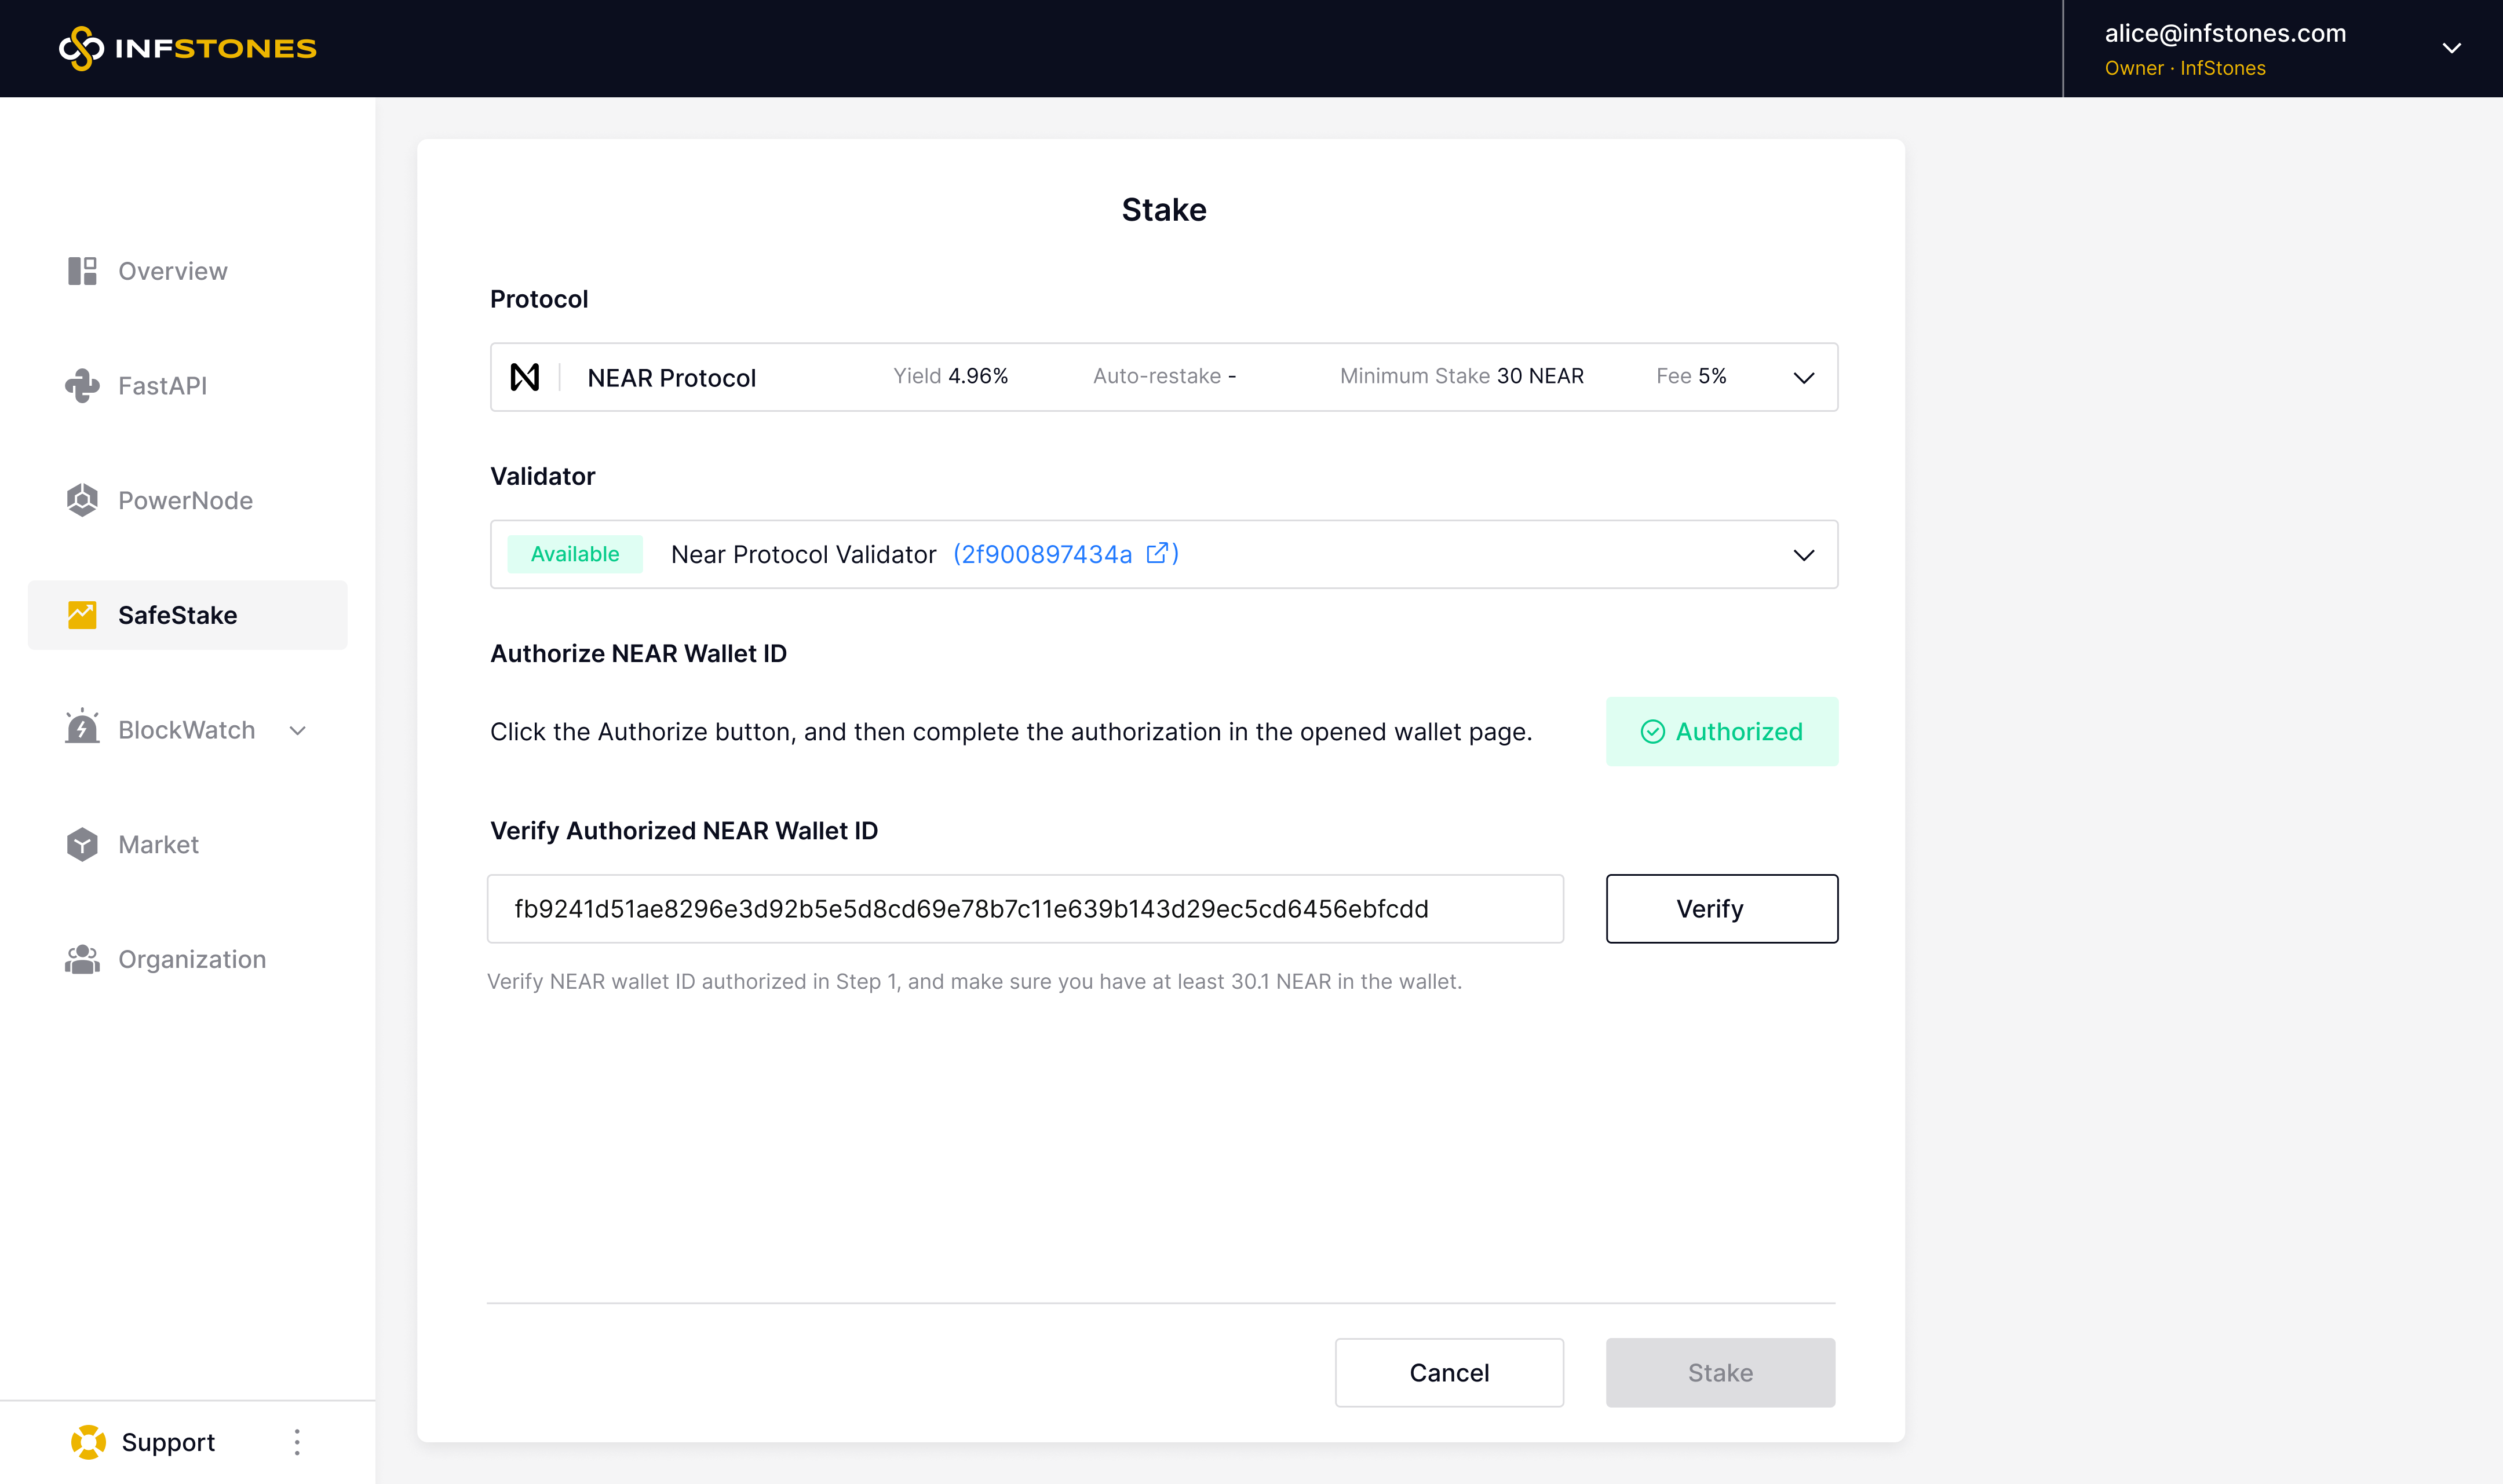
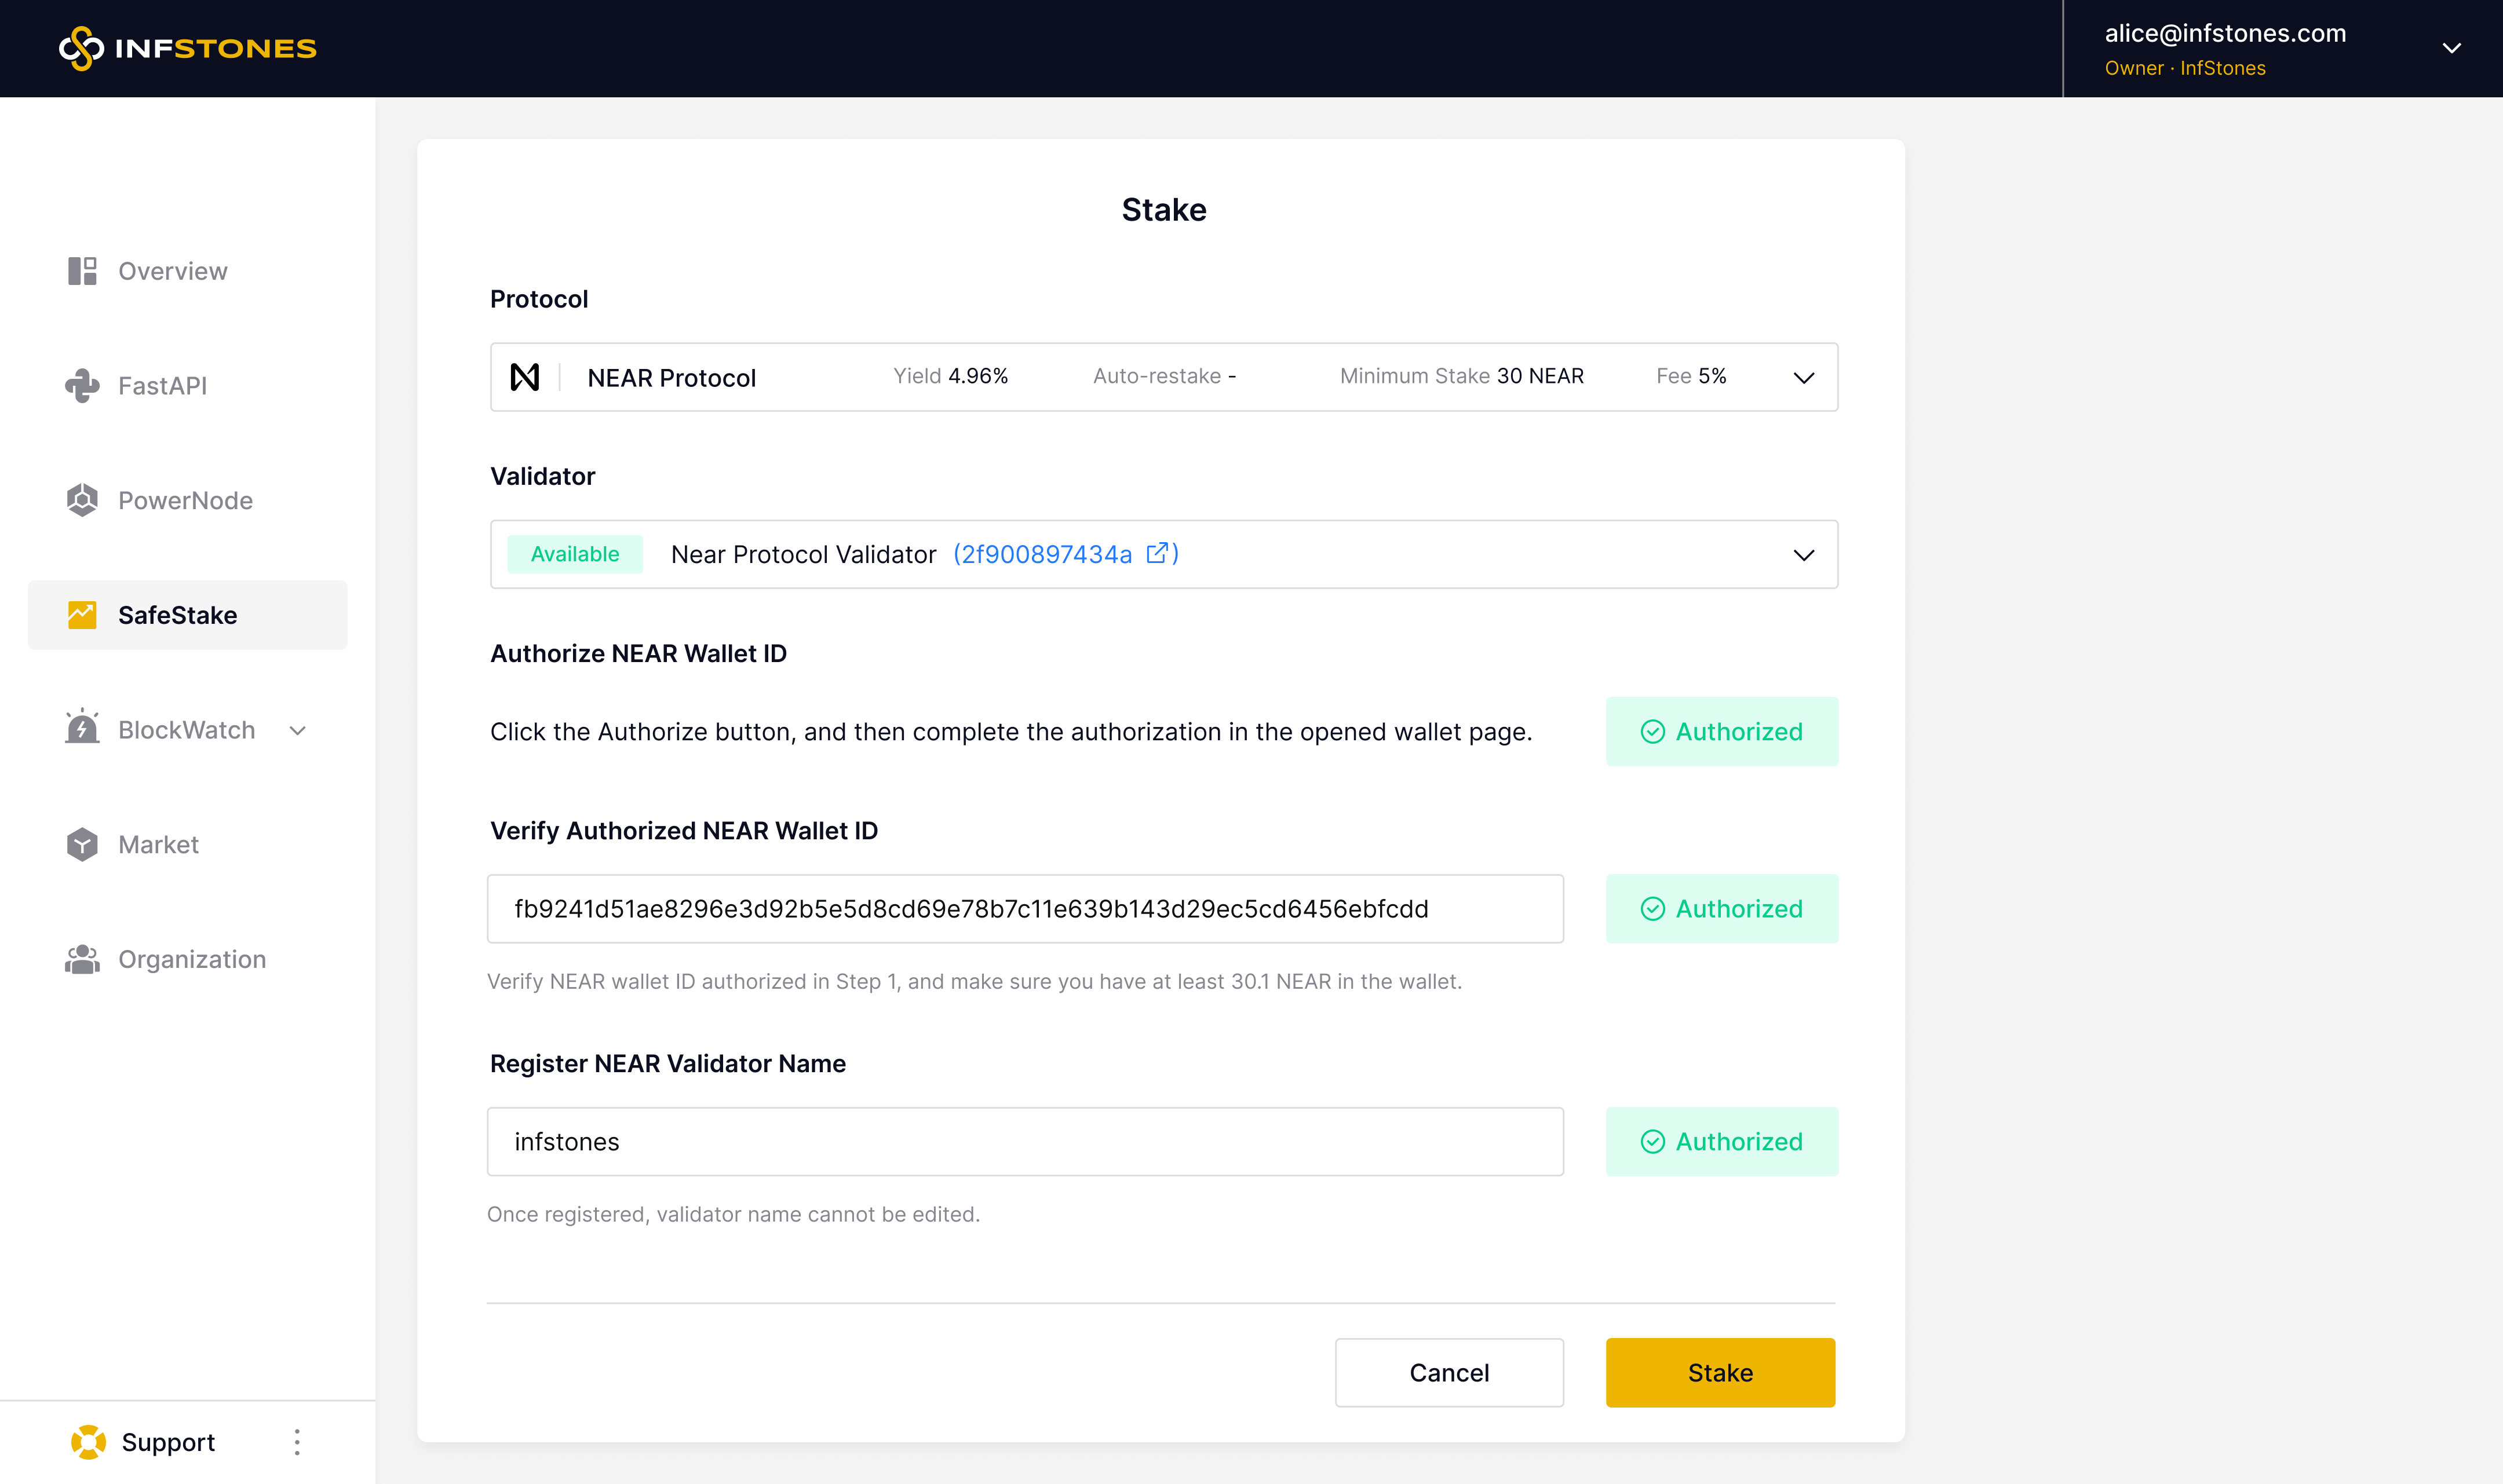
Now, go back to your InfStones dashboard. Fill in the NEAR wallet ID you authorized in the previous step and click `Verify`.
After you've verified your NEAR wallet ID in the previous step, the next step is to assign a unique pool name to your validator. Enter a preferred pool name here and click the `Check Availability` button to see if it is available.
> 📘
>
> - NEAR pool names cannot be duplicated.
> - Pool names can only contain lowercase letters, numbers, dashes (-), and underscores (_).
> - Uppercase letters and other special characters are not allowed.
Once you've chosen a name and the check has passed, click `Stake` to complete the process.
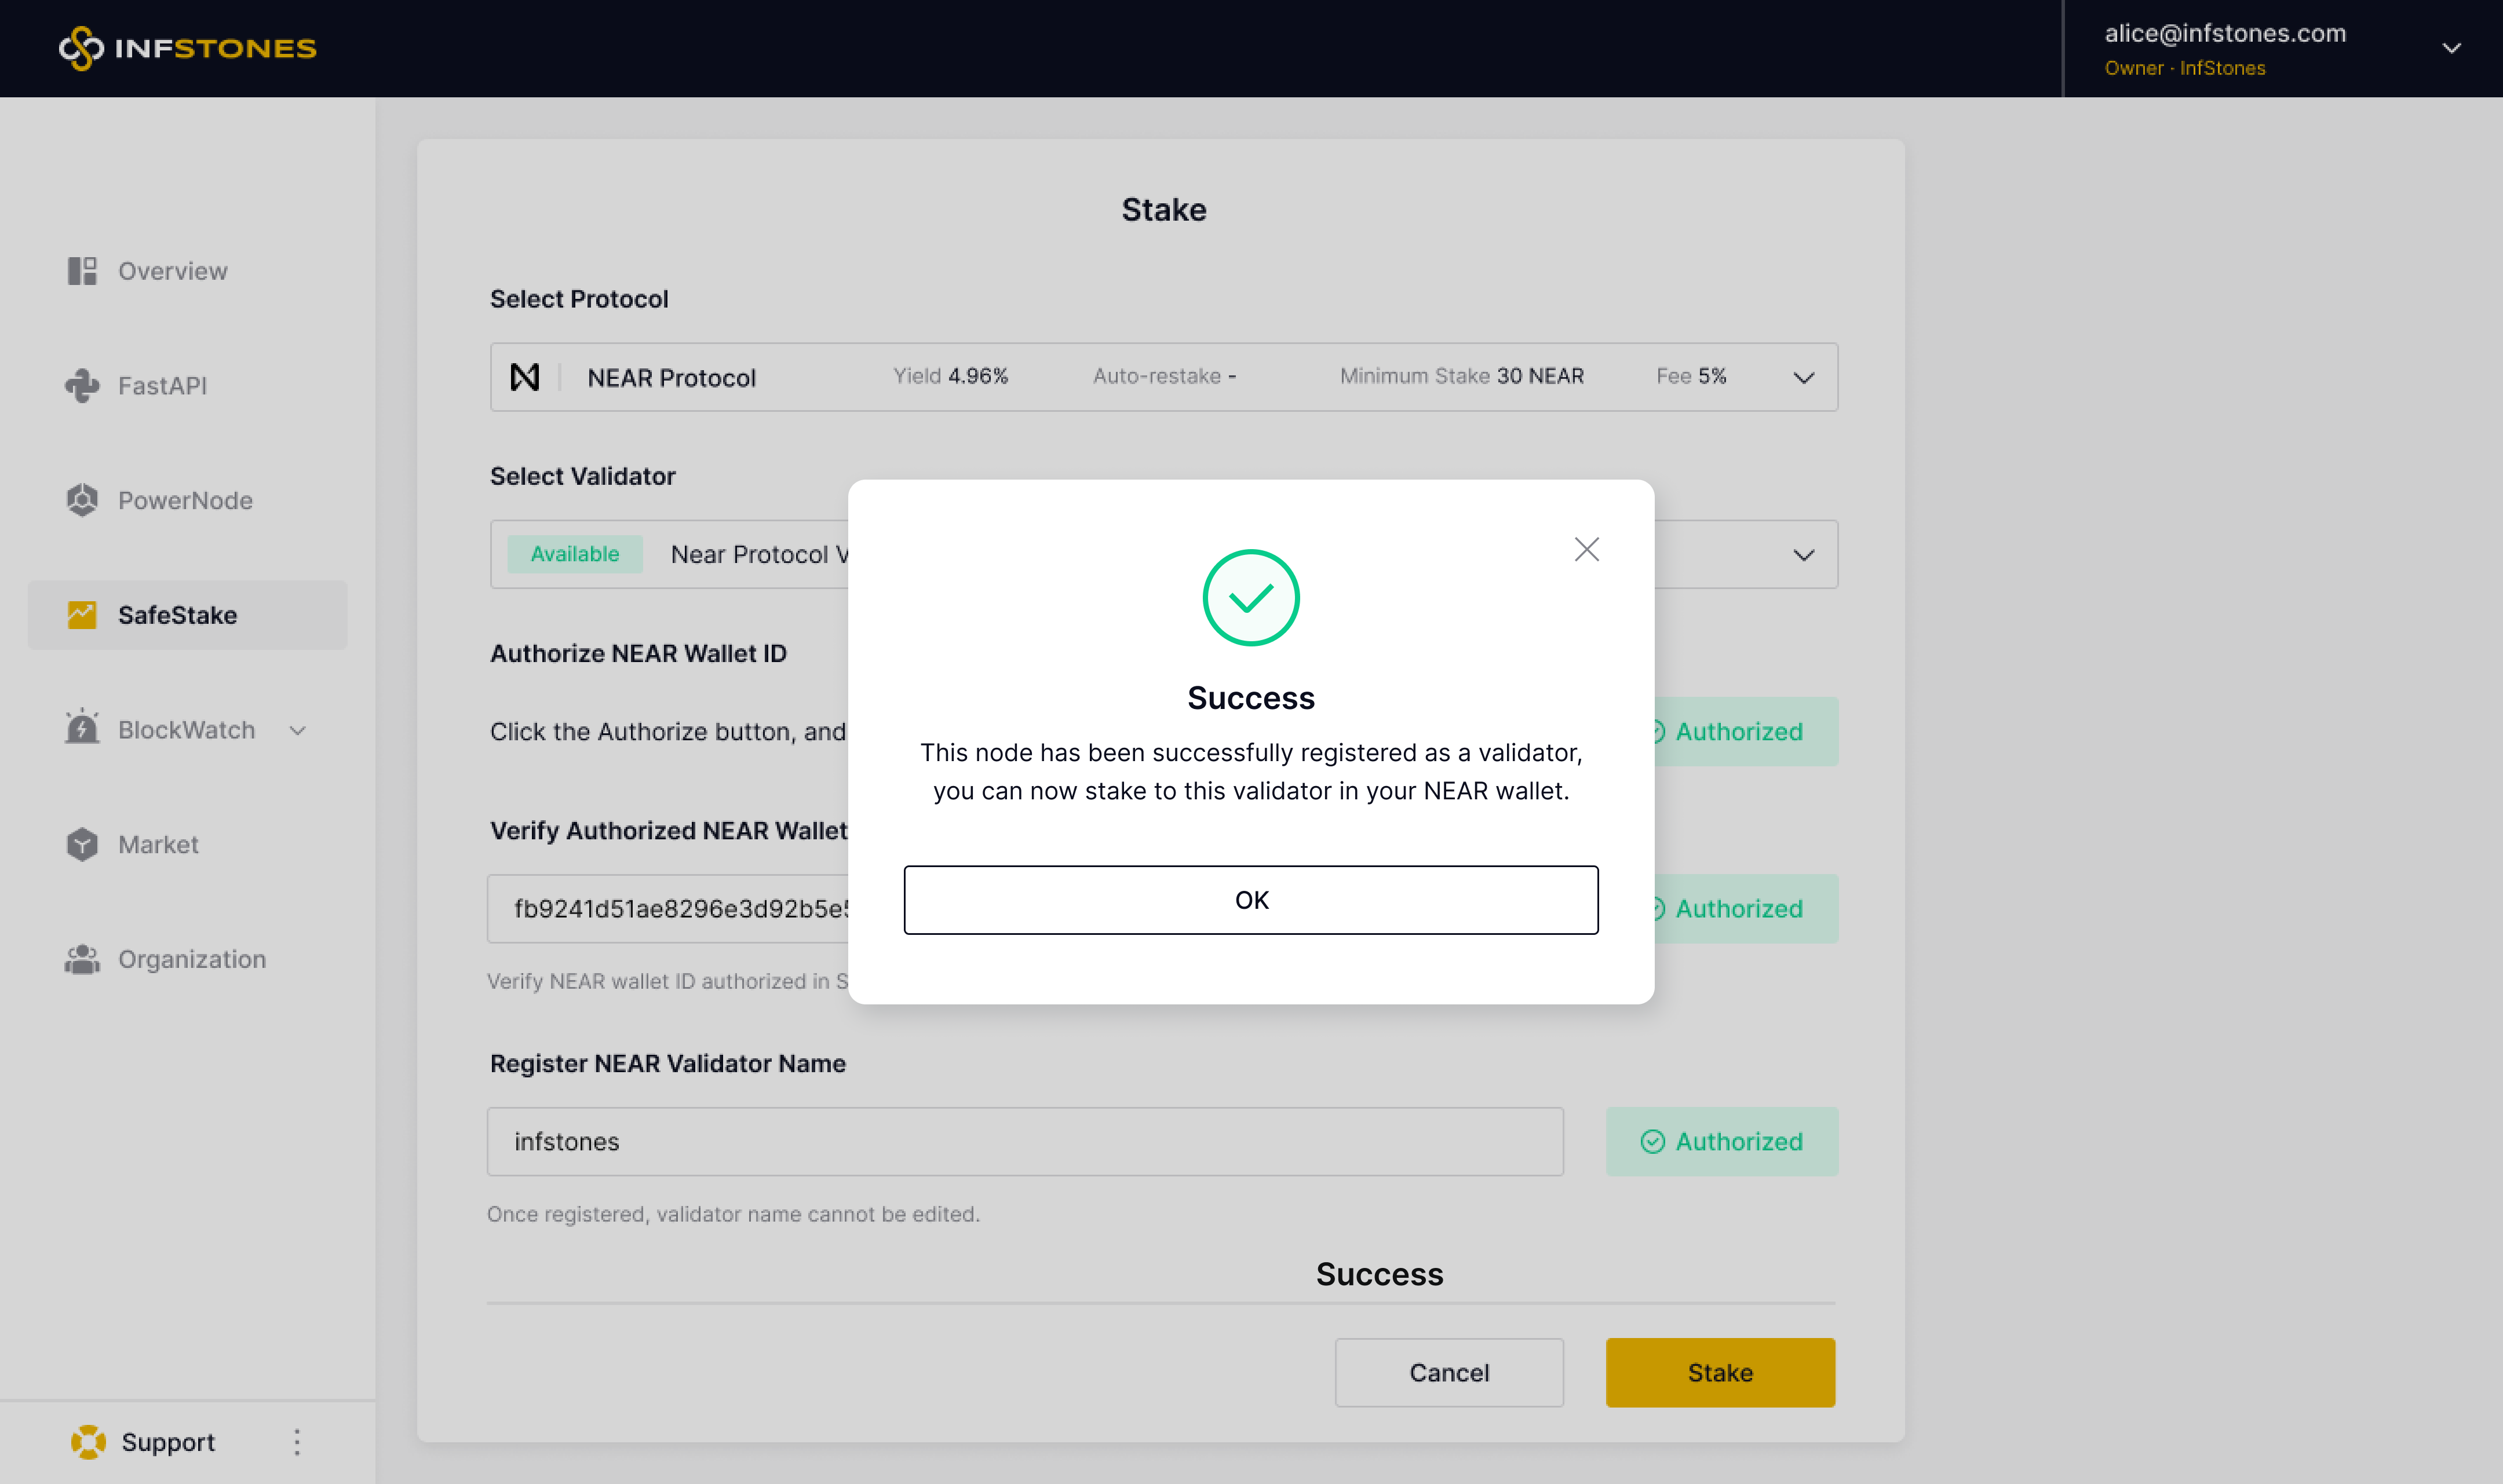
When everything is finished, you should see a success message like the one below.
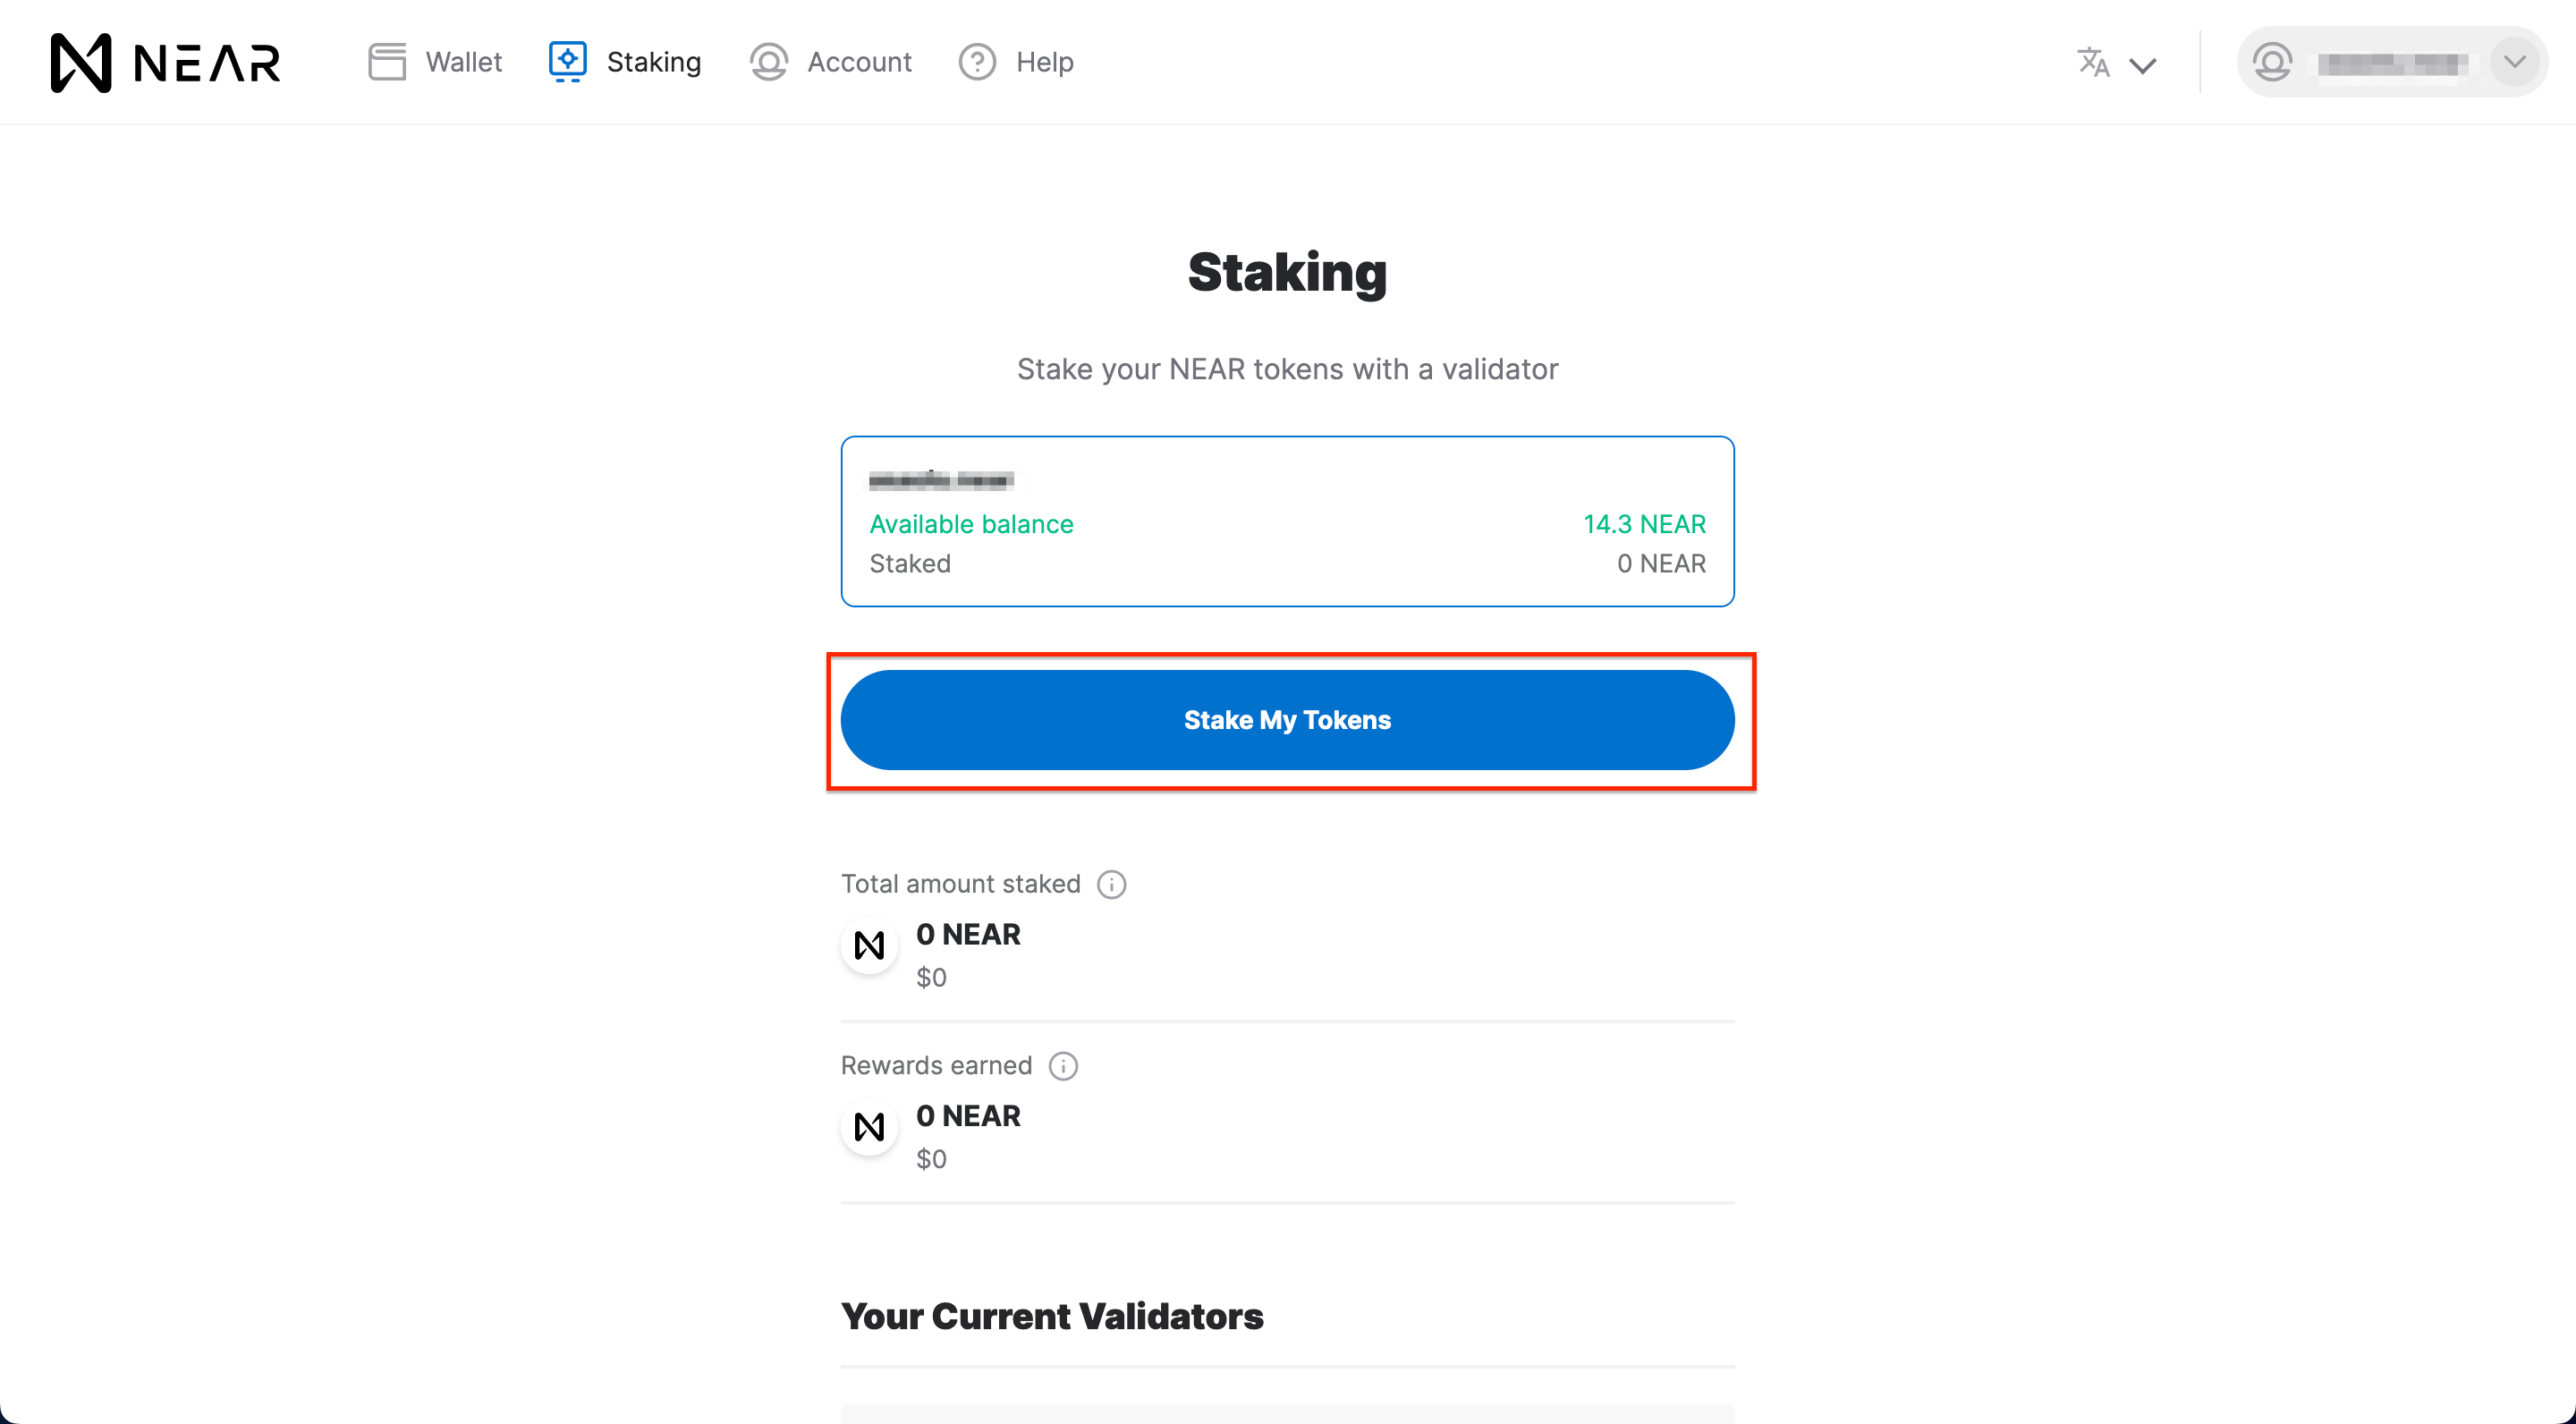
Now that you've successfully configured your new validator pool, navigate to the [Staking page](https://wallet.near.org/staking) on your NEAR wallet dashboard and click the button as shown below.
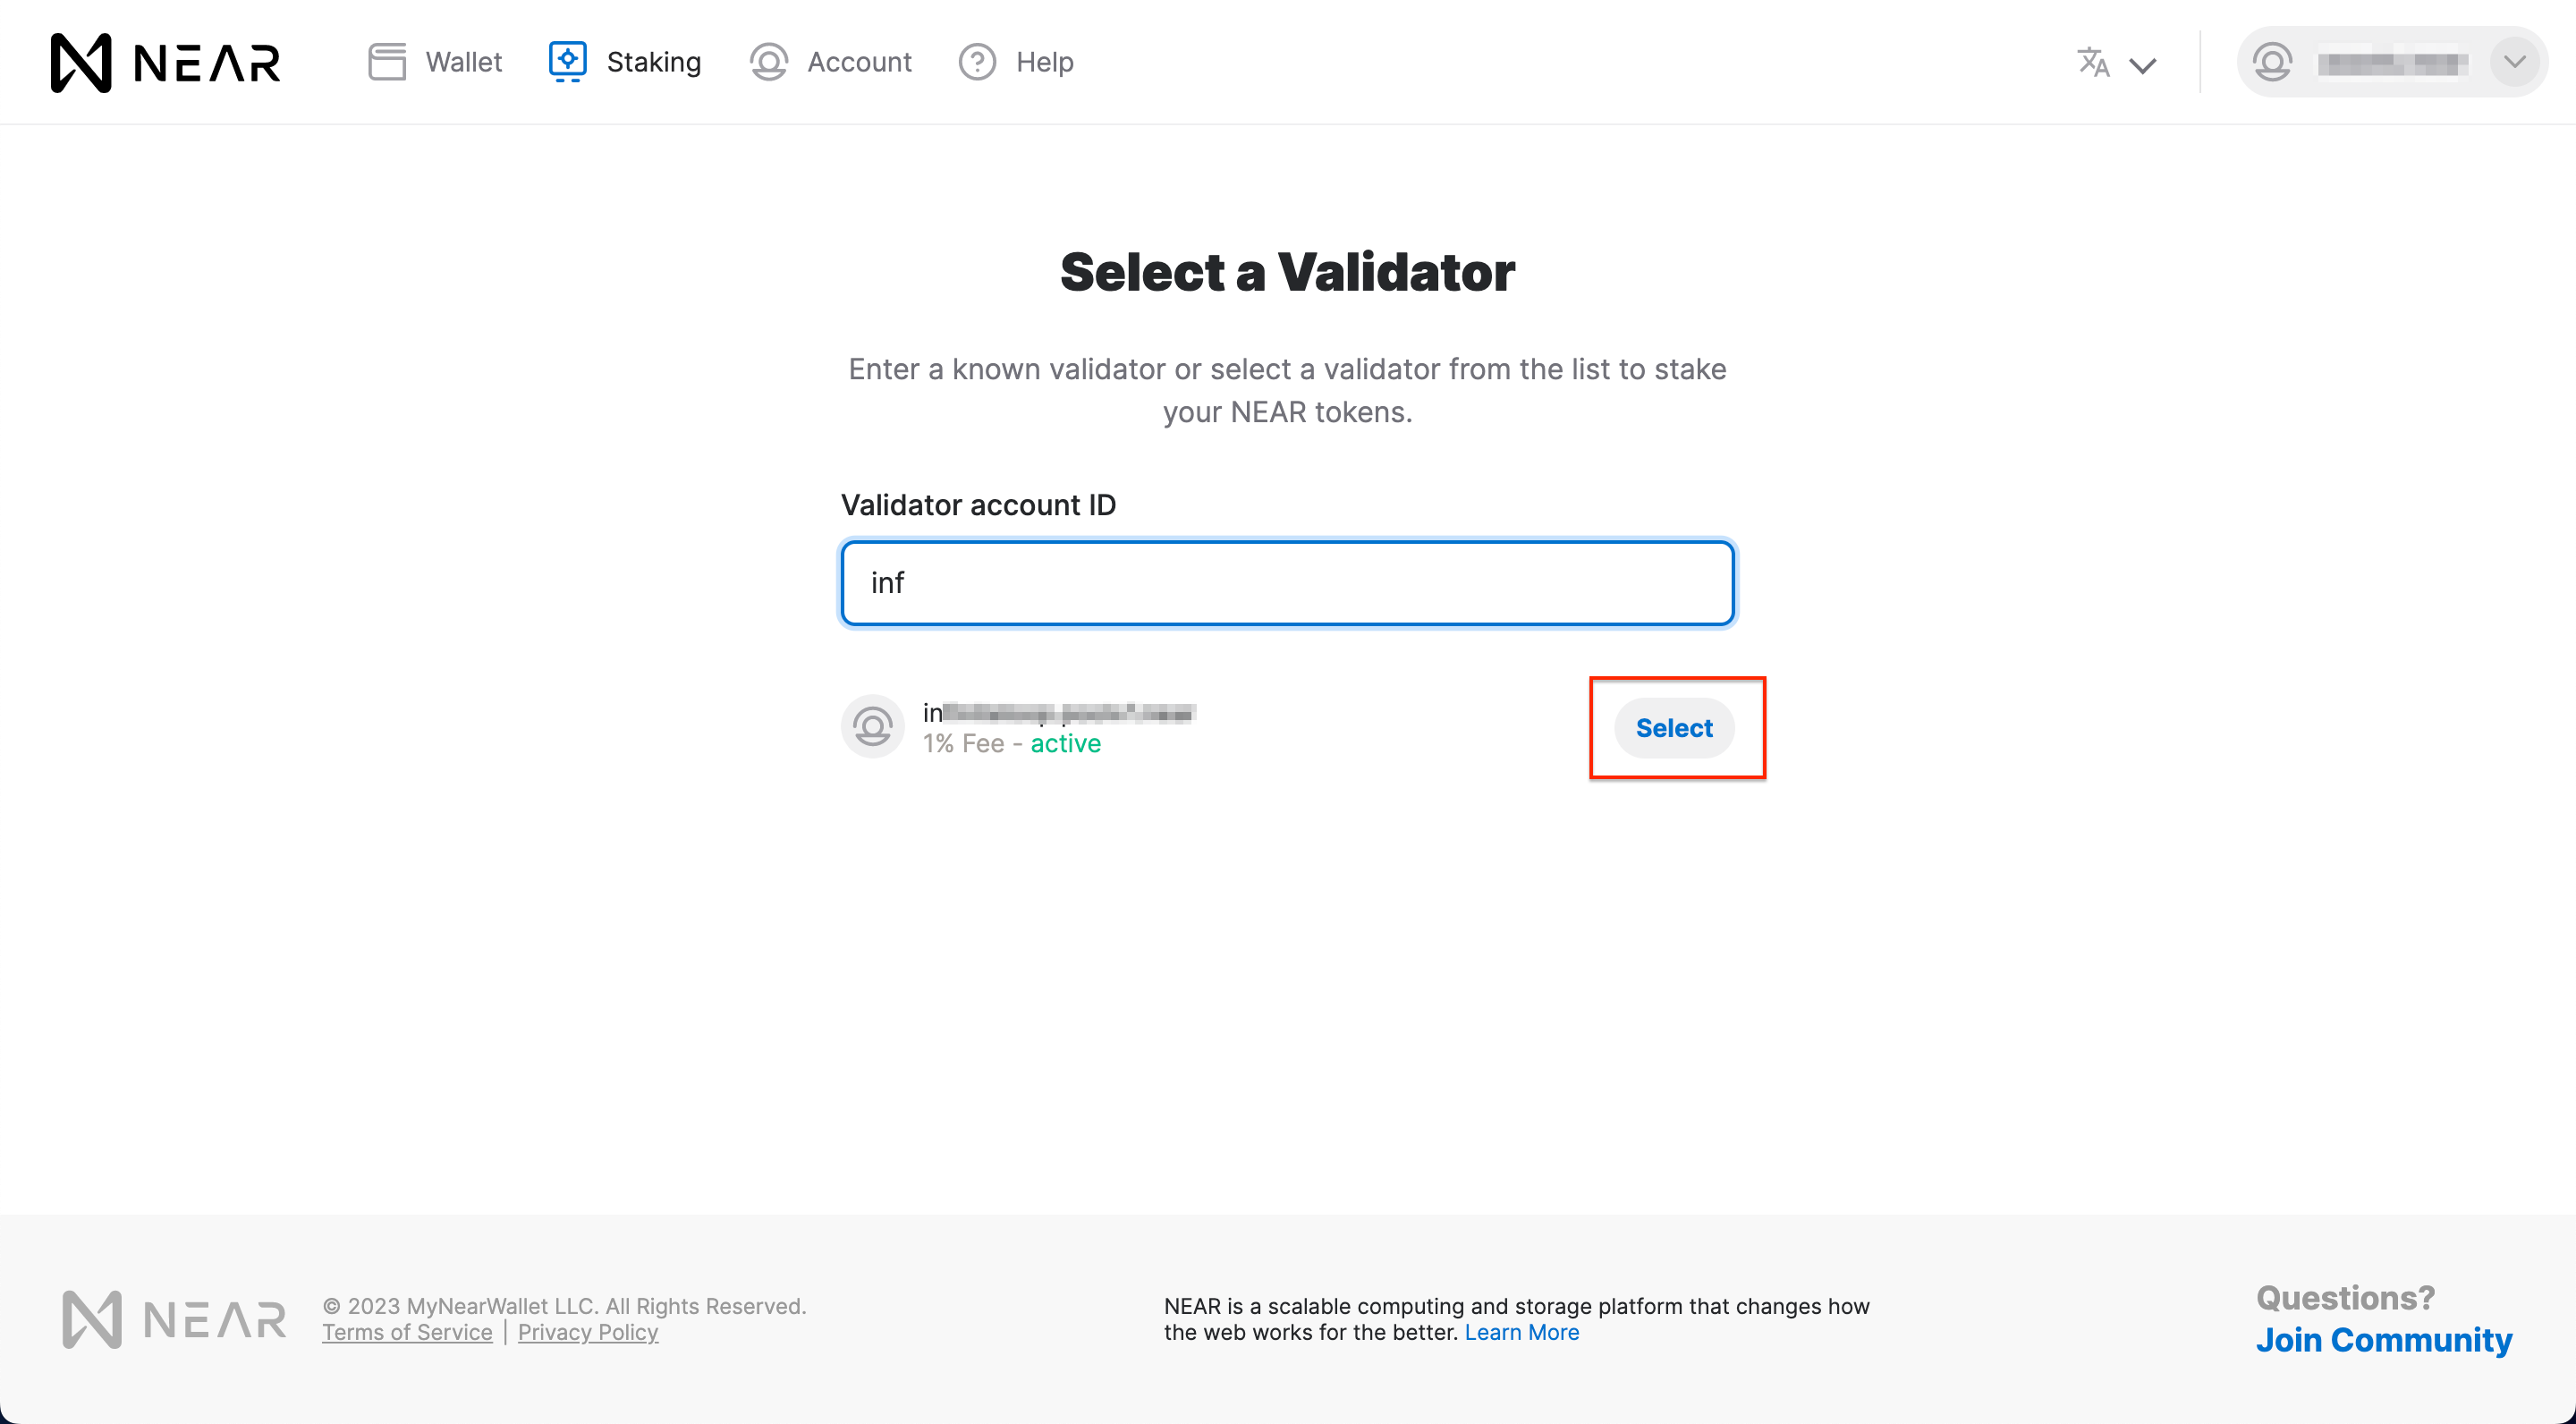
To proceed, use the search box to find the validator you just registered, then click the `Select` button next to it.
Confirm the validator's name one more time, then click the button highlighted below to proceed.
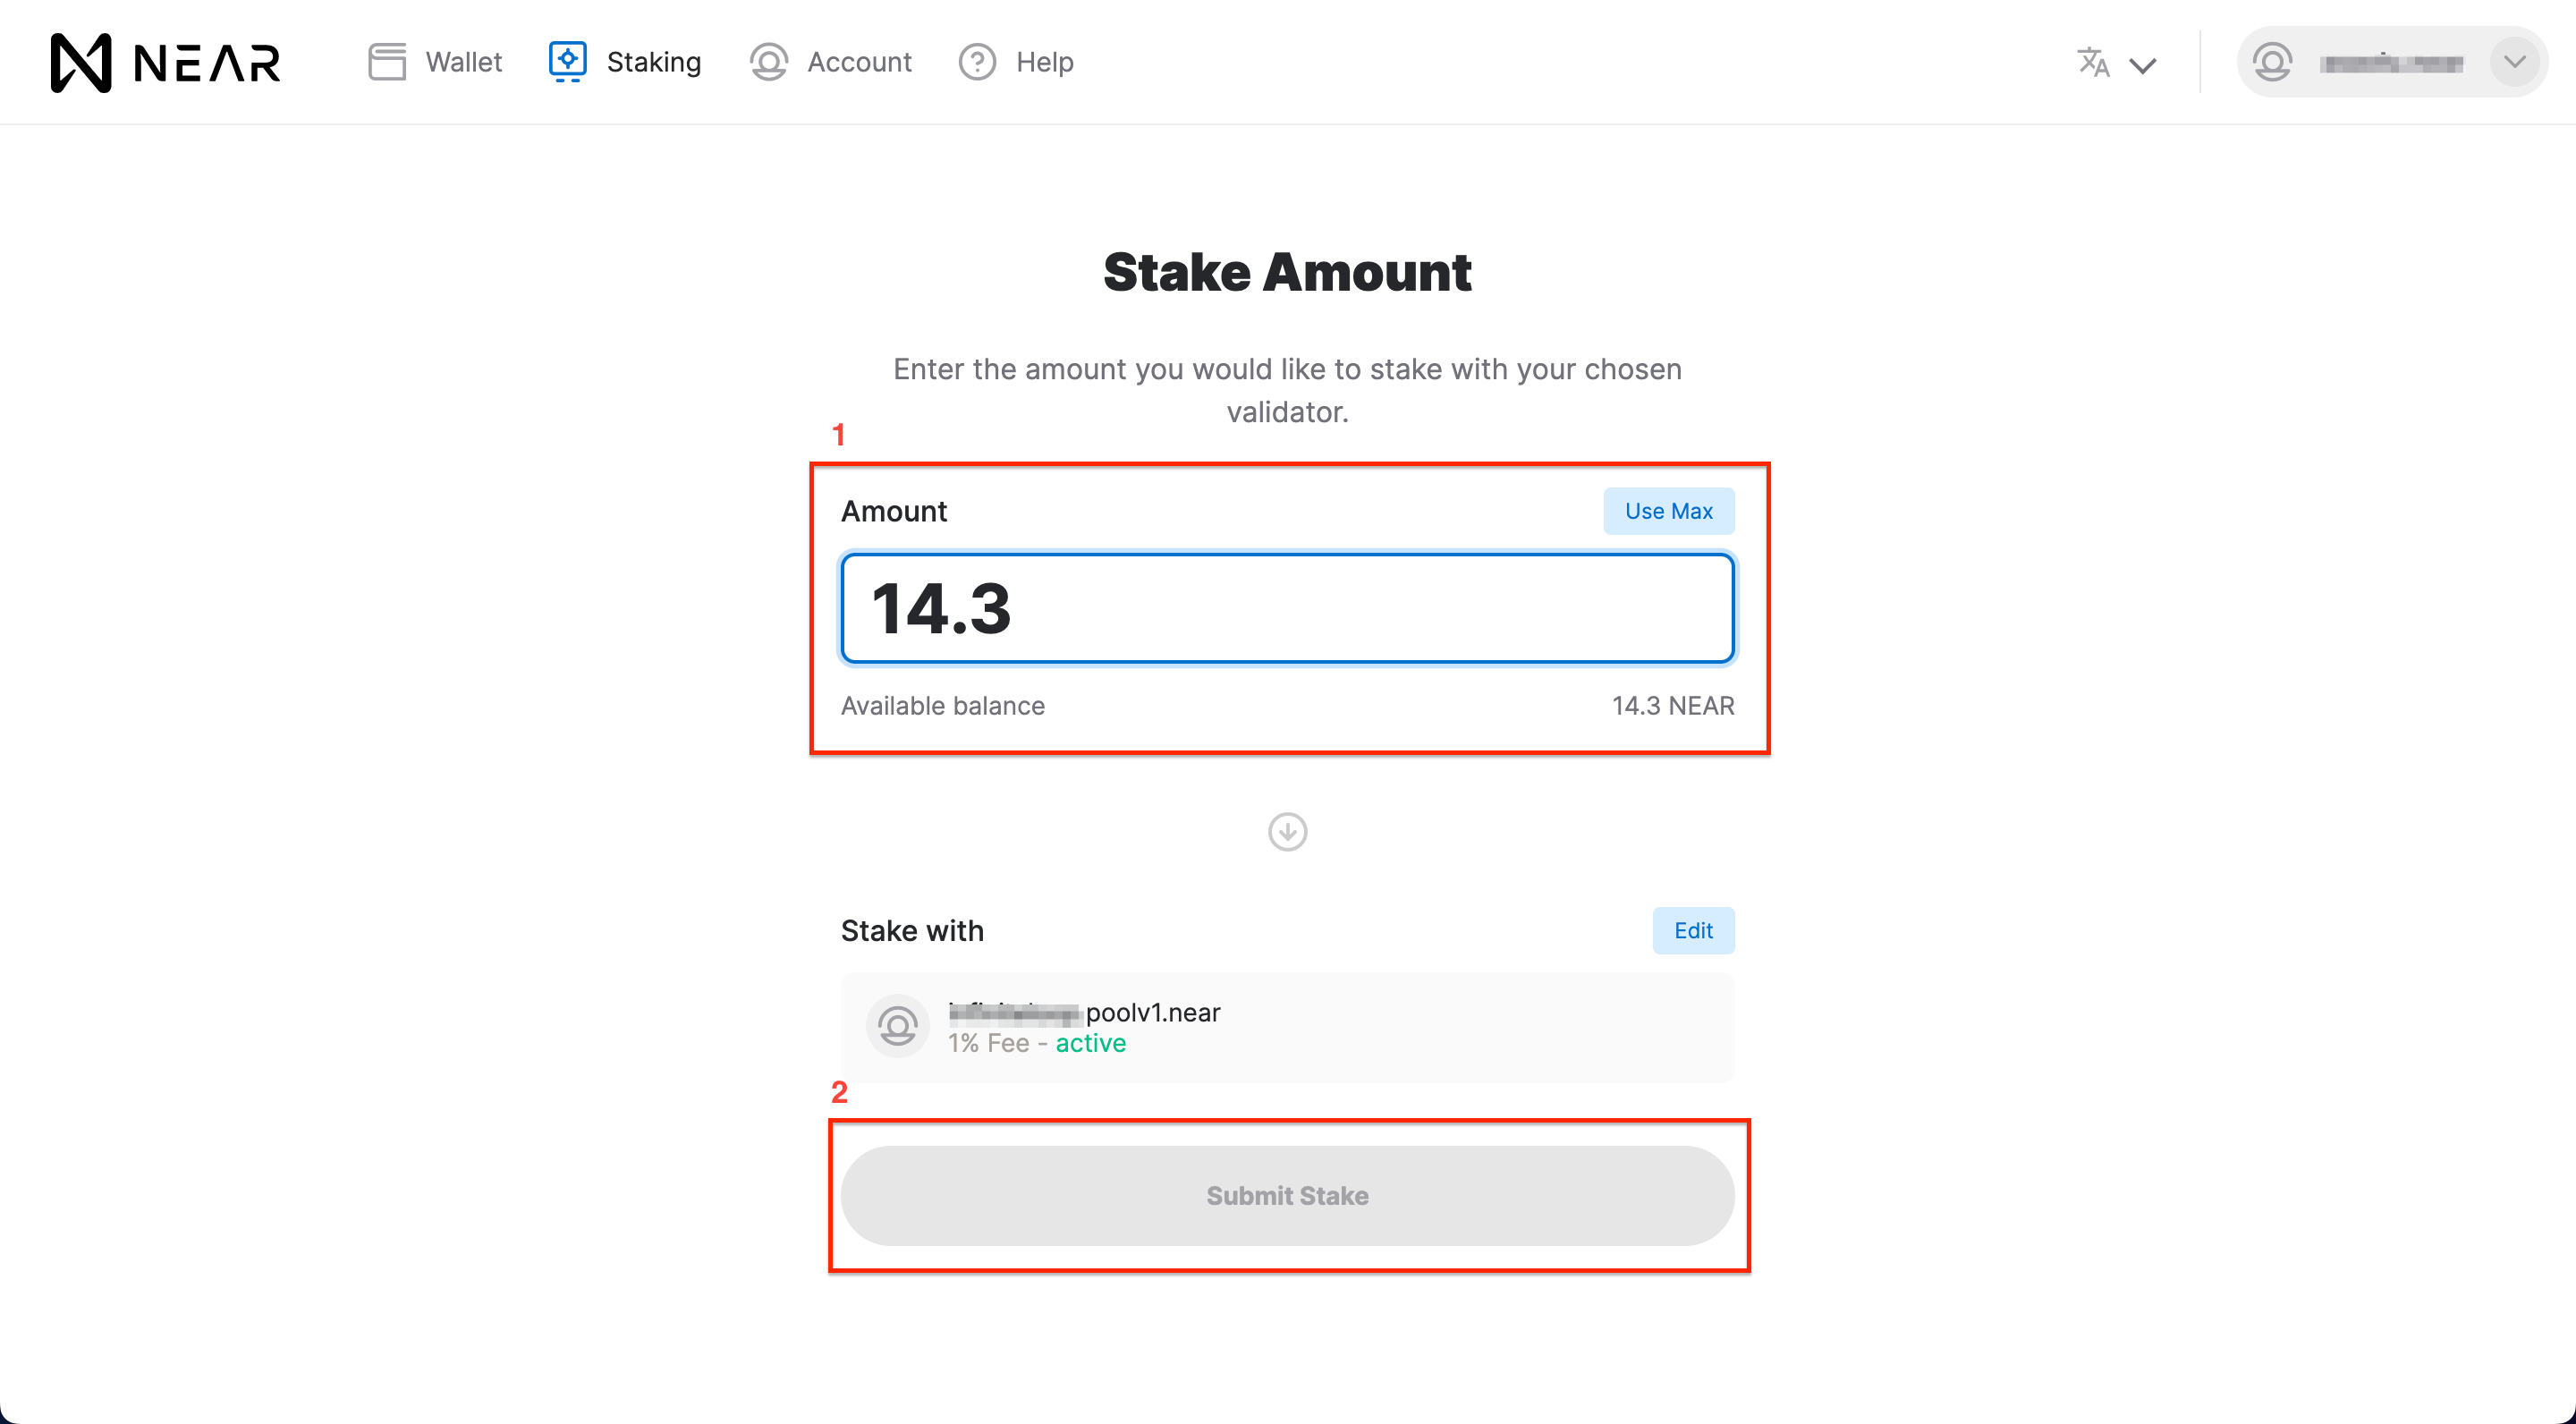
Enter the amount of NEAR tokens you want to stake on the next page, then click the `Submit Stake` button to continue.
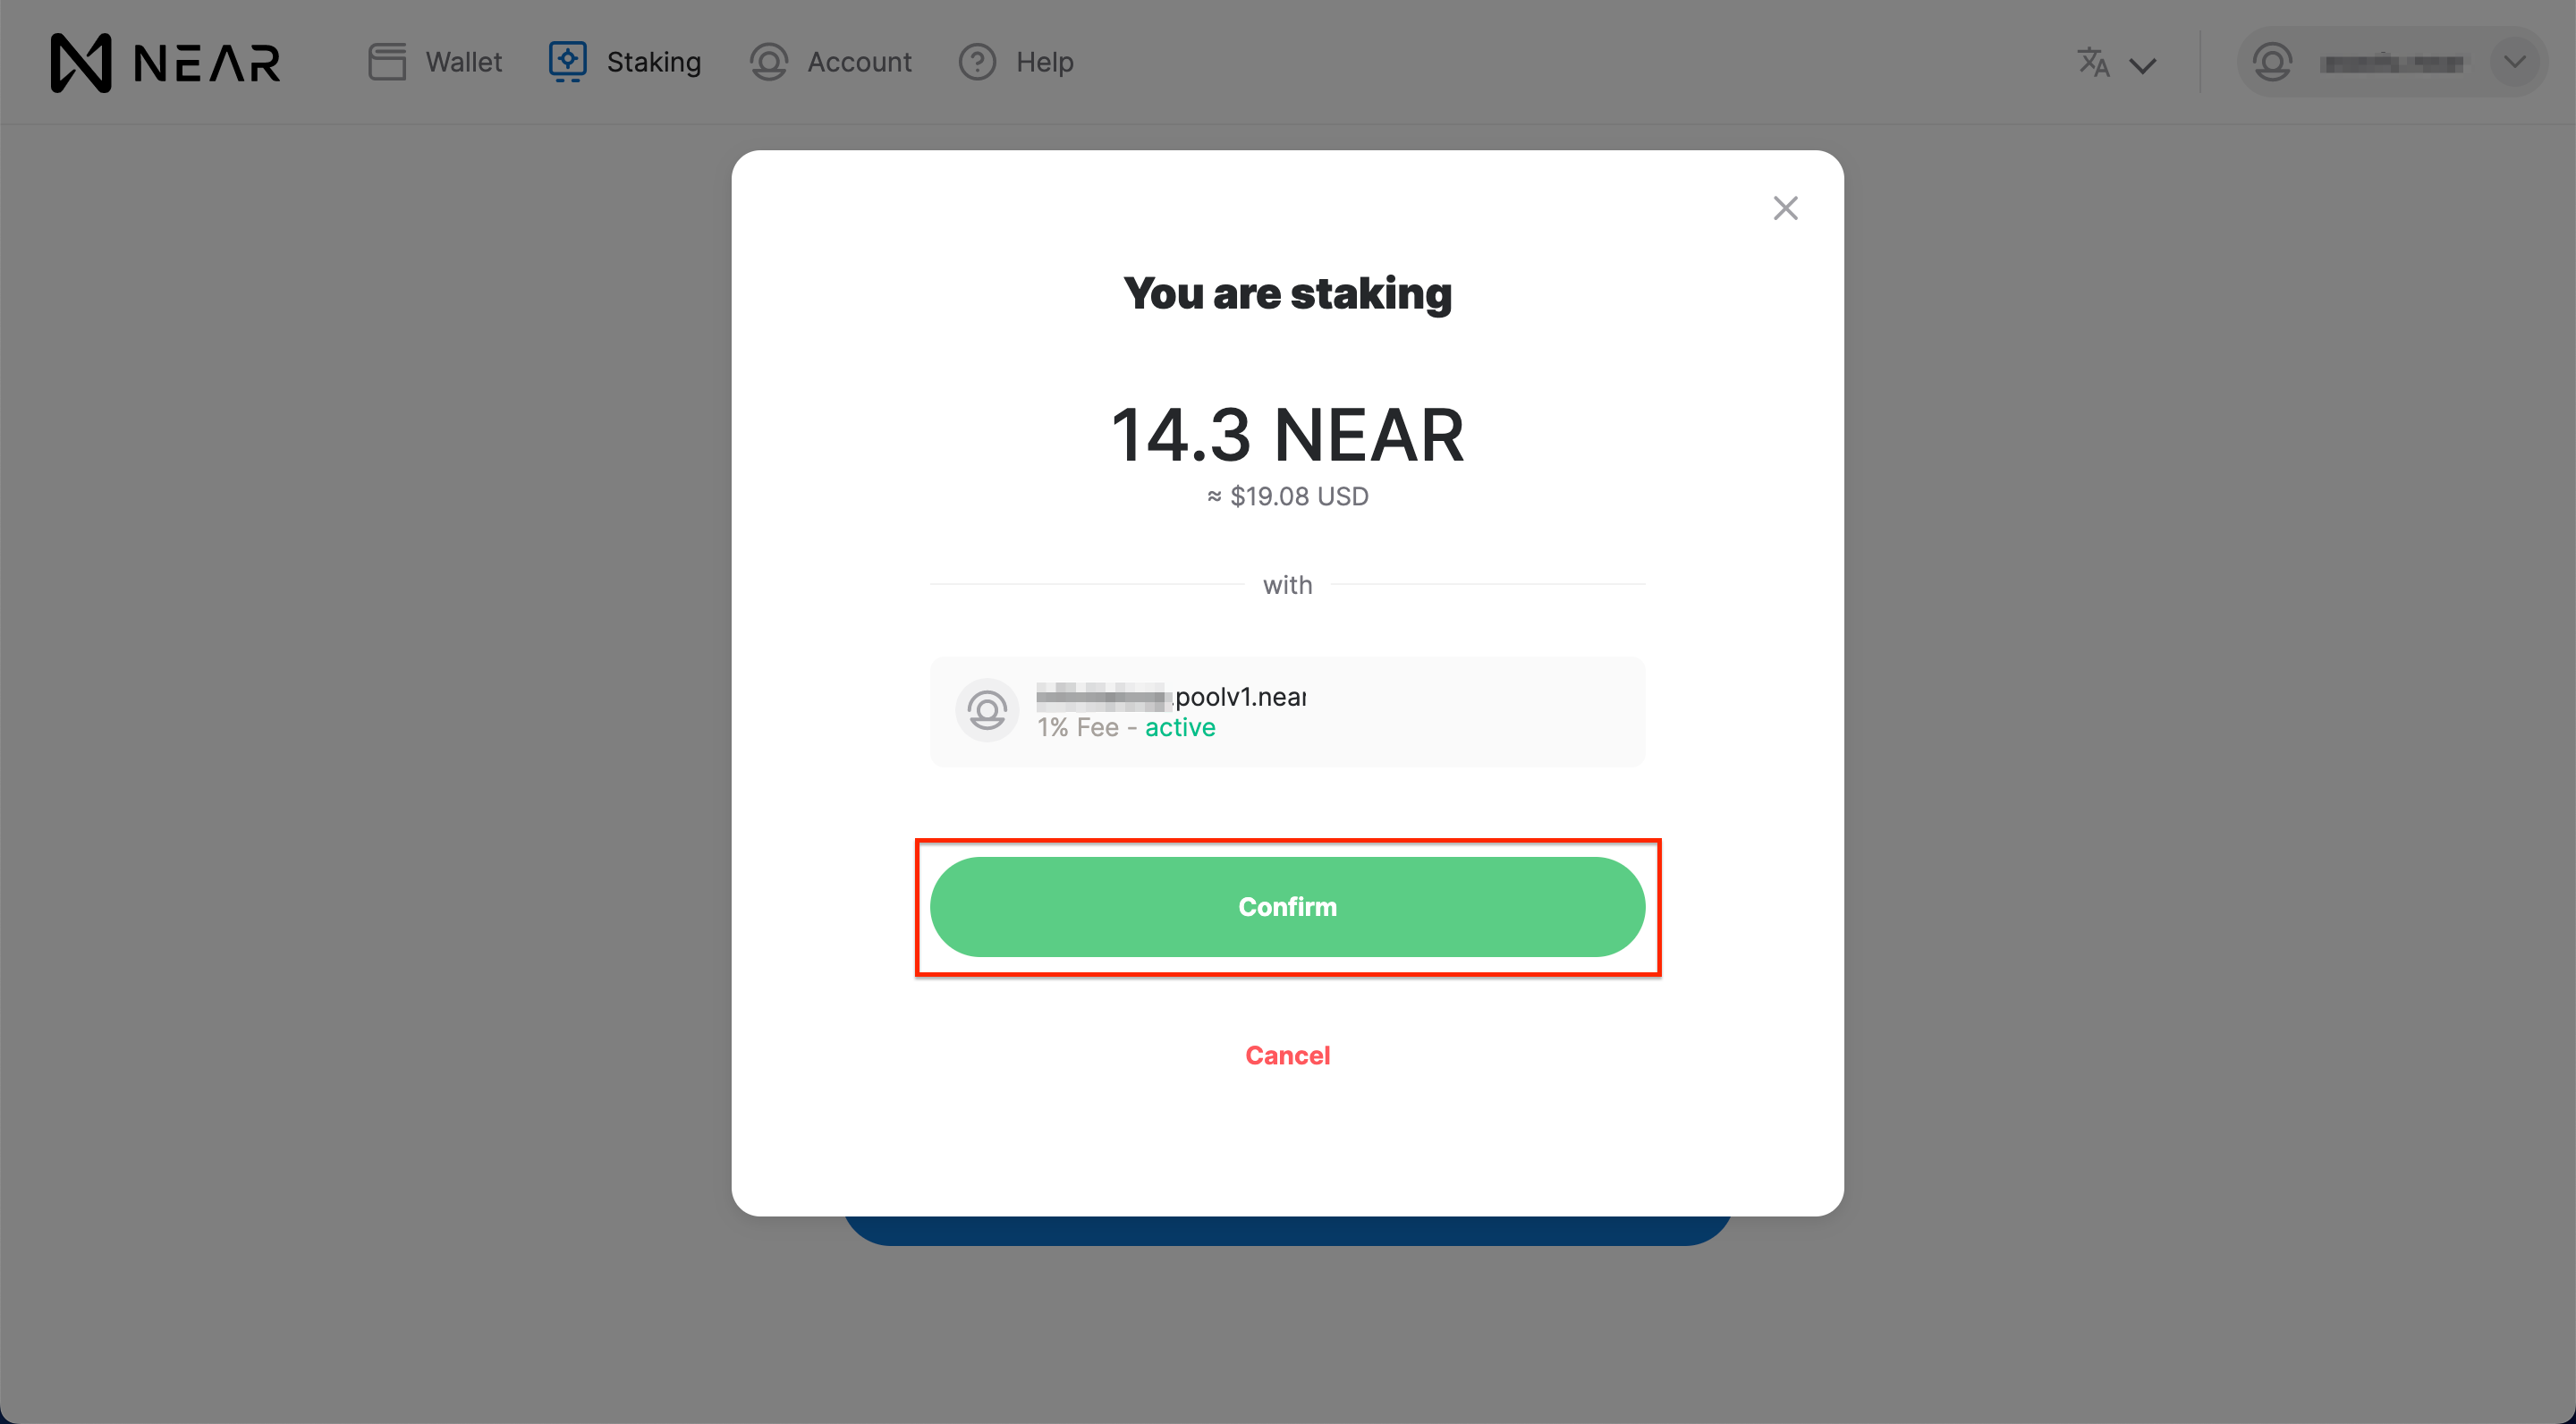
Finally, click the `Confirm` button as shown below to complete the transaction.
A message should appear confirming that the staking operation was successful. You can also navigate to your [NEAR wallet dashboard](https://wallet.near.org/) to track your rewards and perform other operations, such as unstaking your tokens.
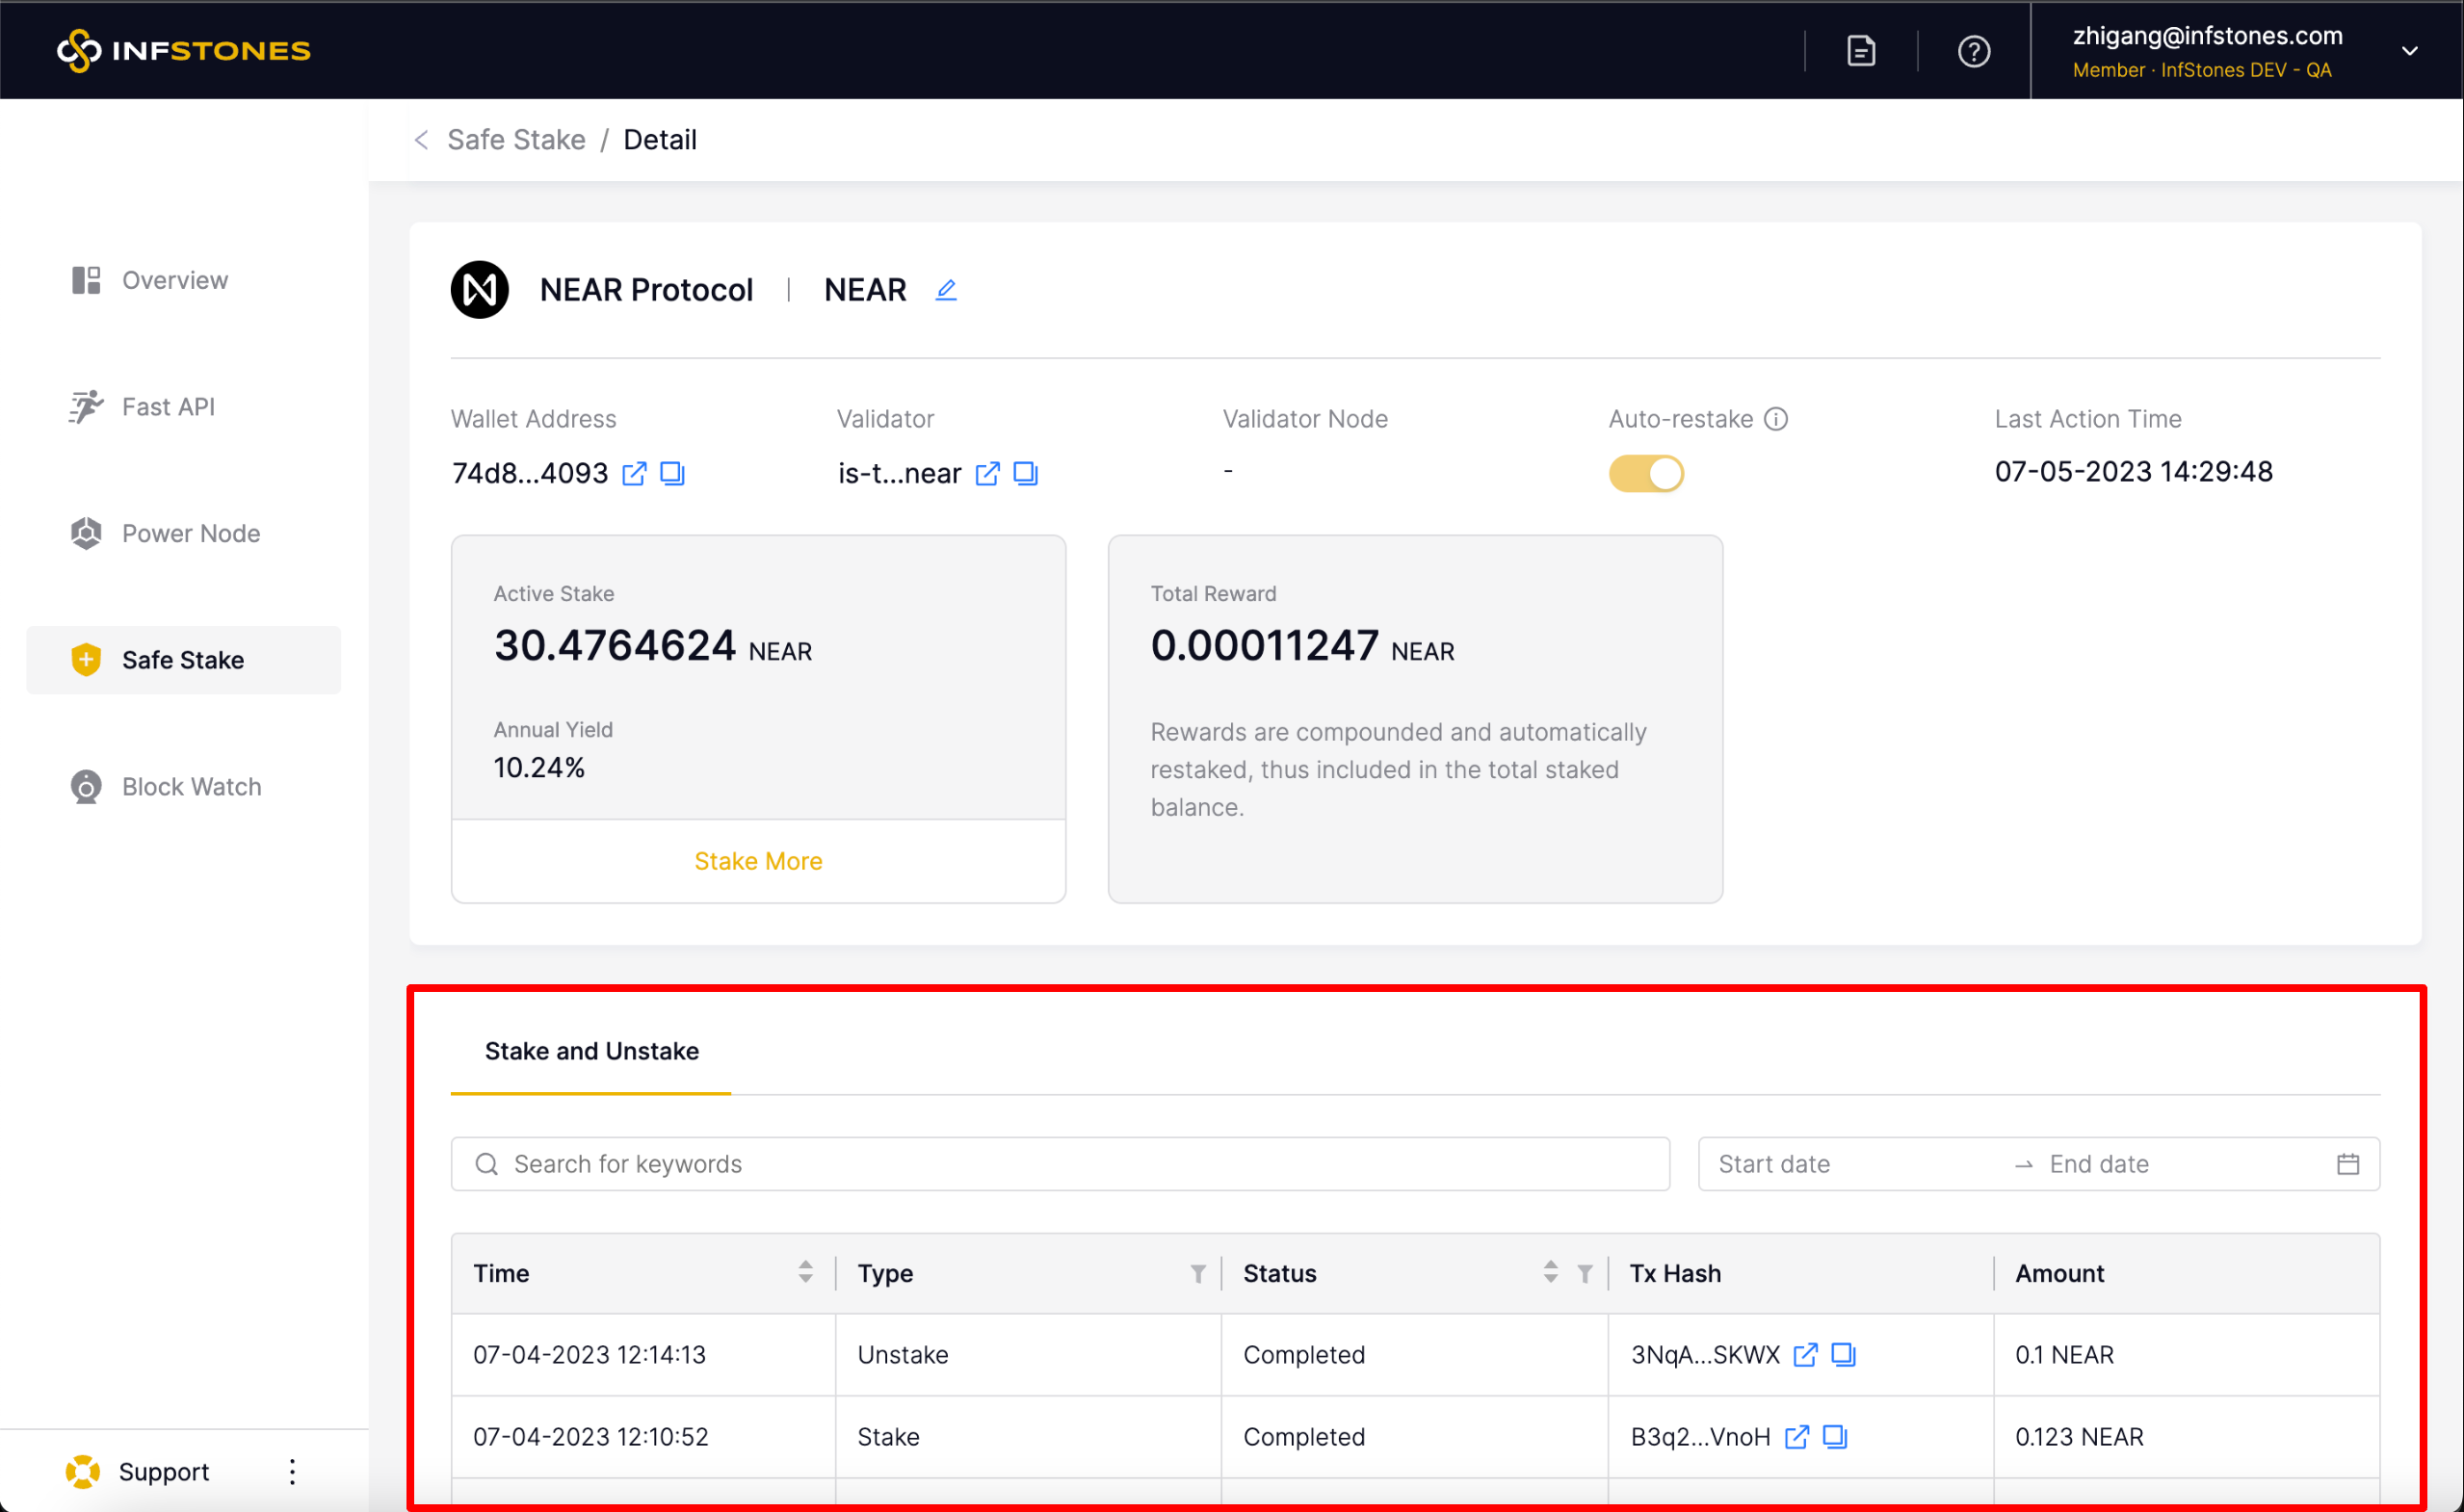
# 3 Stake and Reward History
InfStones now provides an intuitive analytics feature that lets you easily access your stake, unstake, and reward histories. This feature is especially helpful for users who want to monitor their staking activity and track their rewards over time.
Updated 11 months ago